
Milicast 1/76 resin Archer Tank Destroyer
By Bob Pearson
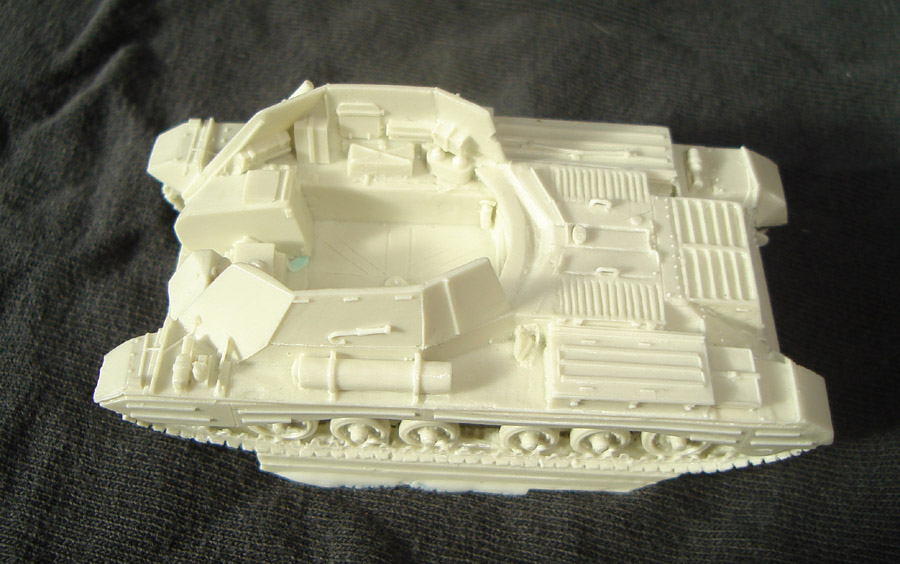
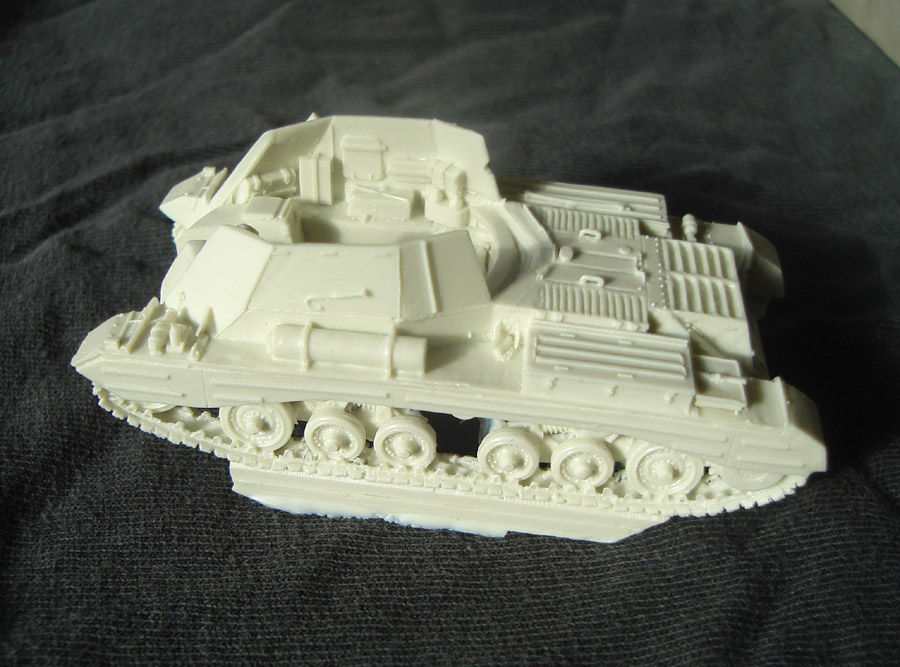
You gotta love a tank that goes faster in reverse than forward. Here is the 1/76 Milicast resin Archer Tank Destroyer. Based on the Valentine Infantry support tank, the Archer made use of the excellent 17pdr gun which was far too big to fit into the existing turret (Valentine normally carried either a 2pdr or 6pdr gun). The solution was to remove the turret and mount it directly to the hull. To prevent it from being too long and unmanageble, it was fitted to fire to the rear of the Archer. The driver sat directly behind the breech, so he had to vacate his seat whenever it was fired. Consequently, it looks like it is backwards when you see one in World of Tanks - but it is fun.
 |
 |
 |
I have been playing this tank destroyer in WOT for the past couple of months and its uniqueness has won me over, so much that I had to acquire one for my collection. In 1/76 scale I only found two examples, one a very basic casting in white metal and another in resin. The resin kit is by Milicast and as I have already built their Ram-II I immediately placed my order with smallmilitarymodelsandmore. After a week of waiting it arrived and I was not disappointed.
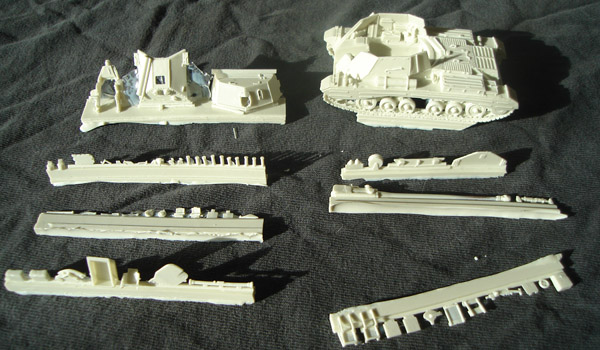
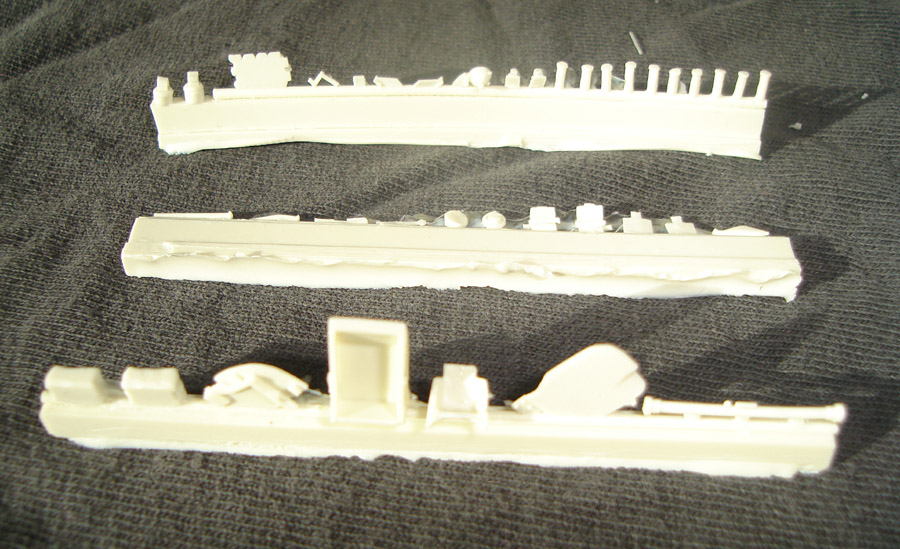
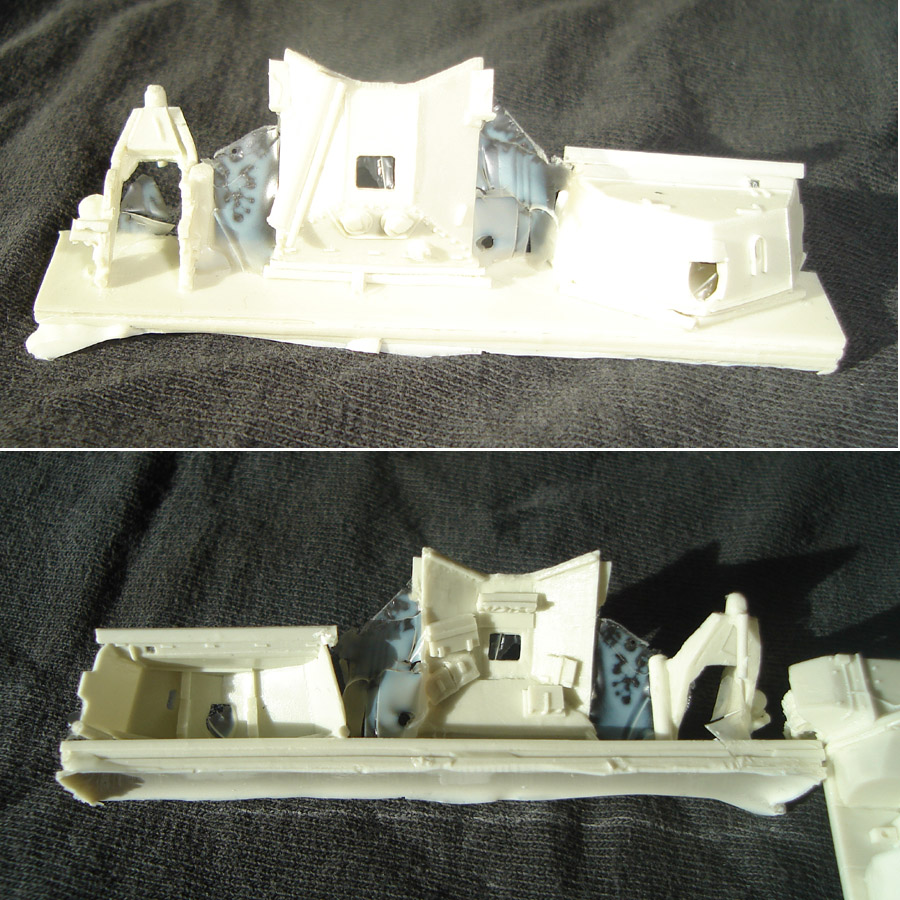
The kit came safely wrapped in bubblewrap inside of a box. Opening it I was present with the hull plus six runners. The hull is an exquisite casting and has much of the interior detail cast in situ.
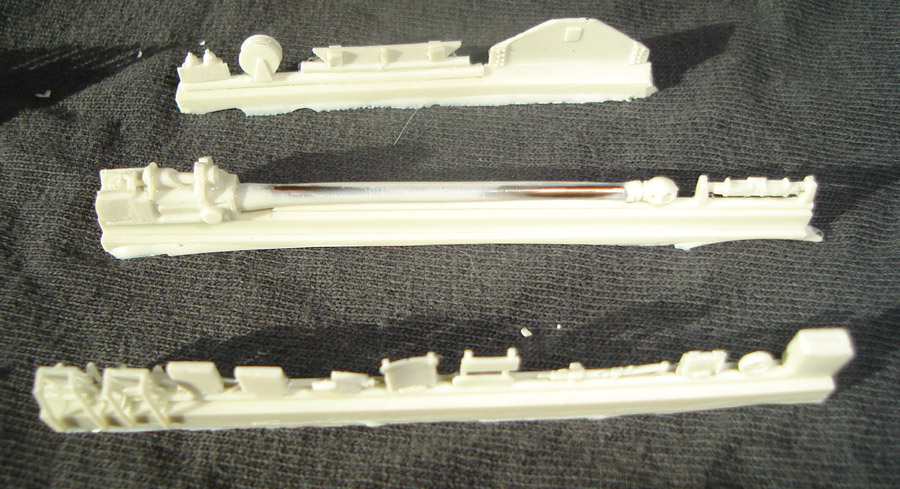
The first runner has the gunshield, front plate and gun mount. The 17pdr gun has a brass insert cast inside the barrel to maintain its rigidity and has the breech block and muzzle brake in place. Other details include a Sten gun, storage bags, shell cases, seats and numerous other bits I still haven't identified.
 |
 |
 |
The instructions consist of one page of xeroxed photos showing the parts in place and numbered. However it is a very old page that has been copied many times over so it is hard to see exactly what part is what. Consequently, spend awhile studying the photos and comparing them to the various parts to figure out what goes where. At first I couldn't figure out how the gun was to be mounted, but after cleaning up the mount and the gunshield I can see how it mounts now.
There are no decals, but these can be easily obtained from the spares box.
All in all, I look forward to building this kit during my next round of days off between battles in WoT.