
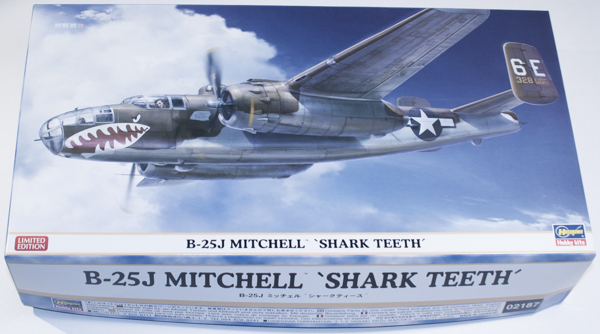
Hasegawa 1/72 B-25J Mitchell “Shark Teeth”
By Matt Bittner

This is my first foray into the Hasegawa 1/72 B-25 world, and it's a great one. I remember the old Monogram kit and while accurate the details contained within the box definitely wasn't to this level. Everything contained in this box is outstanding and there it can be successfully built – well – out of the box. Naturally everything can be enhanced but if you choose to build this kit with nothing but the box contents you will have an outstanding 1/72 B-25J.
However, in the same breath you can definitely say it won't be a very quick build with the amount of parts present to build this as an excellent example of the B-25J.
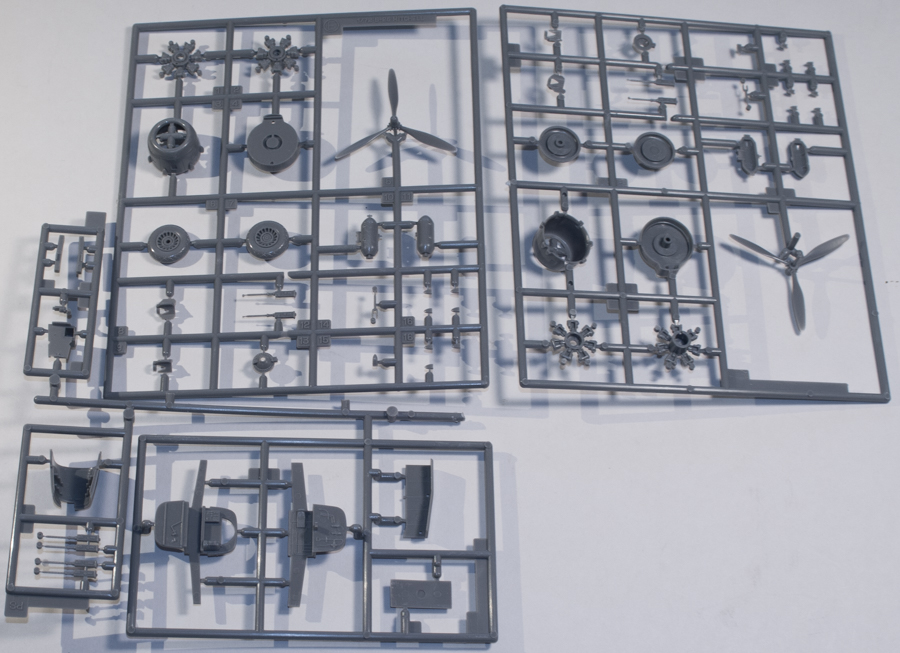
There is a lot of interior detail to this kit. Not only in the cockpit area but all throughout the insides, including the waist gunner areas to include magazines and other assundries. There are also items to add into the bomb bay, necessary if you plan on opening the bay doors. Then, of course, there is plenty of detail to the cockpit. A complete floor with both seats, instrument panel with rudder pedals, control columns and bulkheads. Also added to this assembly are pieces to build up the nose gear wheel well. I'm not sure if you can leave off the nose gear but it might prove difficult as the instructions have you add it to one side of the nose gear well before the nose gear well and cockpit are added to one fuselage half. Also built-up at this time is the top turret which consists of four pieces – including the guns – and the turret canopy.
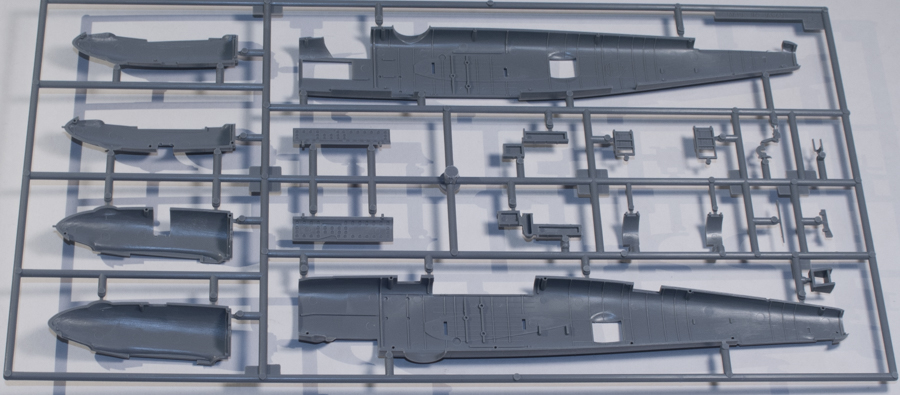
Now that you have all the extra pieces glued into the fuselage halves and all the other sub-assemblies completed it's time to add it all into one fuselage half and close up the fuselage.
Construction then continues onto the wing, which consists of a two lower section, two uppers and the nacelles in two parts. Again, the instructions show the main landing gear added at this time but these can definitely be left off until after painting. The next step is to build up the engines and cowlings with prop. Again, leave the propellers off until after painting and decaling are accomplished.
Finally the next steps are to build up the nose (and there are two types included with this release), build up the tail and then glue it and the wing halves to the fuselage. Add the nose and cowls, and now your B-25 is ready for paint.*
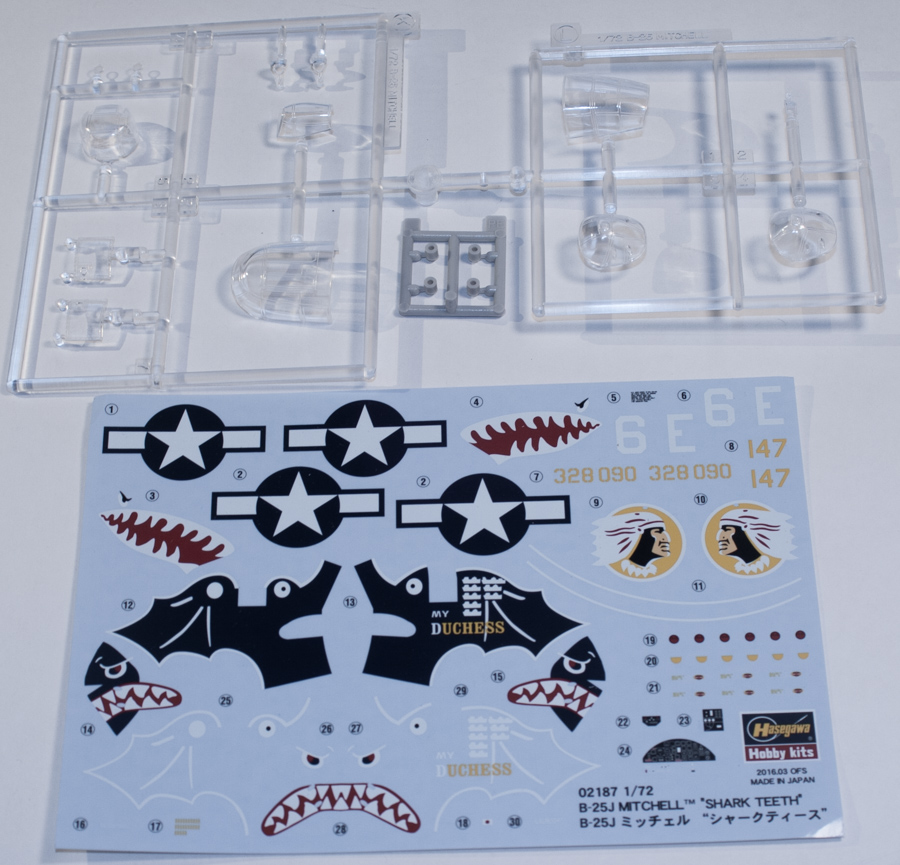
There are markings for two aircraft:
- B-25J, 43-28090, 486 BS/340 BG, 6E, Italy, 1944
- B-25J, unknown, 499 BS/345 BG, 147, Philippines, 1944, 'My Duchess'
The last one – 'My Duchess' – provides decals to either replicate the entire nose art or an outline so you can paint the main portion of blue yourself. There are advantages to both systems so take your pick.
This is a very nice kit and well worth tracking down – I've seen some excellent builds of the Hasegawa 1/72 B-25 and this will definitely turn into one of them.
My thanks to Hasegawa USA for sending this in for review.