
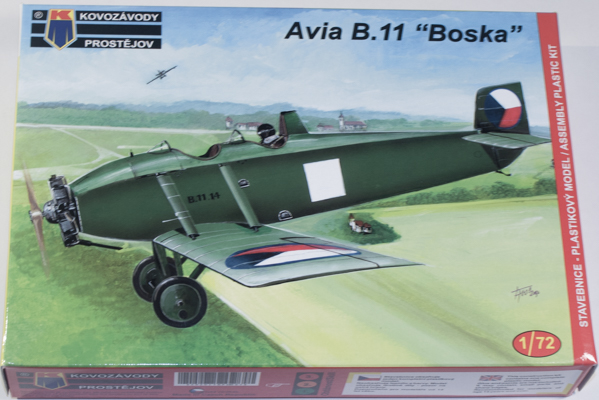
Kovozávody Prostějov 1/72 Avia B.11 "Boska"
By Matt Bittner
Introduction
The Avia B.11 was a two-seat development of the B.9 by primarily lengthening the fuselage. The Czechoslovakian Army ordered at least 15 examples. Unfortunately there isn't much documentation of the type on-line so searching on the 'net doesn't bring up much.
The Kit
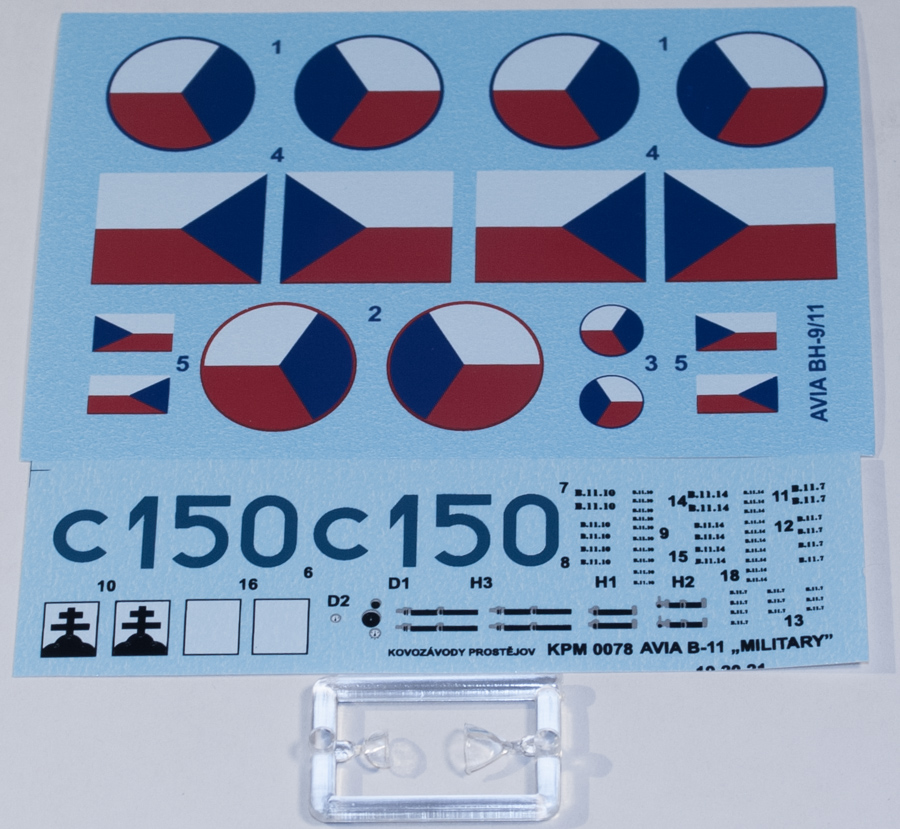
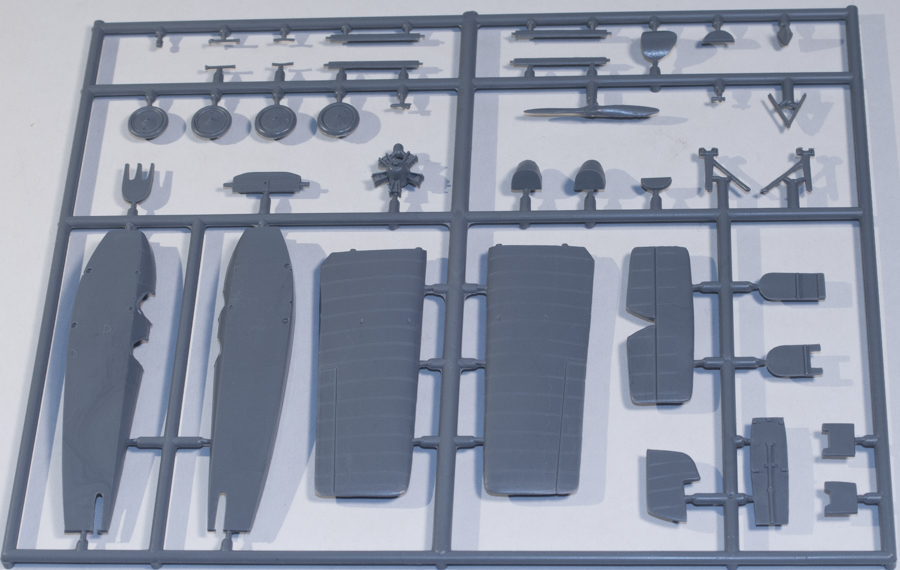
The Kovozávody Prostějov (KP) 1/72 Avia B.11 consists of 39 pieces (some not used in this version) of gray injected plastic and one small sheet of clear film for the windscreens. Decals, in this boxing (there are multiple boxings with the only difference being what markings are provided) are for three B.11s:
- Avia B.11.10, C150, Military Flying School Prostějov, early Thirties, finished in overall aluminum
- Avia B.11.7, Air Regiment 3, Nitra, early Twenties (khaki on top, aluminum on the bottom)
- Avia B.11.14, Military Flying School, Prostějov, late Thirties (khaki on top, aluminum on the bottom)
Decals appear to be nicely printed and in register.
|
Of course construction starts with the cockpit and it's pretty nice out-of-the-box. While naturally everything can be enhanced with aftermarket – this is an open-cockpit aircraft, after all – it will look really good painted and weathered. With the inclusion of decal seat belts it definitely will add to the look of the cockpits. If you want, you could add something "under" the decal belts to give them more depth.
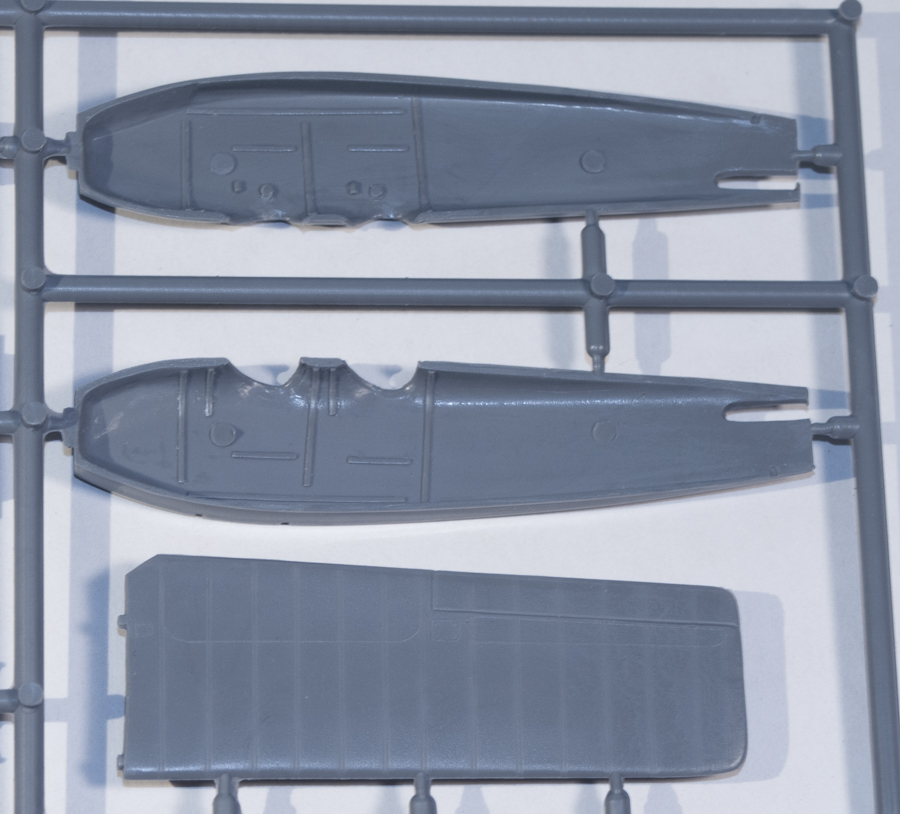
Once the cockpit is built (which consists of a floor, an instrument panel for the front cockpit and a wood "panel" for the rear, three bulkheads, two seat "shelves" and two seats, along with a control stick) it's added to one fuselage half and the halves assembled. Construction goes quick after this.
|
Add the tail pieces and wings and then the model is ready for painting. You won't have to worry about any putty in the wing-to-fuselage joint because there was a gap on the real aircraft. In fact, the instructions show a 1mm gap so no worries there. While the instructions show you add the landing gear and struts with the same instruction steps I would definitely hold off on adding these until after painting. Unless you want to try masking because the landing gear struts and the top of the "axle wing" are in the upper surface colors while underneath the "axle wing" is the same color as the undersides of the aircraft.
The last stages of construction – including the wing struts and landing gear – are the additions of the engine, prop and windscreens. It's really nice that KP has included stencils on their decal sheet as these will definitely enhance the look of the final model.
|
Conclusion
I was happy to see that KP decided to re-do the early Avia monoplanes. Not only coming out with the completely new B.11 but also doing the single seat B.9 (for those unaware, the "original" KP came out with the B.9 many, many years ago and while not a bad kit, having a modern-tool is definitely nice). These will make great additions to your Czech-inspired aviation history shelves and I'm hoping for some aftermarket for it, maybe some photoetch for the cockpit and a better-detailed engine.
Many, many thanks sent to Kovozávody Prostějov for sending the B.11 for review.