
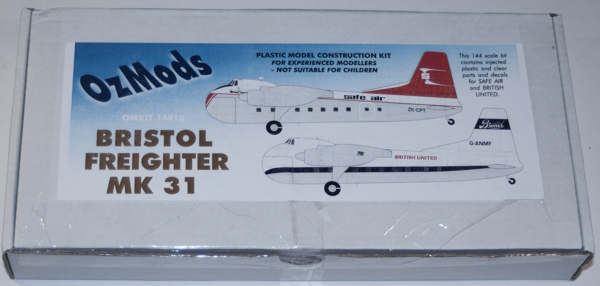
OzMods 1/144 Bristol 170 Freighter Mk 31
By Matt Bittner
Introduction
The Bristol Type 170 Freighter was first flown in December 1945. Too late to see action in World War 2 the Freighter was picked up by a number of commercial operators and was designed to haul numerous types of various cargo. But the type was also purchased by a few country's military, for example Australia, New Zealand and Burma. The type was retired in the 1970s with the final one seeing service until 2004.
The Kit
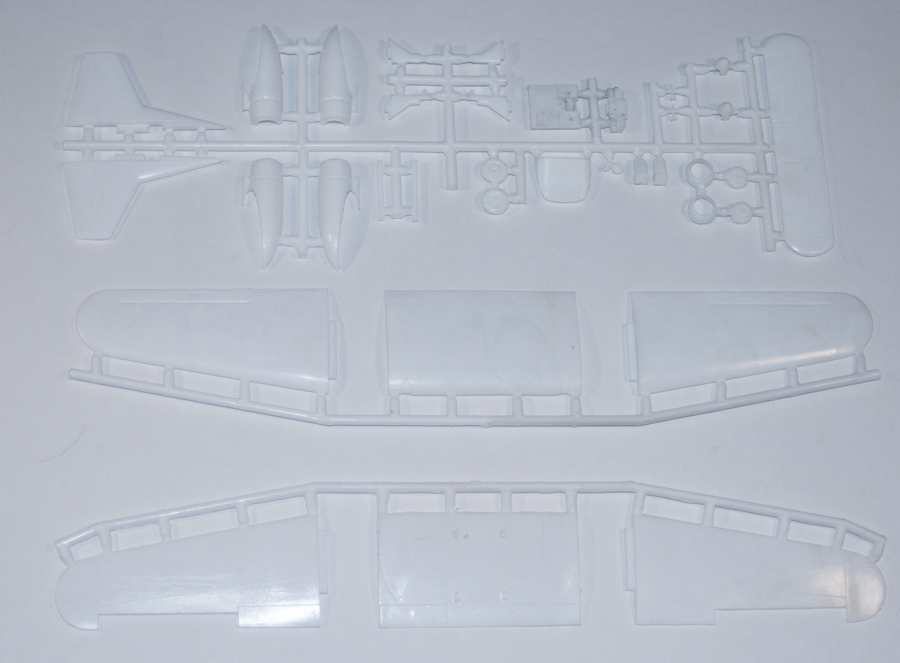
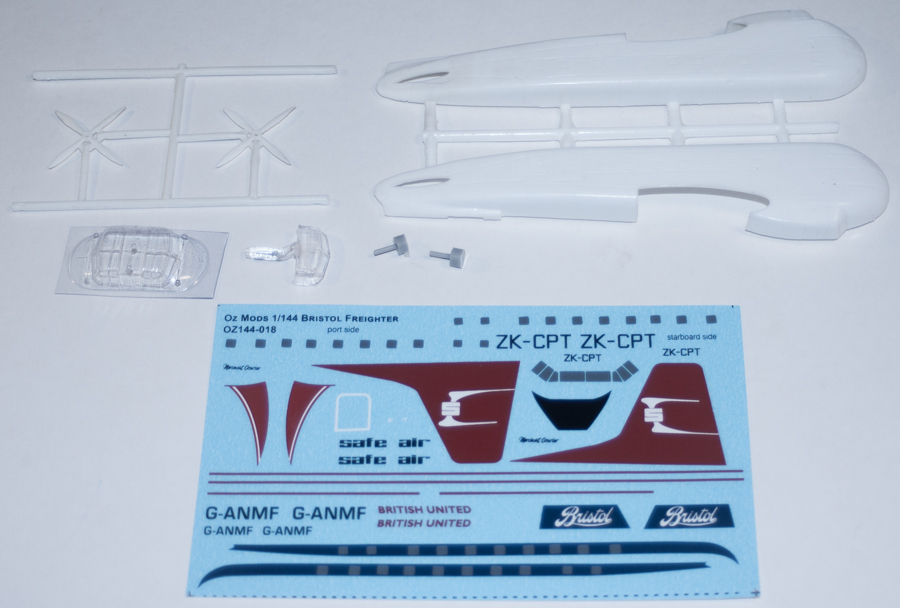
OzMods has released a number of boxings of their new 1/144 Bristol Freighter. The kit consists of 39 pieces of white, injected plastic, two pieces of resin (the prop shafts), one clear, injected canopy and one vacuum-formed canopy. For this boxing decals are for two civilian aircraft: British United and Safe Air. Decals appear to be decent and in register.
|
Before construction you'll need to decide if you want to open up the cockpit windows (OzMods does provide decals for this area as well) and if so, then perform the necessary surgery and assemble the flight deck. This consists of a cockpit floor, two seats, two control columns and an instrument panel. If you have decided to open up the cockpit then you'll also need to decide on if you want to use either the injected or vacuum-formed canopy. After the decision and any other necessary construction the fuselage halves are glued together and then the horizontal and vertical tails are glued to the fuselage.
Step three of the instructions moves to the engines. Both of them consists of two nacelles, an engine face, prop shaft, cowl, prop and spinner. The prop shaft parts (15 and 22) are resin for some reason so you'll need to use CA or epoxy to glue the props on. Definitely paint the engine-face before starting assembly, though. While Step four has you add the landing gear to the nacelles prior to adding the nacelles to the wings, I would think you want to add them after everything is glued together. This way you can be sure that not only you won't knock them off while painting and final assembly but also to help line them up.
|
Step five glues the wing pieces together prior to adding them to the fuselage. It also has you add the nacelles before the wing is glued to the fuselage so again, you might want to wait on this step until closer to the end. But this is only speculation; maybe the instructions have you do this for some reason like the proximity of the nacelles to the fuselage. Note that there is also a piece that attaches to the rear of the wing, on top, right where it meets the back of the fuselage. You'll also need to add the struts to the landing gear before the final over coat.
Conclusion
All in all this seems like a really decent kit and if you go the route of using decals for the cockpit canopy, could actually be a quick build. Depending on the version you pick up (there are multiple boxings with different decals and marking schemes) you could spend a little bit of time with painting. But this is a really nice kit and will definitely garner attention.
My thanks to OzMods for sending this Bristol Frieghter in for review.