
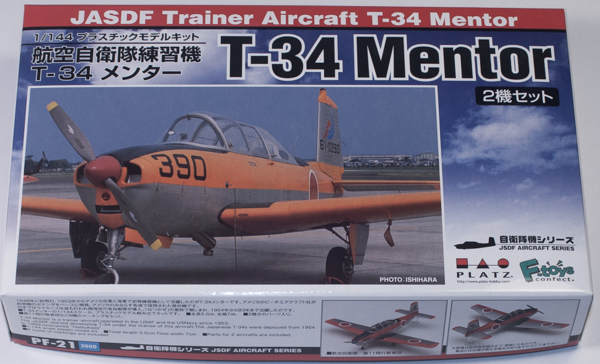
Platz 1/144 Beechraft T-34 Mentor
By Matt Bittner
Introduction
The Beechcraft T-34 Mentor was an immediate post-WWII trainer that first flew in 1953 with the USAF. Eventually it went on to fly with the other US Services along with other countries, including Japan with the Japanese Self Defense Air Force (JASDF). The first two versions – the T-34A and T-34B – were eventually superceded with the T-34C turbo version beginning around 1975.
The Kit
The Platz 1/144 T-34 is the T-34A and I'm not certain if making it into the T-34B is feasible as the 'B' had a different wing dihedral than the 'A'. While there are two kits in a box, a single T-34 model consists of 27 pieces of gray, injected plastic, two clear pieces (one being a tail support) and a stand to put the model on. There are decals for five different JASDF Mentors, all of them primarily silver with two that have international orange highlights, one all white and one all orange. Decals are nicely printed, in register and are printed by Cartograf.
 This is one of the first models I can state that construction does not start with the cockpit. The first step of the instructions has you assemble the fuselage halves as the cockpit – once built – is attached first to the wing prior to the wing attached to the assembled fuselage. Granted, you'll want to paint the inside of the fuselage before gluing the halves together but it is part of the first step.
Once the cockpit is painted and assembled (the parts are just the main cockpit piece, with seats molded in situ, along with two instrument panels) and glued to the wing, as I mentioned above, the wing is then attached to the fuselage. From here you glue the horizontal tail pieces, canopy and front of the nose to the fuselage, creating an airframe ready for painting.
Landing gear can be either be retracted or deployed and there are separate pieces for each. If assembling the model with the gear down you'll need to glue the wheels to the gear legs and gear into the wheel wells. You'll also need to attach the landing gear doors, with the nose doors actually one piece that the nose gear is glued into prior to gluing the whole assembly into the nose. The only other items to attach are the separate exhaust stacks.
One note. If you don't want to display your model on the supplied stand then you'll probably want to fill in the hole the stand sits in as it's molded open.
Conclusion
This is an excellent representation of the T-34A Mentor. If we start seeing both aftermarket items for it and decals, then how you finish the model could be limitless. Let's hope we see someone like JBr Decals produce a sheet of decals for alternative T-34s.
A definite "thank you" to Platz for the review model.