
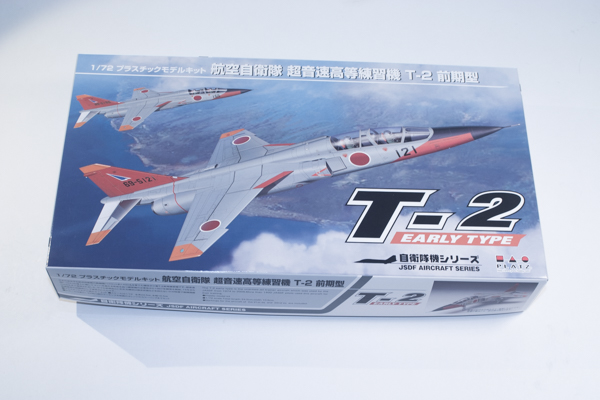
Platz 1/72 Mitsubishi T-2 “Early Type”
By Matt Bittner
Introduction
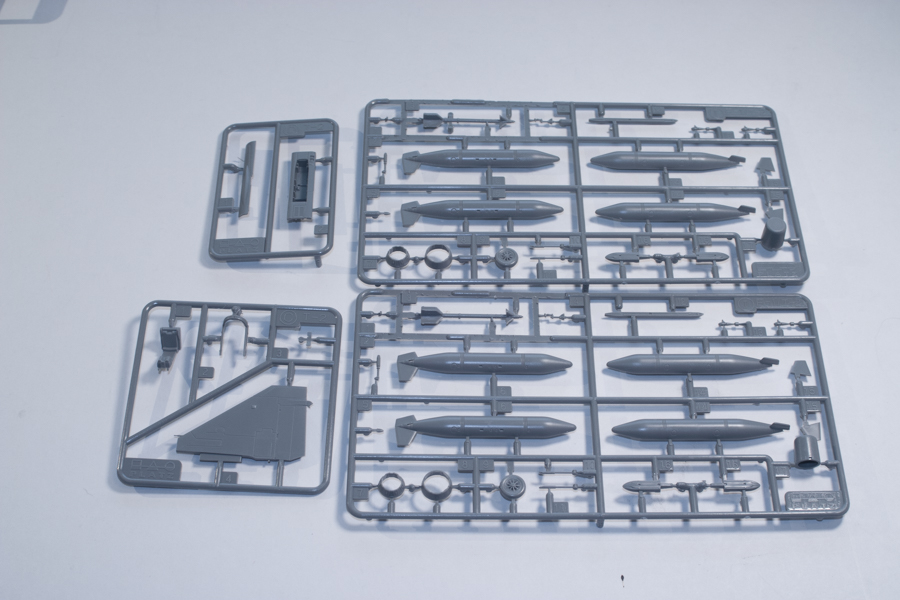
According to Wikipedia an "Early Type" Mitsubishi T-2 differed from the "Late Type" in that the early type was unarmed. While there are missiles that come with this kit (since the plastic allows you to build both versions) those are grayed out (not used) with this release of the kit.
The Mitsubishi T-2 came to fruition because of a need the Japan Air Self Defense Force (JASDF) needed a supersonic trainer. It was rolled out in 1971 and served until 2006. There were 90 T-2s built, broken out into 28 "early types" and 62 "late types".
The Kit
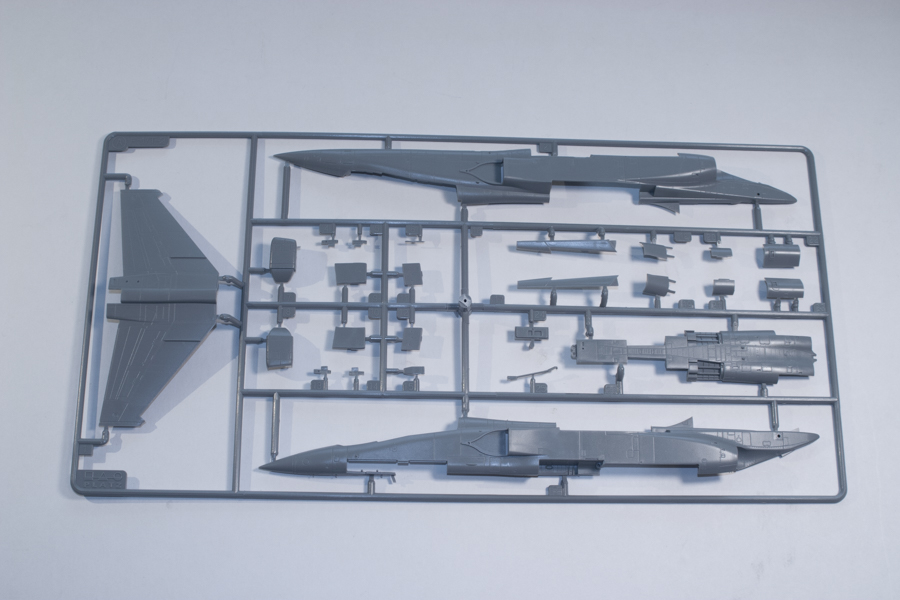
The Platz 1/72 Mitsubishi T-2 "Early Type" is quite the complex kit. It won't necessarily be difficult to assemble there's just a lot to it and you need to pay very close attention to the instructions. For example you do have to drill holes for the drop tank pylons, if you so decide to mount those. Plus you need to drill holes for the clear landing/formation lights in the wings' undersides and cut the slots for the underside strakes at the rear of the fuselage. Just a lot to the instructions you need to pay close attention to. My suggestion is to go through the instructions and actually accomplish all the cutting/drilling, etc. first, prior to assembly. That way you're sure you haven't missed one of these important steps. (Another option could be to use a highlighter and mark these areas in the instructions so again, you don't miss anything prior to gluing parts together at which point it's too late.)
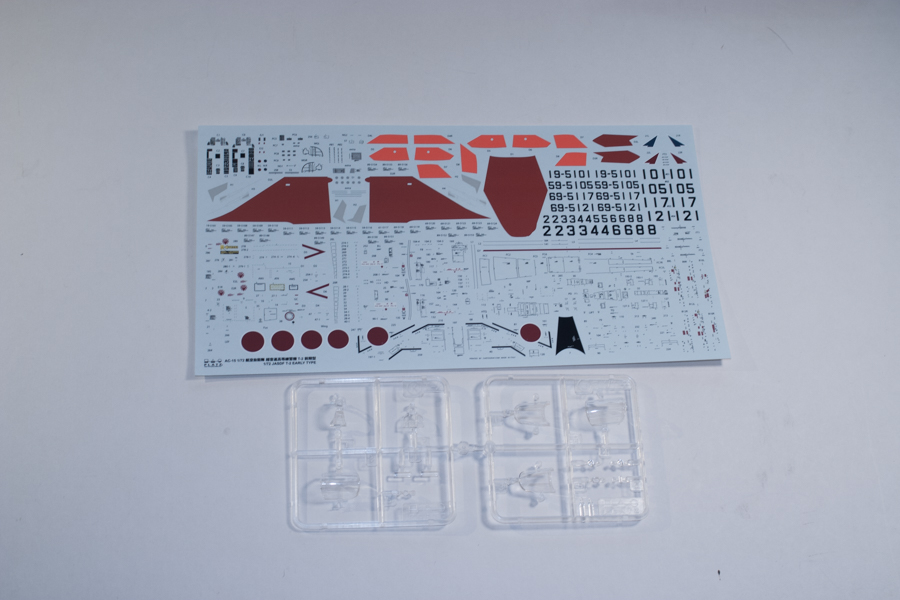
As I mentioned it is a complex kit with 105 parts used (there are more parts on the sprue that you don't use, since the plastic covers both versions) for the main aircraft and 6 clear pieces. The decal sheet, printed by Cartograf so you can be assured of their high quality, appears to cover all 28 "early types" that I mentioned in the Introduction. Yes, there are decals to build twenty-eight different aircraft on the decal sheet. Granted, there are only enough stencils and common markings for one model but to have that many actual aircraft covered is phenomenal. This is one model where having photographs of the aircraft you want to model at hand is a necessary thing. And adding the decals will take some time since the sheet contains all stencils. Just study the instructions and take your time.
The first four steps of the instructions deal with the cockpit and the intakes/splitter plates. There are a lot of pieces for the cockpit and out of the box it looks wonderful. The only things missing are seat belts but if you pick up the separate photoetch set for the kit that will be taken care of. Once all this is assembled then construction moves to adding items in and on the fuselage halves and gluing those halves together. Once that is all taken care of then the assembly is flipped over and the underside pieces are added. I've read the fit of this kit is exceptional so it sounds like there will be minimal putty needed.
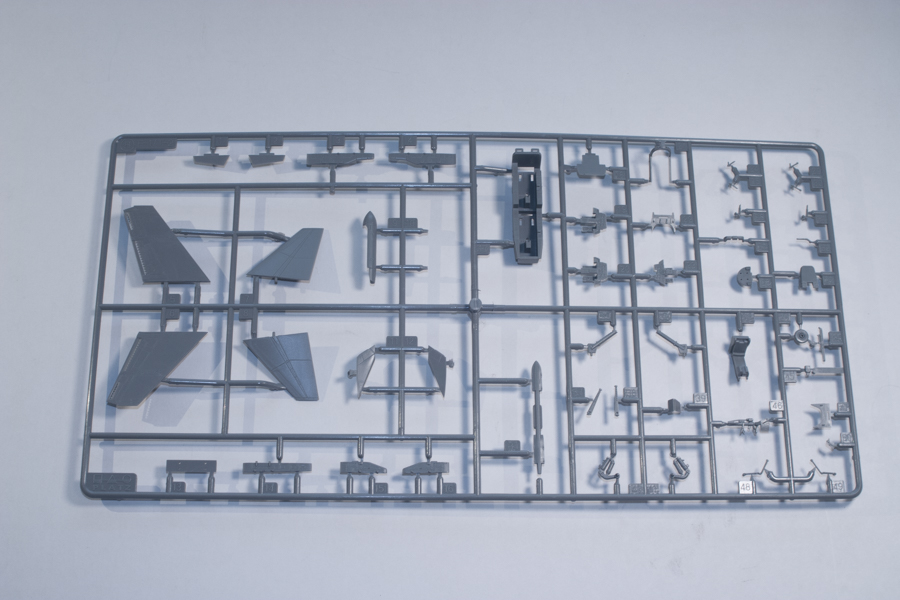
Now that the fuselage underside has been taken care of (and you did remember to cut/drill out all the holes needed, correct?) it's time to turn the model over and work on the top. This is where you attach the underside wing parts to the top piece and glue it to the fuselage. You'll also add the horizontal and vertical tail surfaces along with another of external pieces. You'll also need to make a decision if you want the canopies open or closed. If closing them you'll need to remove the small "pip" on the canopy rail so the canopy sill sits flush. If leaving open then stuff the cockpit prior to painting.
The next set of instruction steps have you turn the model over yet again and add the strakes, speed brakes, and leading-edge slats and shoulder pieces to the wing. There are also more decisions to be made: the slats can be positioned and the speed brakes can be positioned opened or closed. To be honest I would leave off the exhausts until the end so not only can you easily spray them separately but also to have somewhere to hold the model while painting.
Once painting is done then the next steps have you finish the model by adding the landing gear, wheels and doors and finally the pylons and fuel tanks (which could be in any of three positions and number).
Conclusion
This is an excellent example of the Mitsubishi T-2 "Early Type" in 1/72 and while there are plenty of parts it shouldn't take very long to assemble. One thing you want to figure out before you start construction, though, are what options you want included in your model: open/closed canopy, open/closed speed brakes and how to position the leading-edge slats. In addition you'll need to decide if you want to add the pylons and/or the external fuel tanks. But once those decisions are made and the model built you'll have an excellent example of the T-2.
Many thanks to Platz for sending the review model.