
Prop & Jet 1/72 Lavochkin La-152
By Matt Bittner
Introduction
When the Lavochkin La-150's production was halted, the La-152 was developed by moving the engine more towards the front, enlarging the cockpit and moving it over the wing, plus involved the addition of three fuel tanks for a total capacity of 1400 pounds of fuel.
First flight for the La-152 was 5 Dec 1946 but it only flew eight times, crashing on the eigth flight due to the engine failing.
The Kit
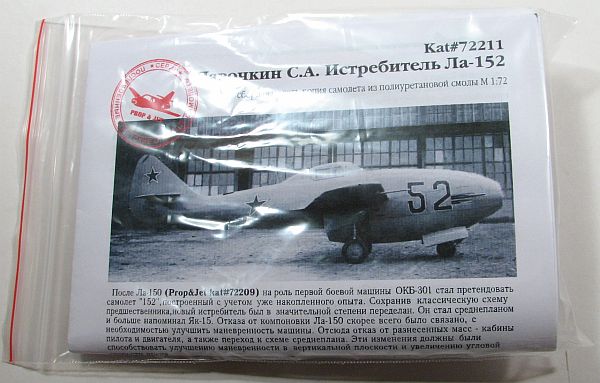
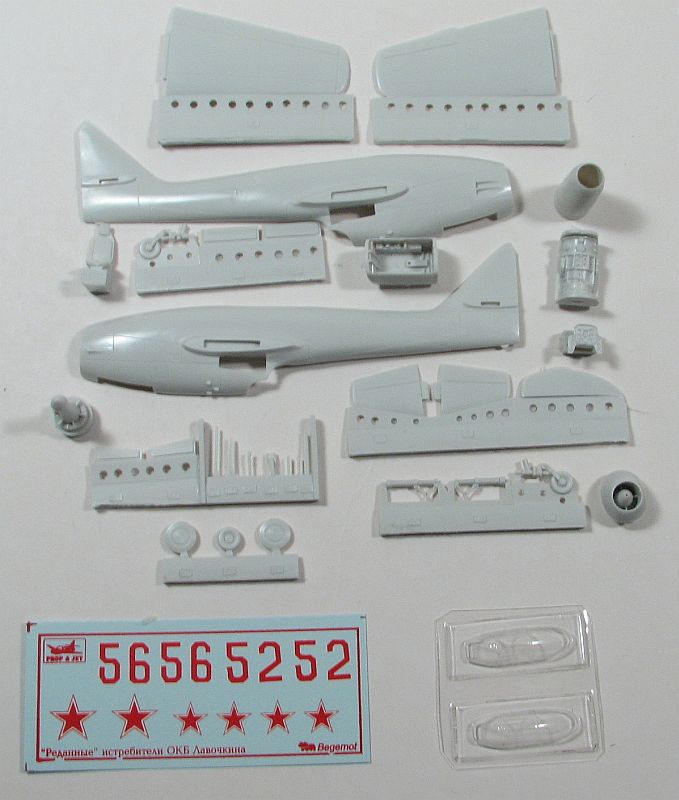
The Prop & Jet 1/72 Lavochkin La-152 consists of 31 pieces of gray resin and two vacuformed canopies, one considered a spare in case cutting one from its sheet should prove problematic. There are decals for the only flying example, "Red 52" (although this and Prop & Jet's La-156 shares the same decal sheet). Decals appear nicely printed and in register.
Once all the interior pieces are glued in, then the fuselage halves can be brought together. You'll want to take your time with this step to be sure you have the halves lined up with no steps on the seams. Once the fuselage halves are together, then you can add the jet intake.
The next step of the instruction sheet is where you make the aircraft look "complete" with the addition of both wings, both horizontal tail piecs, and the separate rudder. While the next step has you add the landing gear and gear doors, I would wait until after painting and decaling for this step. However, if you plan on showing the model with a closed canopy, then add the pilot's seat and control stick, and glue on the canopy, after masking.
Conclusion
This is another excellent kit from Prop & Jet. With the high level of detail found in Prop & Jet kits, the only thing truly needed is the addition of some type of seat belts, and you have an excellent rendition of these early Lavochkin jets.
Many, many thanks to Prop & Jet for supplying the La-152 to review. It's one of the best resin kits currently on the market.