Introduction
The Reggiane Re 2005 was an Italian design that was too late to make much difference in the defense against Germany. Primarily used for the defense of Rome, Naples and Sicily after the armistice with Germany, it was considered one of the most aesthetic aircraft of the war, even with its structural weakness in the rear fuselage.
The Kit
|
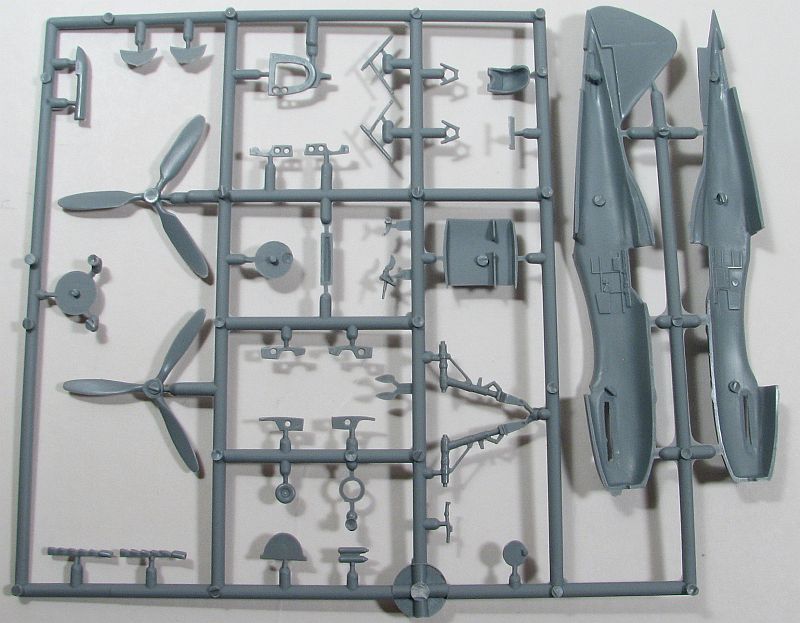
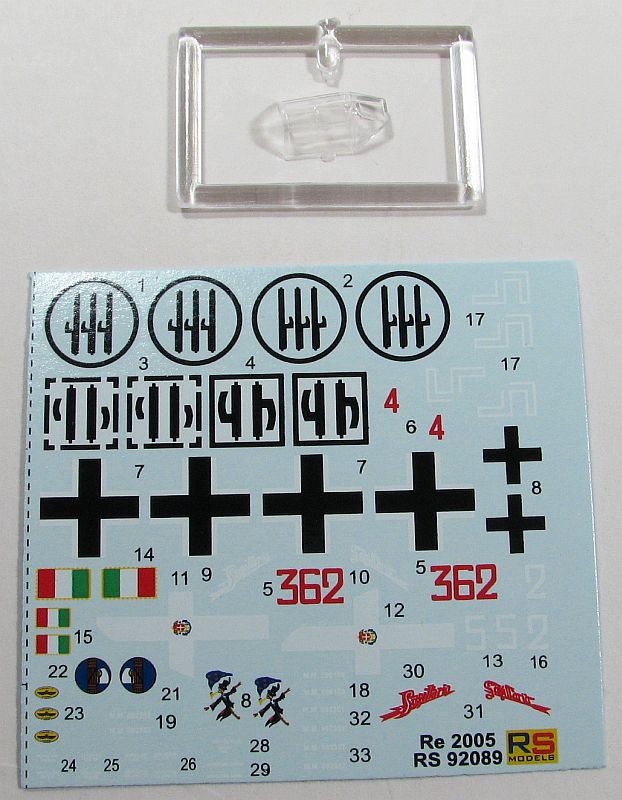
The RS Models 1/72 Reggiane Re 2005 consists of 58 pieces of dark gray injected plastic, one injected canopy (windscreen and sliding portion as one piece) and decals for 4 schemes:
- 362a Sq., Capua, October, 1943, "White 2"
- 362a Sq., Capua, October, 1943, "White 5"
- Luftdienst Kommando Italien, Maniago, February, 1944
- Aeromautica Mazionale Repubblicana, Bresso, March, 1944
All aircraft have green topsides with grey unders, while the German machine has yellow wing tips.
|
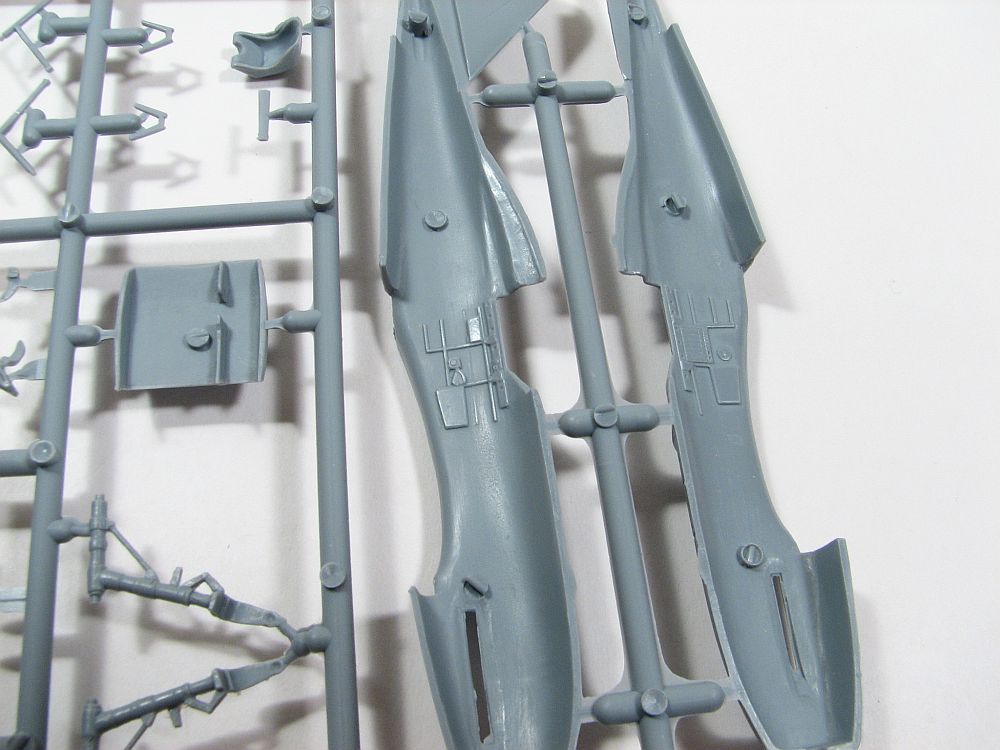
The first step in the instructions have you mount the exhausts; the fit is tight enough that you could wait until the end to add these, which is what I'm planning. The next steps in the instructions deal with the cockpit, and out of the box it's pretty decent, the only thing really missing are seat belts. There is a separate gun sight (to which you mount your own scratchbuilt, clear reflector) to add to the instrument panel, and it's important to realize this is not centered on the instrument panel, being mounted just to starboard of center. For the rest of the cockpit, you add the control stick, rudder bar and seat to the cockpit floor. One bit of advice. Wait until the fuselage halves are assembled together before gluing the cockpit in. It works better to put the cockpit in through the wing cut-out via the underside of the fuselage. This includes the separate bulkhead that sits behind the pilot.
One item you will need to glue to one fuselage half prior to gluing the halves together is the tail wheel. I haven't found a way to glue that in after the halves are together. Once that's in and the fuselage halves are together, then you can add the rear bulkhead behind the pilot followed by the instrument panel and then the cockpit. Next glue the horizontal tail pieces on, assuring they're mounted 90 degrees to the rudder/fin but leave the tail wheel doors off until close to the end. Now your attention turns toward the wing.
|
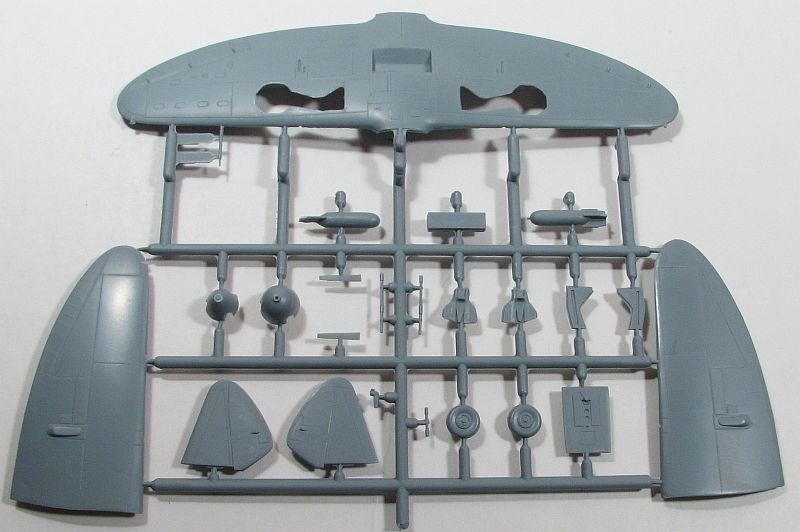
There are separate pieces to represent "ribs" that are added to the landing gear well, which makes this area look really nice. Be sure to dry fit these before gluing, though. Once all pieces are in, then you can glue the upper wing panels to the one-piece lower wing. It is in this step that you'll also glue the completed wing to the fuselage, along with the port-fuselage air scoop. Again, while the instructions have you glue the prop and spinner on at this point as well, those are better left off until the end.
|
The final instruction steps have you build the landing gear and glue them on but are better left until the final stages of construction. The one item that should go on at this stage, though, is the built-up, underside radiator.
Conclusion
This is an excellent model of the best-looking (to me, anyway) Italian WW2 fighter. RS Models has done a wonderful job recreating the Re 2005 in 1/72.
My thanks to RS Models for the review kit.