
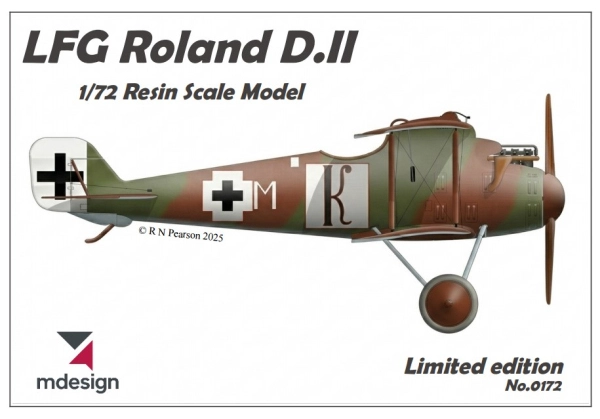
MDesign Scale Models Studio 1/72 LFG Roland D.II
By Matt Bittner
Introduction
I may be repeating myself, but the Luftfahrzeug Gesellschaft (LFG) Roland D.II was a very sleek design for the period. With Roland's Wickelrumpf (a molded two-piece shell composed of thin bands of veneer reinforced with fabric) fuselage, it created a very strong and pleasing-to-the-eye aircraft. While it appeared to be a good design for the time, actual performance was very poor. This was due in part to the engine (especially the D.IIa with the Argus engine) as well as the wing cellule. This was one reason why the aircraft was relegated to the Eastern Front. While it didn't last long in German Jastas, in Bulgaria it was the primary single-seat fighter. More information on Bulgaria's use of the type can be found in the Aeronaut Book The Bulgarian Hunters, written by the owner of mdesign.
The Kit
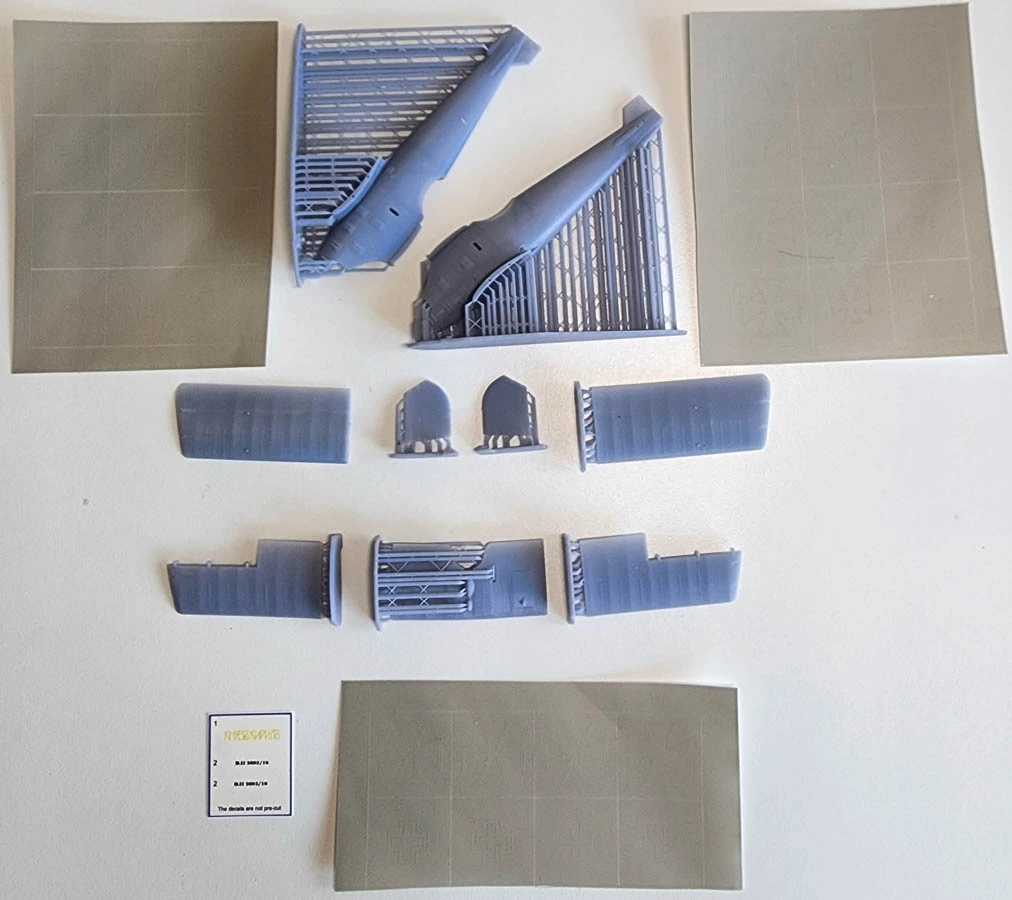
MDesign Scale Models Studio 1/72 LFG Roland D.II consists of 44 pieces of gray, 3D printed resin. Overall the resin is extremely well printed; however, there are slight print lines on the fuselage halves. I firmly believe, though, these are so faint that a coat of primer and the final colors will be all that is needed to eliminate them. Yes, overall this is one of the best 3D prints I have seen. There are markings for two Bulgarian and one German Roland D.IIs:
- Roland D.II, Gerhard Fieseler's Jasta 25 machine, speculative, marked with a red "F" on the fuselage
- Roland D.II, 1st Airplane Detachment, Levunovo Airfield, 1918, marked with a black "K" on a white background, on the fuselage
- Roland D.II '2895' 'Prince Kyril' intended for the defense of Sofia
All aircraft are finished in red brown and dark green upper camouflage, while the underside was finished in a light blue. The only decals in this kit are for '2895' and consists of the aircraft serial and lettering for the side of the fuselage. All other markings and personal markings are provided for by vinyl masks. If masking is not for you, then you might want to track down decals to replace all the national markings. All colors are called out with Gunze numbers so if this is not your paint of choice, then replace them with what you use; I will try to find Vallejo and/or Mister Kit alternatives. There are no instructions in the box, instead the manufacturer has a QR code that directs you to a PDF download in which the instructions are very detailed and straight forward. They also contain a concise history of the aircraft.
 |
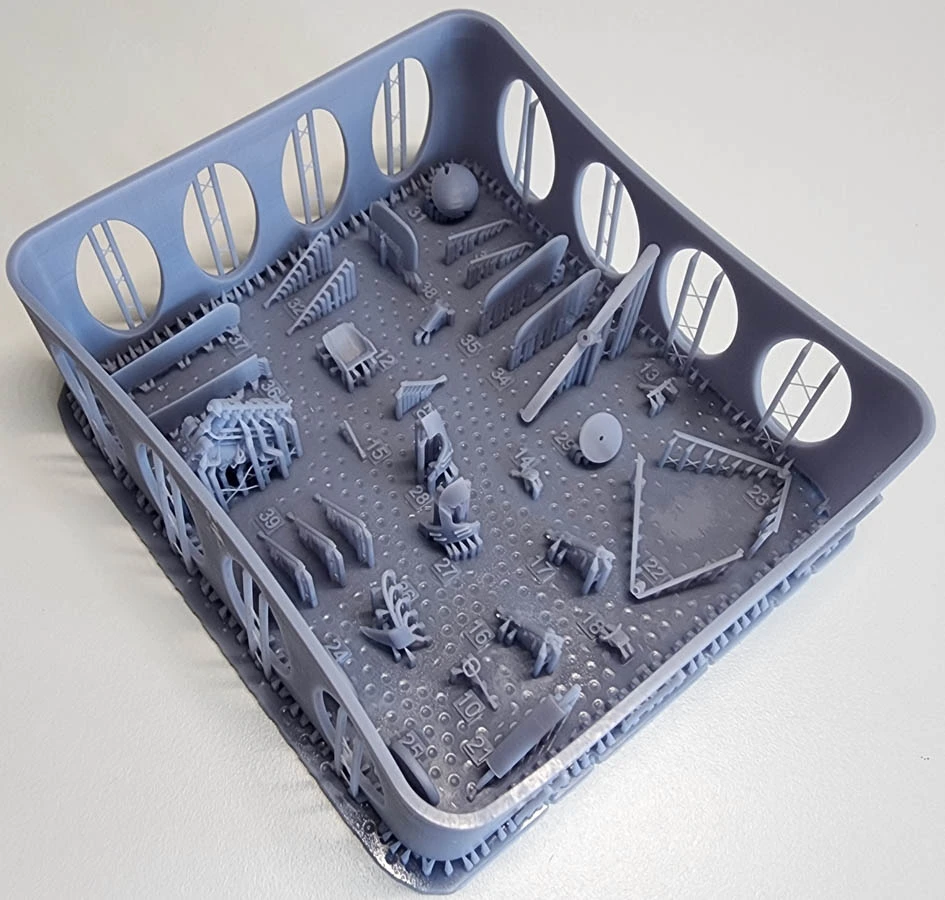
Needless to say, but I will type it anyway, be extra careful when removing the parts from their supports, especially the smaller pieces. This is because they are molded too-scale and are at a risk of breaking if removal is too careless. Also worth pointing out is because the 3D design was initially done for the larger scales, mdesign includes "holes" running through the wings so metal support rods can be inserted to keep the wings straight and true. These holes are still in the 1/72 prints but because of the size of the print aren't needed and aren't hollow through the wings. But this does mean that the insert points at the wing tips are still there and need to be filled. One thing I will still do is use metal rods to fix the wings to their mounting points as these holes are clear in the print and enable the insertion of metal rods. What will need to be done, though, is to drill out the holes in the wings' roots as some of these are filled in. Their location is obvious, though, so that part isn't difficult and how long the rods you use, is only based on how much drilling you want to carefully accomplish on the wing parts' roots.
Another excellent piece of printing with this kit are all control surfaces are separate and the non-moveable sections contain hinge points. So definitely be careful during parts removal, construction and painting so these aren't broken off.
After the cockpit pieces are removed from their supports, and like 9/10ths of all aircraft models, construction begins in the cockpit. The instructions list a Gunze gray for some of the metal parts (others in aluminum and "metallic steel", like the guns) and a wood color for the fuselage sides, small instrument "panels" (but the "dials" finished as - well - instrument dials), and floor. The seat is to be finished in a "leather" color. The floor and all cockpit structure is in the print so there is no need to worry about adding this structure. Separate parts consist of the seat, pump, guns, fuel tank, rudder pedals, and two, small instrument "panels". Also included is a full Mercedes engine that is superbly printed. The guns have excellent detail on the gun-butts, which is all that will be seen because they are embedded inside the cockpit. Once the cockpit and all its parts are painted and glued in; the engine painted and glued in; and the tail skid also glued into one fuselage half, then both fuselage halves can be glued together.
 |
Construction continues with adding the horizontal tail pieces and the altimeter to the central "hump" the upper wing is attached to. The next step has you add the lower wings and the separate stabs. While the next construction step has you add the horizontal tail struts, I would leave those off until after painting, since the aircraft was finished in a camouflage pattern. In addition, while this step also has you add the rudder, I too would wait until after painting. This is because two of the schemes have white rudders, but more importantly it will be easier using the masks if the rudder is left off the model.
The nose pieces are then added (which makes sense, if mdesign decides to model the Roland D.IIa as well) along with the exhaust; however, I would definitely leave that off until the end. In addition, while the next steps have you add the landing gear struts, wheels, spinner and propeller, those, too, should be left off until after painting.
The next steps have you add the upper wing, which is in three pieces. In an interesting way of construction, first you glue on the rudder control rods followed by the center section of the wing, as well as the interplane struts. Then you add the outer wing sections to the center section and interplane struts. This will definitely make masking and painting "interesting" but I can see it make sense of the fit is there with no gaps. This way you can paint each section separately then use the supplied national markings' masks. But, to get a continuation of the color stretching from the outer to the center section, I can see dry-fitting the wing pieces together - with the added metal rod, of course - and then paint, then remove the outer sections to apply the masks and paint the markings. It will be very interesting to see how this all works. Also keep in mind the ailerons are separate so these need to be factored into the mix as well.
 |
One piece mdesign doesn't include is the pipe leading from the upper wing radiator down to the engine; that will need to be scratch built.
Conclusion
This is an excellent, quite superbly printed rendition of the LFG Roland D.II and by far the best kit of the subject ever made. I have built the Pegasus model and it was a typical short-run, injected kit of the 1990s and needed lots of "love". But no longer will there be the need for that type of "struggle" again as the mdesign kit is truly a work of art.
If you may be wondering "why the Roland D.II and not 'x', 'y' or 'z'", I wondered the same thing but mdesign's reasoning is sound. He's Bulgarian and plans on releasing WWI kits that flew in Bulgaria that have no current, modern example. I am definitely grateful for this reasoning and for the 1/72 Roland D.II. Of course, if you would rather finish the kit as one that flew in Germany for a typical German Jasta, there's nothing stopping you aside from finding markings. And since most Roland D.IIs were pretty plain, that should be easy. A future release by mdesign in 1/72 will be the Roland D.III.
I am definitely looking forward to working on this kit and a huge "thank you" goes to MDesign Scale Models Studio for sending the review kit.