Revell 1/32 F-16CBy Juho Ala-Jaaski | 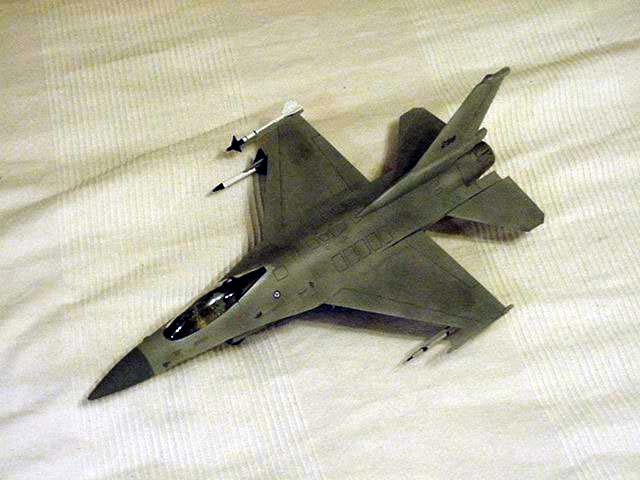 |
History
The F-16 was developed in the 1970s to meet the USAF's requirement for a light weight air-defence fighter. It introduced a new type of flight controls: the Fly-By-Wire electronic outfit.
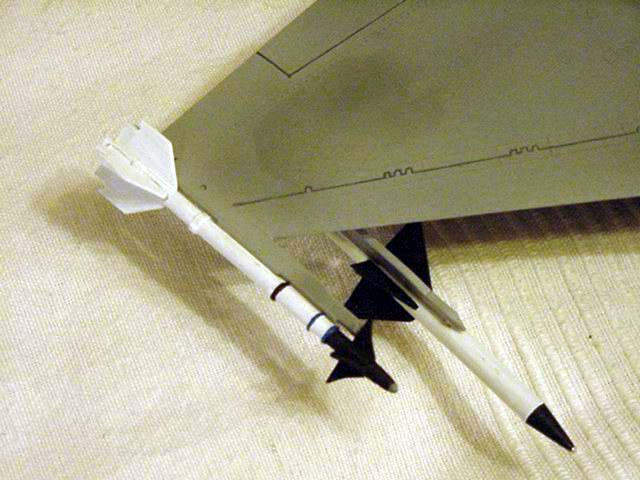
Capable of carrying a vast load of ordnance from the radar-guided AMRAAM missile to the ordinary 'dumb-bomb', the F-16 has been used for many different roles, the most notable being itís actions in Kosovo and the Persian Gulf.
The F-16 is used by many nations around the world including the US, Norway, Belgium, Netherlands and Israel. It has also worn many commemorative schemes over the years, thus making it a very interesting subject to model. Myself, I have quite a large collection on F-16s in all scales all sporting a different scheme.
The Kit
 |
 |
 |
 |
 |
 |
 |
 |
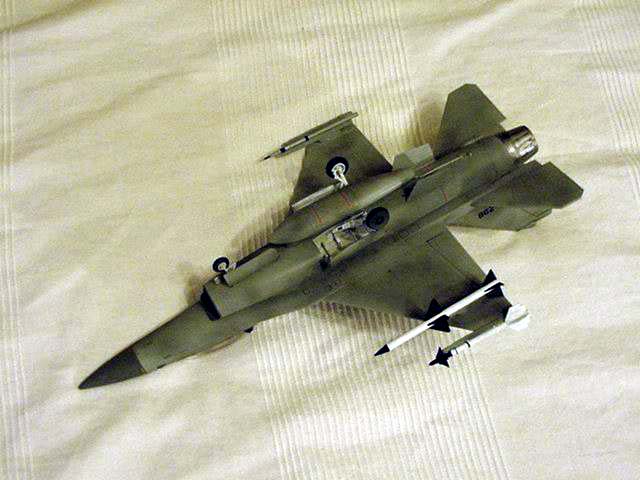
The Revell kit dates back to the '70s and it shows. Details are rough and flash is evident. Some access panels have recessed outlines, while most of the panel lines are raised. The ejection seat is new, along with the weapons which I believe were re-made in the '90s to bring the kit more up-to-date. Still, it's a rather crude kit. It's molded in light grey plastic with soft details. Clear parts are included for the formation and navigation lights, one piece bubble canopy and the HUD.
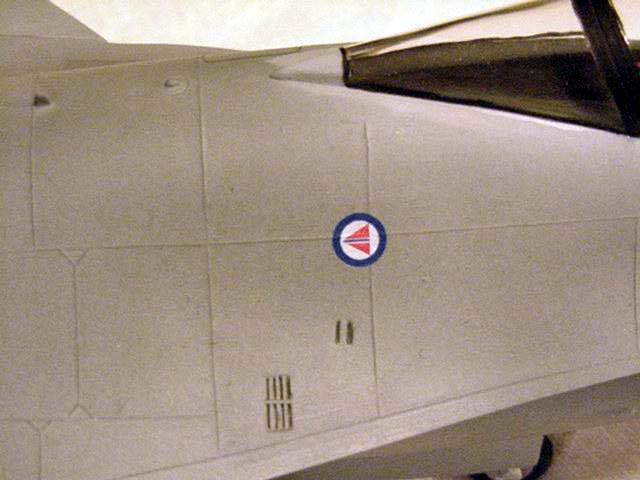
Decals are included for two aircraft both in High-vis US markings. Sadly, the decals were printed out-of-register so I decided to do something about it - I built the kit in Norwegian markings.
Actually, the model is only about 90% correct for a Norwegian aircraft as the base of the fin is that of a C-model when all Norwegian aircraft are either A, or B-models. I made a compromise at this and decided to add the brake-chute fairing to the fin to make the model look somewhat like an AMRAAM capable Norwegian F-16.
The Cockpit
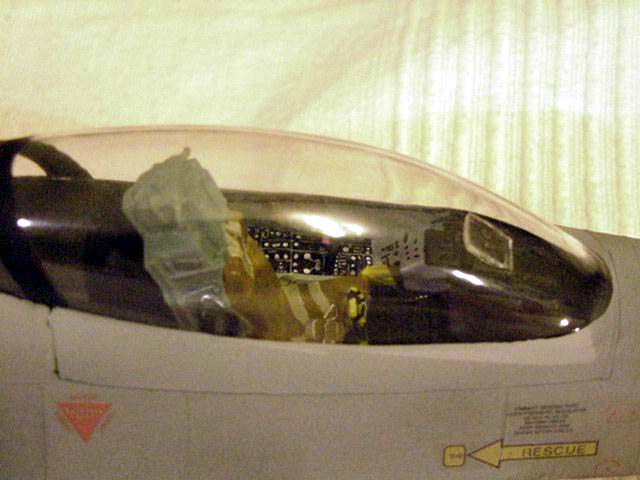
The cockpit only has basic details, including the renewed ejection seat and consoles with raised details, decals for the screens and consoles, clear part for the HUD and the pilots joystick on the right console. No throttle controls are included.
I corrected the cockpit rear-wall by cutting off the locating tab and making the wall sit flush with the side console's backs. Everything fit well here. The ejection seat has all the details in the right places. I painted it dark grey with yellow/black ejetion handels, OD cushions and buff belts.
The cockpit was painted light ghost grey with black/white instruments and used the decals for the screens on the instrument panel. The back of the cockpit under the canopy was painted black, along with the instrument panel coaming and the HUD sides.
The Main Parts
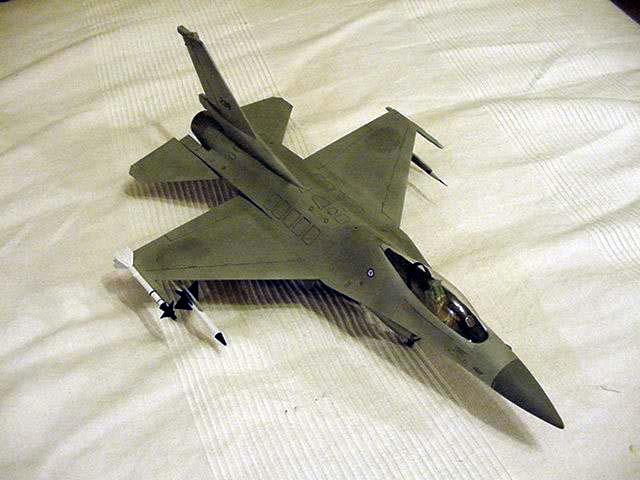
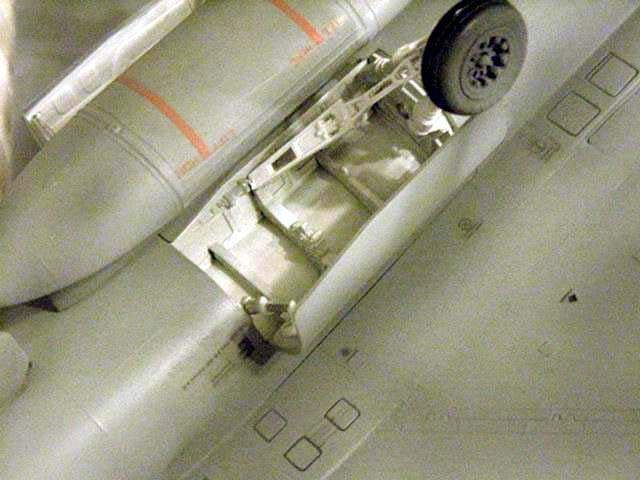
After the cockpit was done it was time to make the large intake under the nose. There's no duct inside allowing you a clear view into the model. I hate this as even the Revell 1/72 kit has one included and it dates back to about the same time as this kit. Fit of the intake was terrible along with all the other major components. Especially the wing/fuselage joint was a pain to fill and sand. All the seams were filled with CA, sanded and painted silver to make flaws stand out. I had to repeat this three times until I was able to get a good, smooth joint. The fin to fuselage joint also caused me a lot of problems. I had to use extensive amounts of CA and accelerator to get the part to fit. The Norwegian brake-chute fairing was added to the base of the fin from sheet styrene, with styrene bits for details.
I also modified the Vulcan cannon muzzle to represent that found on Norwegian aircraft.
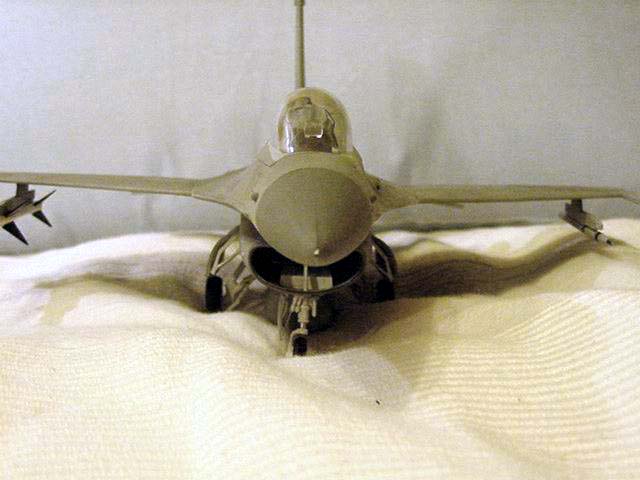
At this stage, before installing the nose radar cover, which I had scribed new lines onto, was filled with lead BBs, along with the area in front of the cockpit to keep this baby on its landing gear.
Separate parts are included for an optional open exhaust nozzle, but these parts are marred with ejector pin marks so I opted for the closed nozzle instead. I made details more prominent on this part by scribing new lines on the parts and making the joints more noticable. Also included are clear navigation and landing lights. Most of these parts had a bubble inside making them unusable. I might replace them later. Right now, they're not on the model.
Landing gear parts are molded with soft details and horrible mold separation lines. I had to cut them off with a new blade on my X-acto and then sand them smooth.
The wheel hubs seem wrong for Norwegian aircraft, but I just painted them black to make them look more like them. The landing gear wells are also marred by ejector marks which are extremely hard to sand out. Clear parts are provided for the landing lights on the gear legs which were painted silver from the back, then white with a clear lense. The gear doors are also marred by ejector marks which I sanded out. The door actuator arms were now installed and painted white with silver oleos along with landing gear and gear wells. Wires were picked out in black, along with the tyres and the wheel hubs.
Finishing
Bobby J. Kasza made me the decals for this aircraft. The only marking missing is a yellow/black flash on the fin. I might add it later on. The model was first sprayed overall with light grey. Then the decals were applied and the recessed panel lines shaded with a black wash.
Everything was then faded in with dark grey paint applied with an airbrush. The kit decals went on well, at least the stencils I used. Sadly, most of them were printed out-of-register.
Conclusion
I actually enjoyed building this model, despite the ill fit and poor decals. I was going to get a Black Box cockpit set for this kit but it didn't seem appropriate for a model like this. The price was rather high too.
Thanks to Tieto-Nikkari, in Helsinki, Finland for the review sample! Check out their website


![]()


