Unicraft 1/72 Me-262 Turboby Allan Wanta | 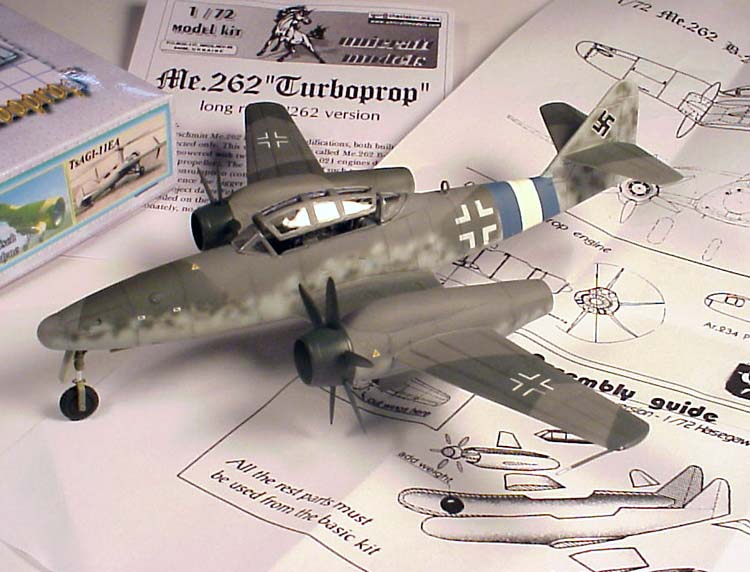 |
History
Well, this is another weird, but wonderful, non-historical aircraft that - under the right circumstances - might have actually been built. By late in the war, the Jumo 004 jet turbines demanded a lot of attention as well as fuel,. Both of which were in short supply in 1944-45. In an attempt to increase flying time, Daimler-Benz was working on the design of a turbo-prop engine. Unfortunately, special metals and materials for the engine were nonexistent and the design only flew in the dreams of the engineers.
The kit
 What you get is a small colorful box and a number of tan resin parts with one clear vacuform canopy. Despite improvements in Unicrafts' recent kits, this is one of the earlier projects and will be slightly more difficult to build.
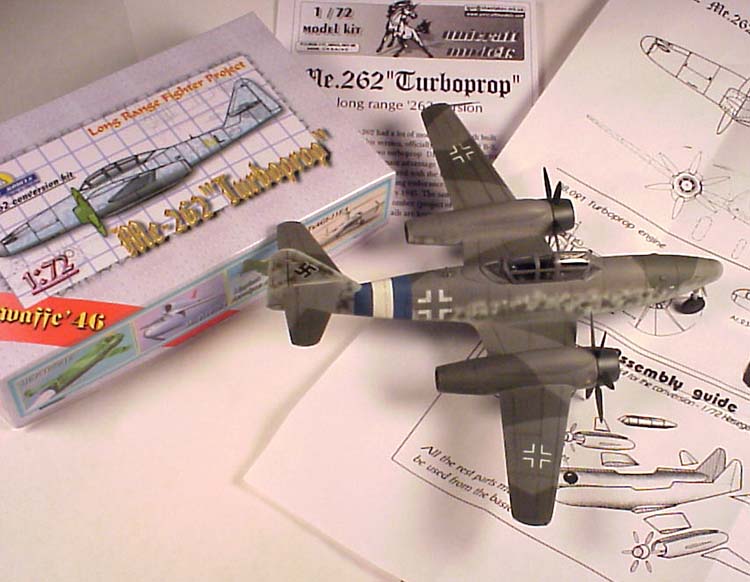
First off grab a donor kit, you'll need a number of parts from this kit to complete this conversion. The best kit in 1/72nd scale has to be the Revell kit. And since this is a two-seater conversion, best to use the Me-262B version of the kit. Find some time to sand the resin fuselage parts in order to accept the Revell interior. While acceptable detail is in the Revell kit, I opted for the new CMK Me-262B interior. It doesn't take a whole lot of work to fit the interior, but be careful not to sand through the sides.
 By looking at the fuselage, it seems the original was a Matchbox or a Frog kit, so a bit of fiddling will be needed to fit the main wing to the body. All in all the main parts, when following the directions, came together very nicely. For some reason the tail section is a separate piece and will need dry fitting and blending with putty to give an acceptable appearance.
The wing must be cut into three pieces after the tops and bottom are glued together, don't be worried, this is the easiest part of the kit. Mind the dihedral of the outer wing panels, making a simple jig ensures they are both alike. In addition to the wings, go ahead and put in the nose wheel well from the Revell kit; in the end it will simplify matters as to how to mount the nose gear. Save a bit of room up front for a copious amount of lead shot to keep this baby from being a tail sitter.
"Now for the hard parts"
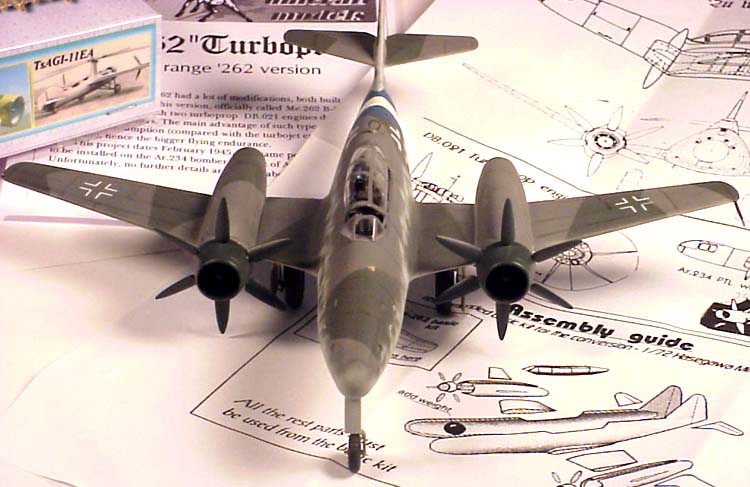
 The two piece turbo units are pretty simple, two sides to glue together, sand and let dry. The propellers are daunting. Six individual blades per unit six small blades, and the propeller hub/intake is a three-piece affair. After debating building both hubs, I opted to make one, chuck it in a Dremel tool and sanded it round and smooth. From here a latex rubber mold was made and copies made out of resin. This was the best way to ensure both propeller hubs are identical and the right shape. At this time small holes are drilled in the hubs for the propeller blades to sit in, they must correspond to the detail on the interior of the hub. Once fitted with blades, both hubs are painted RLM 70 as I suspect the blades and hub would have been metal. Well, that was the hard part!
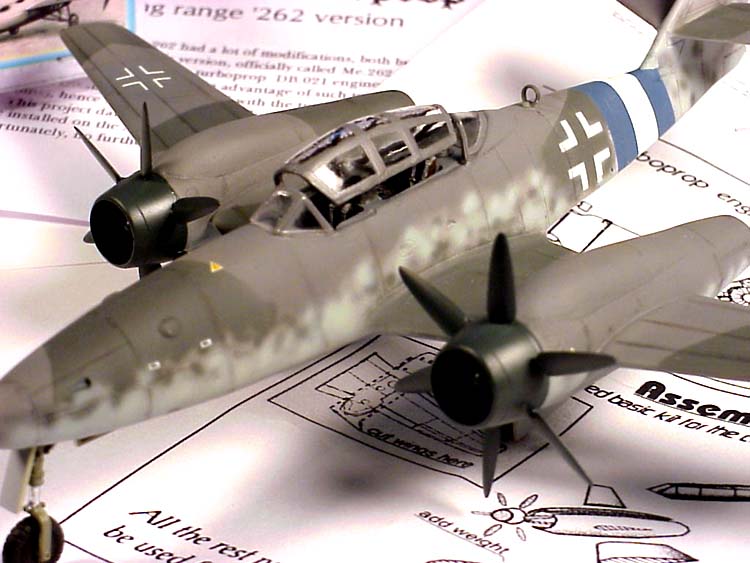
 With the wings fixed and the tail section completed, it was looking pretty rakish! The conversion allows for the extended fuselage that was supposed to contain extra fuel tanks in the real thing, A canopy is included, but it lacks details for easy masking. I ended up cutting it in the open position, as it did not sit well enough in the opening for my taste, this was due to a bit too much elbow grease with the sanding.

Making the rest of the Revell parts is a breeze, and since most of the parts fit to the donor kit parts, no sweat! Oh, did I forget to say to put a lot of ballast in the nose?
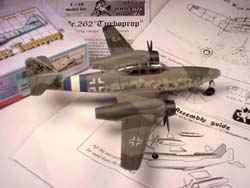
Paint it anything you want, mine was 74/75/76 "just because". And the decals are Eduard paint masks. I do hope they continue to make those masks in more styles and sizes as they save a lot of time and look super. A generous overcoat of Future wax covers the entire kit to seal the paints and cut down any irregular paint surfaces. My last little bits such as the landing gear and other sundries are put on last, but that's just my preference.
 Conclusion

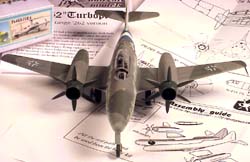
Now, stand back and take a long concerted look at the finished model. Hmmm! Doesn't look like any Me-262 I've ever seen before. Looks cool! I'd suggest having completed a couple resin kits before attempting this one. But the Cool factor rates it as an 8 of 10, the Fun-O-Meter nearly pegs out at a 9 of 10. A very good little conversion that unfortunately is still hard to get, expect a waiting period as Igor in the Ukraine is busy making these by hand.


![]()


