Building Modelkrak's | 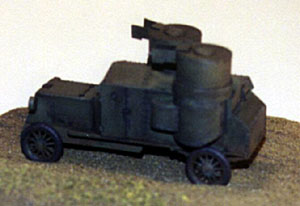 |
History
My primary reference - Armored Cars of Russian Army, 1906-1917 - is unfortunately 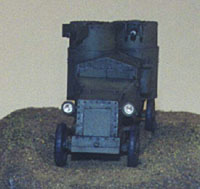 all in Cyrillic. Since I don't read Cyrillic - and I'm not sure how this book is broken up in terms of chapters - I am unsure of which section to have translated to provide a history of these cars. Be that as it may, I still feel this book is an extremely valuable - and only - resource on early Russian armored cars.
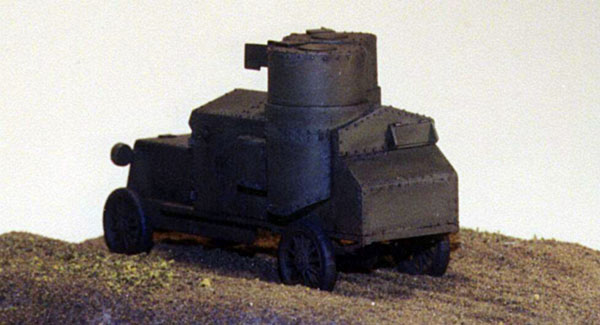
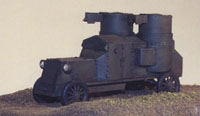
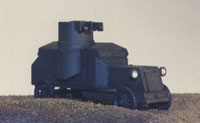
It appears that the Russian Austin was actually a very late-war, WW1 design, and it appears there werent a lot manufactured. There is one photo in the above-mentioned book, and three more images on the web site WAR IS OVER. An extremely elusive armored car.
The Kit
 The Modelkrak Russian Austin kit consists of approximately 29 resin pieces. I say approximately because it appears my kit is missing the drive shaft and contains a load of extras, like two extra wheels, four extra guns and six extra lights. Granted it's not a problem to scratchbuild the driveshaft, but something others should be aware of. The resin is exquisite and some of the best molded I have seen. I have found no airholes and the level of detail is outstanding. There are no decals supplied in the kit.
Construction
With most resin kits, construction starts with removing parts from their pour blocks. The most "difficult" removal being the chassis and body, since they're each attached to their own large pour block - on the underside for the body, and on the top for the chassis. If you're not removing the block with sandpaper and water, be sure to use a mask so you don't breathe the resin dust. Once in your lungs the dust never leaves.
 Once all pour blocks are removed, actual construction can begin with gluing the chassis onto the body. I used five-minute epoxy to glue these parts together so I had plenty of time to position these parts in the right location. Once the five-minute epoxy dried fully, I ran a thin bead of CA around the chassis-to-body joint.
Now I was ready to glue on the other parts and it didn't take long to get them all in place. I drilled holes into the body for the larger lights - drilled out to accept MV lenses - and added those after painting.
Since the kit did not include the drive shaft I fashioned one out of brass rod.
 Final Assembly and Painting
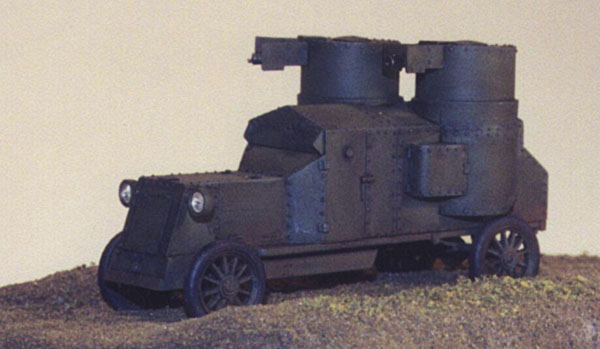
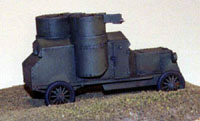
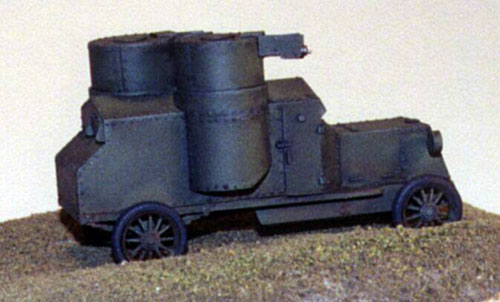
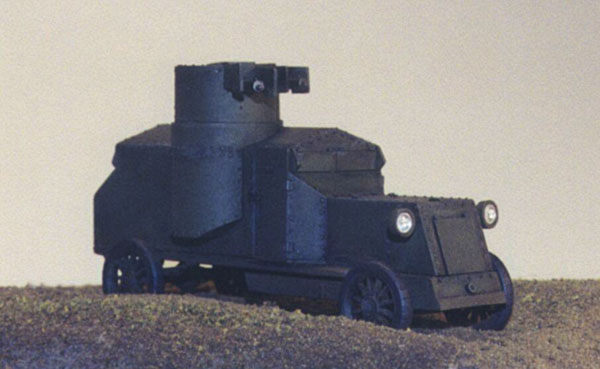
Now that all the parts were on I sprayed the model with Polly Scale's British Dark Slate Grey. This included spraying the wheels off of the model. Once it was dry I then painted the wheels an off black and started giving the whole model an oil wash. After the oil wash was finished I went back over and highlighted the raised parts with lightened paint then sprayed the model with Polly Scale's Flat. After the dull coat was dried I started weathering with pastel chalks following with a dusting of graphite powder onto some of the rivets and other edges.
The base consists of a layer of Celluclay directly on the wood base. With the Celluclay still wet I added some Woodland Scenics "earth turf" and pressed it into the Celluclay. I also added a little bit of greener turf to the top of the higher areas. Once it was all dry I then glued the car to the base.
 Conclusion
Just like the First Series Austin I built last month, the Russian Austin was an extremely enjoyable build. With the small amount of parts this kit has means a relatively quick build. I highly recommend these series of cars by Modelkrak.
References
Armored Cars of Russian Army, 1906-1917
The web site, WAR IS OVER by PGMonster


