Pavla's 1/72 Curtiss O-52 OwlBy Jim Schubert | 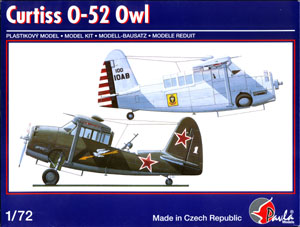 |
History
The Owl was another of those misbegotten designs of the 1930s when military planners were upgrading their ideas for fighting WWI with newer technology. The result was a pretty hefty observation plane with a 40-foot wingspan and 600HP, a fixed .30 inch machine gun synchronized to fire through the propeller and a similar gun flexibly mounted in the rear cockpit for the observer. In 1939 the USAAC Materiel Division ordered 203 Owls from Curtiss without testing a prototype. First flight was in early 1941 and first deliveries began later the same year. The pilots didn't much like it because it was too slow and ground forces didn't like the poor observation reports they got from Owl crews because it was too fast! In the 1940 Louisiana Maneuvers, held whilst the Owls were abuilding, the abilities of off-the-shelf Piper, Taylorcraft, Aeronca, Stinson and Interstate light planes flying low and slow were proven superior to the O-47 and its ilk for Army observation. As a result, when the Owls were delivered there was no mission for them. Some were sent overseas to US Forces before the war and may have seen combat service. Most were relegated to stateside training and station duties. About 20 were provided to the USSR under the Lend-lease program. Three survive: one in the US Air Force Museum, one in the Experimental Aircraft Association Museum and one in private hands.
 The Kit
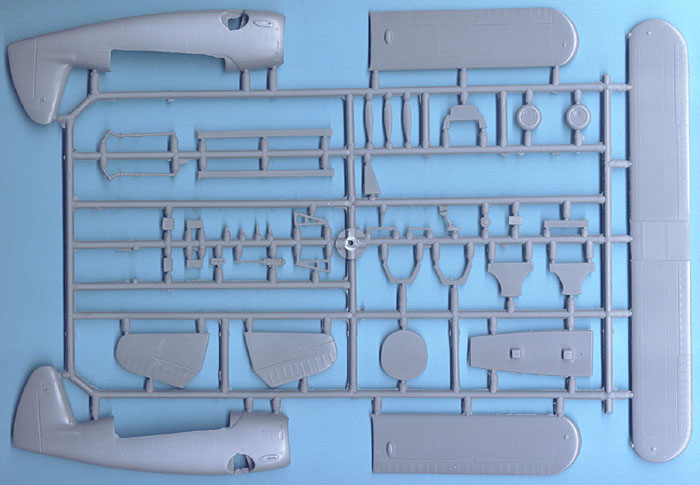
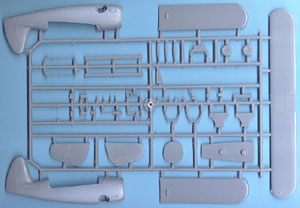
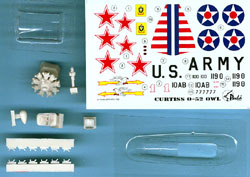
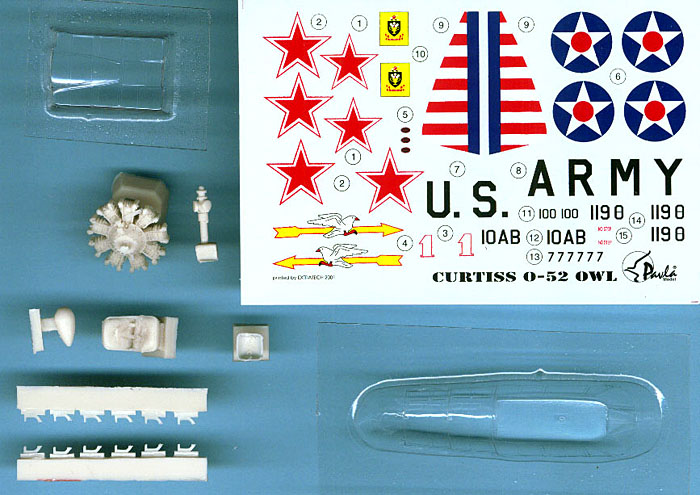
There are 40 injection molded gray styrene parts on one sprue tree, two vac-formed clear pieces one for the main canopy and the other for the wing top windows, 17 resin detail pieces and a decal sheet with markings for two USAAC planes, one in natural metal - the other in OD over Gray and one OD/Gray plane in Soviet markings. A 12-page instruction folder provides a history, a parts map, wordless assembly instructions and a colors/markings guide. An interesting element, new to me, in these instructions is what I would call a "Dumbbell Symbol", because it looks like a dumbbell. This symbol is labeled, "To make new". In the context of the assembly drawings in which it is used it clearly means you (the dumbbell?) must make the 66 parts so marked. These parts could all be called "Extra details" for the interior and the undercarriage; parts such as: rudder pedals, throttles and quadrant, 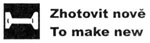 trim wheels, radio set, open camera bay doors, exhaust pipes, etc. For a dollar more on the manufacturer's cost - about three dollars more on the retail price - these parts could have been included in the kit. Build it without these "Dumbbell Parts" and you'll still have a fine model. Re reading these remarks it strikes me how spoiled we've become! Remember the Airfix, Revell and Heller kits of the early '60s? All we got for interior details then was a misshapen lump of a pilot and a peg upon which to perch him. But then it didn't really matter because the clear canopy parts were so distorted and clouded you couldn't see through them anyway.
The kit parts are well molded, with the exception of the main wheels, which have large sink marks in both sides of their hubs. The rudder hinge line on the right fuselage half and the left exhaust fairing are partially filled on the review sample. The resin P&W R-1340-51 engine is especially well executed. Lamentably, the seat belts molded onto the resin seats are very weak and will need to be replaced. You may also want to consider replacing the four part - three styrene blades and a resin hub - propeller with Aeroclub's part number PO26 white metal Curtiss Electric unit.
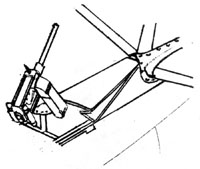 If you want to lower the rear deck as the silent instructions indicate, it won't work if you simply cut along the two lightly scribed hinge lines on either side of the rear deck. There should be a third hinge line on each side above the upper most line. The two lower panels on each side fold inward drawing the upper center of the rear deck down on top of them to give the observer a clear field for his gun or to simply see better. If you're going to collapse the rear deck I'd suggest you cut out the upper most piece and thin it considerably and replace the four inward folding side pieces with parts made from .010" styrene stock for a better scale effect. If you collapse the rear deck you must also then open the rear cockpit by cutting apart the two rear sections of the canopy and nest them inside the main section as though they had been slid forward. Do you wonder how the pilot got into the front cockpit? He had a top hinged door in the right side of the fuselage.
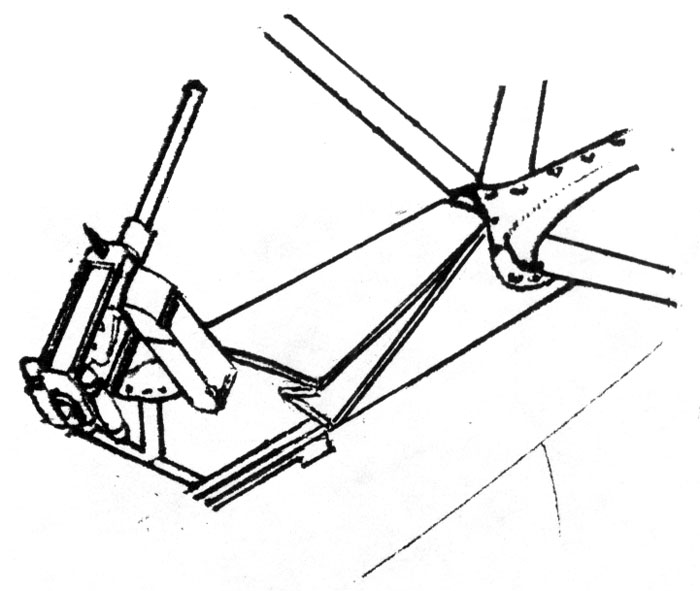
 The wing-to-fuselage assembly will be a bit tricky. The silent instructions direct you to cut away all of the upper wing-half center section except for the two spars. Upon assembly you must notch the spars-to-wing roots joints to introduce 3 degrees of dihedral and then glue the assembled wings to two structural uprights within the clear main canopy. To do this well I would suggest that you completely assemble and paint the fuselage and empennage as a unit. Do the same with the wing, sans the upper windows and then very carefully glue the wing assembly to the two structural uprights. When this is solidly set seal the main canopy to the underside of the wing gap with Elmer's white glue or equivalent. When this too is solidly set you can fit the clear parts to the top of the wing and complete final assembly. This wing/body/canopy/windows-in-the-roof joinery is going to be very tricky and you should think through it several times and make a lot of dry fit checks before you glue anything.
Conclusion
Out of the box this kit will build a very nice looking, accurate replica of a Curtiss O-52 Owl. You really ought, however, to make five exhaust pipes to insert in the empty fairings molded into the sides of the engine cowling. My AMSer's remarks aside this is a good kit. I especially like the looks of the natural metal plane with the old red, white and blue tail stripes. The cover of Wings magazine for April 1982 has a great color photo of a factory fresh natural metal Owl banking over an urban background on a bright sunny day. Airpower magazine for November 1987 has a black and white photo of the kit's natural metal plane in an article on Observation "O" and Liaison "L" airplanes. Again we must say "Thank you" to Pavla for issuing this good kit of a fairly obscure type.
References
-
Curtiss Aircraft 1907-1947: Peter M. Bowers, Putnam, London, 1979; ISBN 0-370-10029-8
-
Wings magazine: April 1982
-
Airpower magazine: November 1987


