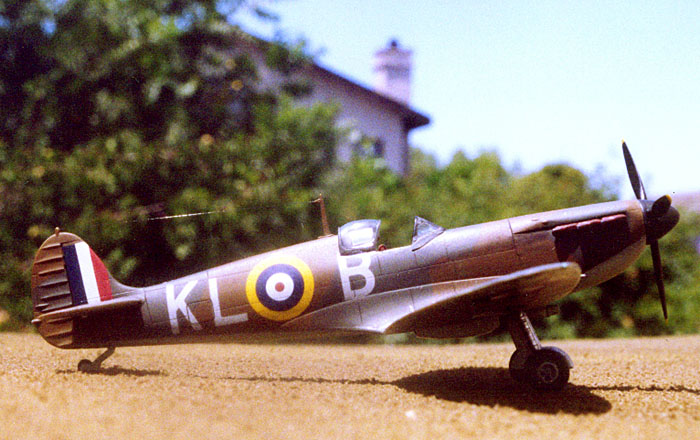
Building Alan Deeres Spitfire in 1/72By Chris Bucholtz | 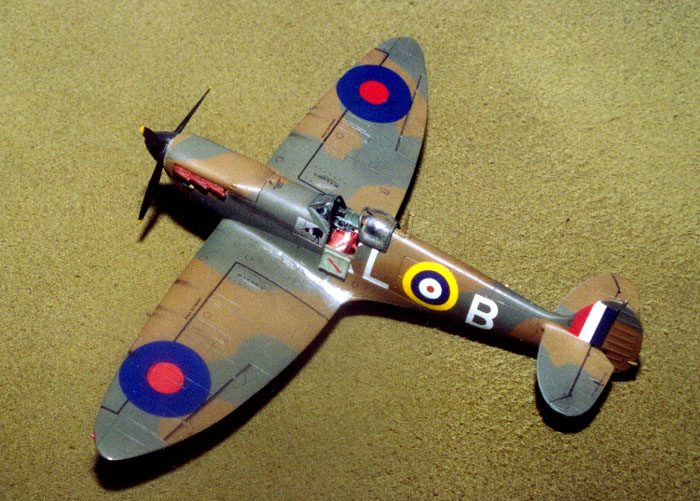 |
Overview
One of the most successful pilots of the brief but intense campaign over the Dunkirk beaches was Alan Deere. Deere, a New Zealander, shot down three Bf 109s and three Bf 110s between May 23 and May 29, including two Bf 109s dispatched during a daring rescue of the commanding officer of 74 Squadron on the airfield at Calais-Marck on May 23. During the Battle of Britain  Deere destroyed seven more enemy fighters and one bomber and was awarded a Bar to the DFC. His score at the end of the war stood at 22 confirmed, 10 probable and 18 damaged.
This success was not without its cost; Deere had his Spitfire shot out from under him nine times, including several times during 1940. One could safely say that the Spitfires that wore Deere's "Kiwi" personal marking were distinguished but not likely to last long!
On May 28, 1940, Deere was shot down in N3180 by the rear gunner of a Do 17 over Dunkirk. He crash landed on Nieuport Beach and had to hitchhike, bicycle and walk 15 miles back to the beach, returning as part of the evacuation amid British soldiers bitter because of the mistaken belief that the RAF was doing nothing to stop the Luftwaffe.
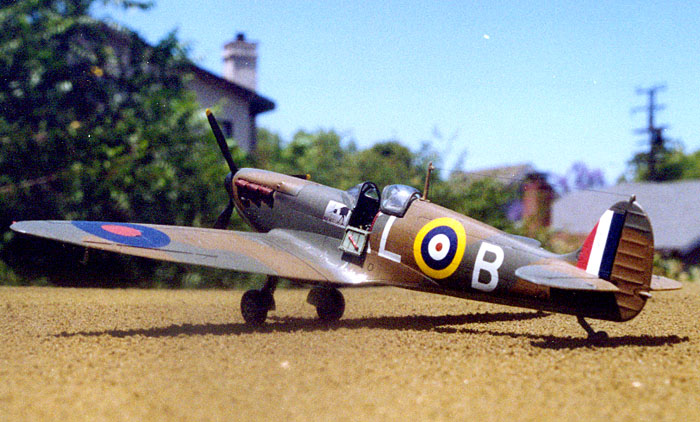
 The next "Kiwi" was N93183, which Deere used in the early stages of the Battle of Britain. This "Kiwi" was also not destined to last long; on July 9, 1940, it was shot down by Bf 109s of II/JG.51. its pilot in this action, Pilot Officer A. Evershed, was lost when the plane crashed into the sea near Dover. In the same combat, Deere, flying P9398, suffered a glancing head-on collision with a Bf 109 and was forced to crash-land his Spitfire near Manston. P9398 was repaired and put back into service, only to be shot down 22 days later with Sgt. Eley at the controls. The plane crashed into Folkes Harbour, killing the pilot.
The Build
I had wanted to do a Battle of Britain Spitfire in time for the 60th anniversary of that conflict. I had no Spitfires in my collection of built models, and the new Tamiya kit in 1/72 seemed to present an easy way of getting a state-of-the-art model of a Mk. I. Until this kit was released the best bet was the Airfix Mk. I, but that kit would have required re-scribing. Deere's aircraft was also a natural choice; it would play right into my strategy of building a collection of RAF 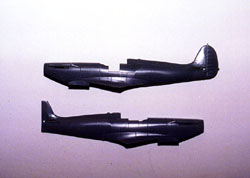 aircraft flown by Commonwealth and Allied pilots (I already have a Czech-flown Hurricane and a Coastal Command Royal Australian Air Force Beaufighter, as seen on the pages of Internet Modeler).
The Tamiya Spitfire has nice surface detail, a very decent cockpit and fits very nicely. However, it has some very major shape errors. With a few corrections, these can be overcome to result in a pleasing model.
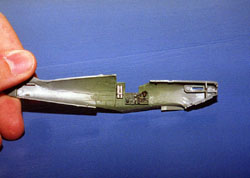
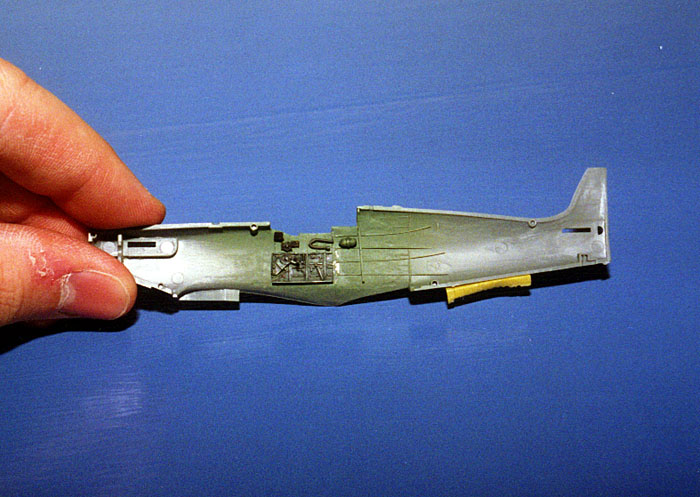
I started with the cockpit. While the kit's parts are nice, I had long wanted to use the Cooper Details Spitfire interior. This set is more complex than the typical tub-and-sidewall detail set most people are used to. The modeler will need to add stretched sprue formers above the resin parts, which provide detail for the lower half of the cockpit sidewalls, while many of the mechanisms in this area are provided as separate pieces.
 The set advertises itself as useful for all 1/72 Spitfires, but in reality it gives you a Mk. V cockpit "out of the box." Detail photos were helpful in figuring out how to tailor the set for the Mk. I; this mostly involved leaving out some equipment added to later aircraft.
I started by using a Dremel tool to remove the kit's cockpit detail and to thing the rather thick fuselage sides. With this accomplished, I cut away the portside cockpit access door, which would later be replaced by the Cooper Details part. The position for the stringers was marked out using the rear bulkhead and sidewalls and then thin stretched sprue was applied with superglue.
 All the resin detail parts were prepared by airbrushing them with Floquil grimy black. Testors Model Master RAF interior green was airbrushed over this at an angle relative to the top of the parts so that the green paint was most apparent where light would hit the cockpit. The grimy black provided a "shadow," saving the hassle of a wash later on. A lightened mixture of interior green was drybrushed over this to complete the base colors of the cockpit. Various bits of equipment were picked out with flat black and Model Master black chrome trim in situations where a black "crackle" finish was called for.

 The cockpit was built from top to bottom--first the stringers and the rear bulkhead, then the upper cockpit details, then the lower sidewalls. The oxygen tanks from the kit were used in the area behind the rear bulkhead and were painted silver; the tank from the Cooper Details set was painted interior green and applied on the starboard side opposite the oxygen tanks. The rudder pedals were cleaned up and added to the floorboards, followed by the control panel and compass, and these parts were added to the cockpit. The fit here was a bit fiddly, but when the fuselage halves were added these seated nicely. The gunsight was added next, and a bit of clear acetate was glued to the front of this device to provide a reflector. The seat and its rear brace and the control column were saved for after painting.
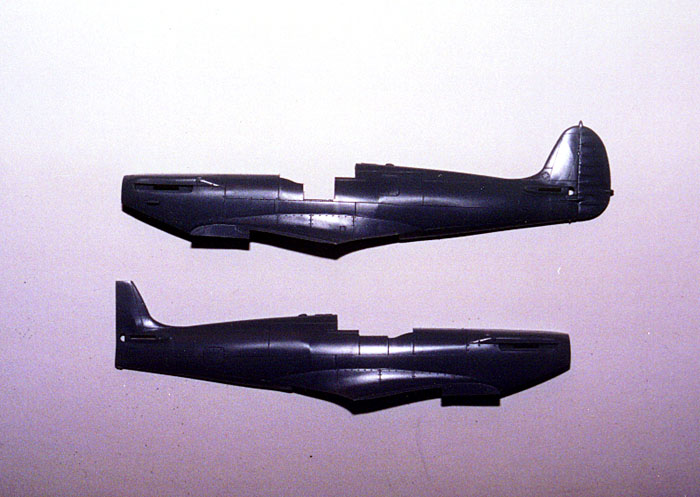
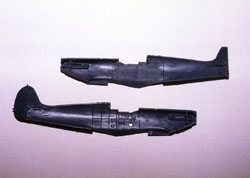
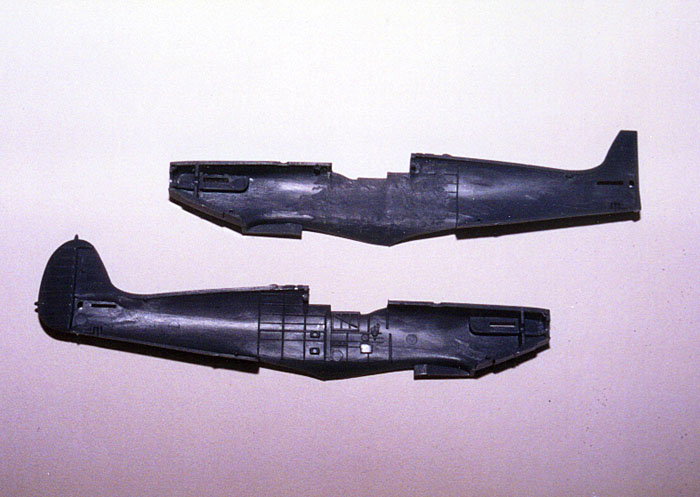
The fuselage went together well, but I noticed that the top of the nose was far too square. I went at this with some flexible files, aiming to take the sharp angles of the sides of the nose away.
The lower nose, a separate part to allow the easy addition of new versions of Spitfires to Tamiya's line, fits only adequately. After I had blended this into the fuselage, I had to go back and inscribe some of the removed fastener detail with a bit of sharpened stainless steel tubing.
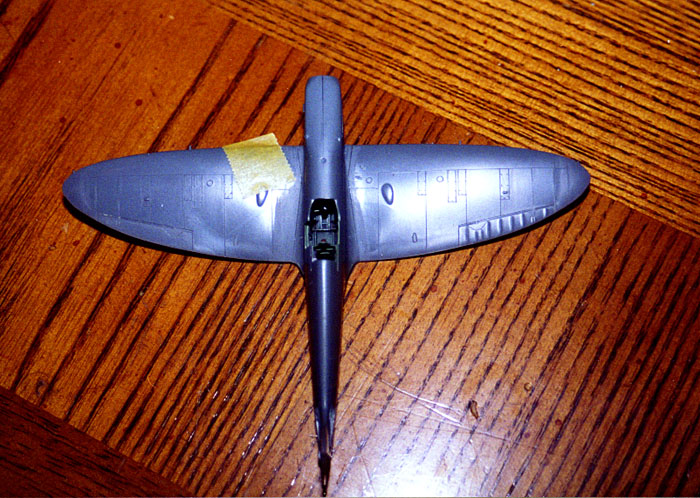
 Once this was accomplished, I looked at the wings--especially on the interior. If you looked through the rear canopy straight down, you could see the inside of the gull-wing section of the wing, which was completely smooth. I added some styrene rod to this area and added the wing. The effect added some simple structural detail, which was more than enough once the canopy was installed.
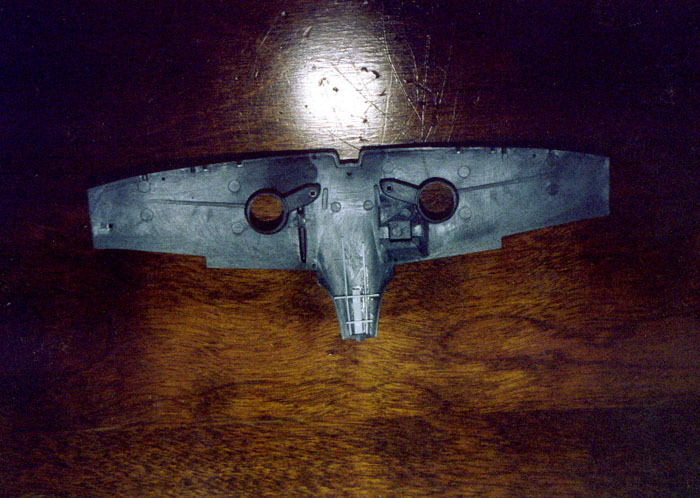
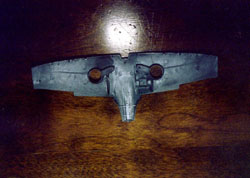
The wings themselves fit somewhat sloppily toward the tips, and their shape was very odd. They were far too curved on the outer quarter of the leading edges and not pointed enough on the outer trailing edges. Considerable effort went into sanding these areas with the aid of some accurate drawings provided by Roy Sutherland, the dean of the area's seemingly innumerable Spitfire experts.
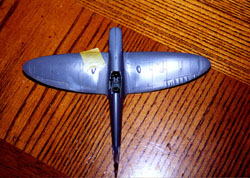 At this point, I also noticed that the ailerons had some rather exaggerated detail. I dug through my references to find any sign of the dramatic fabric effect Tamiya inflicts upon these, so I sanded them flat. The carburetor air intake scoop is a rather sloppy bit of engineering, and after an inordinate amount of work I added this to the lower wing.
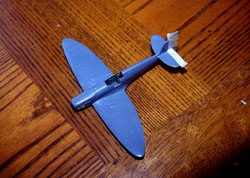
The tailplanes were a very mixed bag. The starboard horizontal fit perfectly, but the port one wanted to point up at a 10-degree angle! I tweaked the mounting tongue and used lots of superglue to force the stabilizer into place.
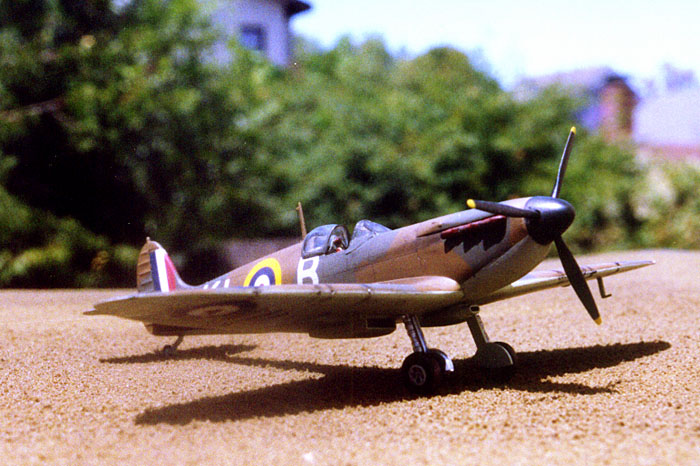
At this point, I added the windscreen and rear canopy. This was extremely frustrating; Tamiya's clear parts are undersized, and fit very poorly. I ended up using the rear canopy from a Revell Spitfire Mk. V, which required significant blending. The kit windscreen was used, but it needed a lot of filler to fit properly. Needless to say, these parts were hardly what you'd expect from a Tamiya kit. These parts were masked with Bare Metal Foil in advance of painting.
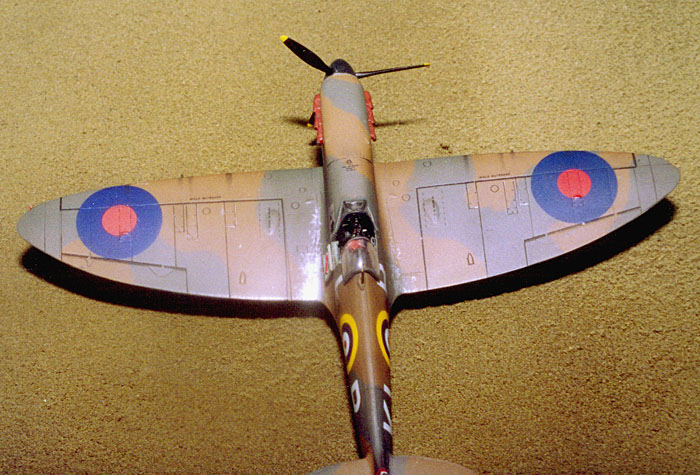
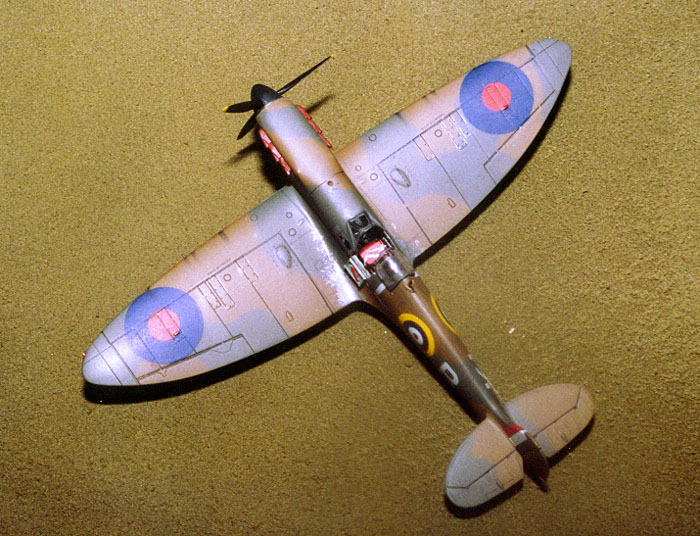
 The final detail that was added before painting was the glycol cooling radiator, which fit neatly into place. The cockpit was masked with damp tissue and I sprayed the upper surfaces with Model Master dark earth. Once this had dried, I masked off the standard RAF day fighter pattern with Tamiya masking tape, pressing each piece against my forearm before applying it to the model. I intentionally refrained from burnishing down the edges. This resulted in a nice, tight but feathered pattern when I airbrushed the model with Model Master dark green.

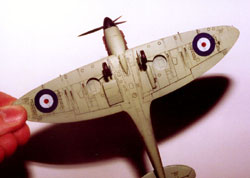 The bottom of the aircraft had me a bit stumped; would it be overall sky, or half night and half white, a spec that had gone out of use two months before the plane was lost. Profiles of Deere's plane showed a black port wing, but they also showed the plane as P9398, which records show to be inaccurate. I decided to paint the entire bottom sky, because I thought such a change would have been a likely occupation of the ground troops in the brief slow period between Dunkirk and the start of the Battle of Britain, especially for the aircraft belonging to Deere, who was something of a celebrity.

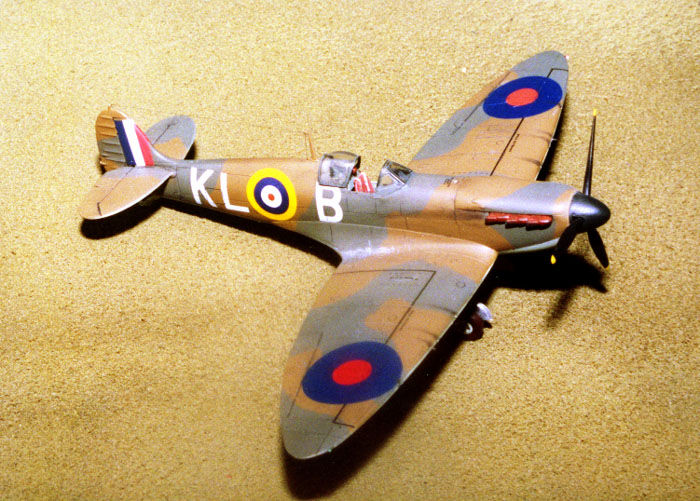
The now-camouflaged Spitfire was now given a healthy coat of Varathane to prepare it for decals. The markings came from a variety of sources, including a very early Superscale sheet that provided the "Kiwi" logo, an AeroMaster sheet that gave up its fin flashes, and another Superscale sheet that provided the code letters. The only problems I had were with the upper wing roundels; one of them responded very badly to setting solutions and wrinkled up fatally. I took it off using masking tape and then applied a second decal; only after the decal was dry did I notice that the red center was ever so slightly deeper than that of its opposite number! There are many more data decals on the Spitfire than you might imagine; the next time you look at a scale Spit, try to count all of them!
 .....
..... 
When the decals were dry, I killed the shine with a coat of Testors Dullcote heavy thinned with lacquer thinner. This mixture keeps the Dullcote from going on too thick, thus avoiding the yellowing problem that many have reported.
Next, I painted the propeller. First, the yellow tips were painted and masked; then, the blades were sprayed with black. The prop was installed into the spinner and carefully masked; then, the spinner was painted with a shade of very dark gray to provide some contrast between the spinner and blades.
 .....
.....
The landing gear was nice, but I noted that the wheels were of the four-spoke variety, not the proper five-spoke type. I robbed the Revell kit of its wheels, painted them and gave them a wash; only later did I see that Tamiya included both types of wheels! The landing gear struts were cleaned up and painted silver, and these were inserted into the wheel wells at the proper angles. The wheels and then the wheel covers came next. The very nice tail wheel was painted, given a wash and installed into the slot in the tail.
 .....
.....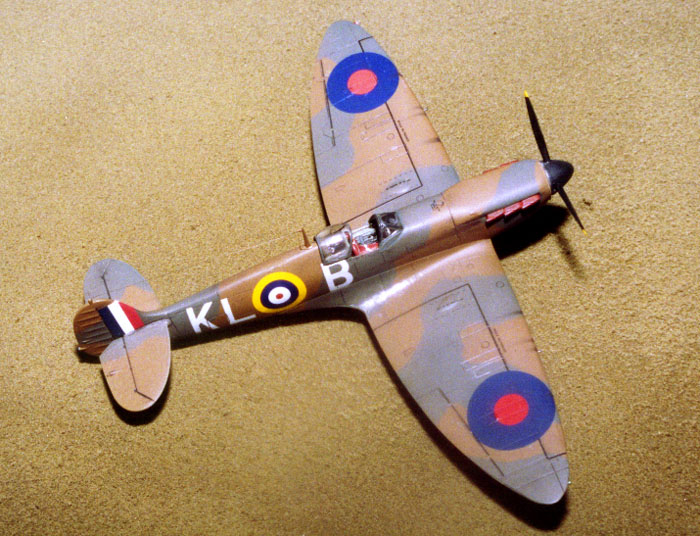
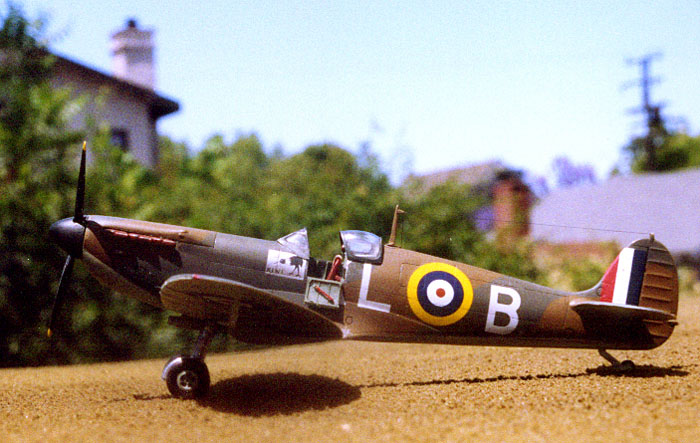
At this point, it was time to add the small bits. The exhaust stacks were weathered with Rustall and installed; I used some clay in the attachment slots to prevent an unsightly case of "see-through-itis." The propeller, pitot and cockpit side door were added, as were the control column and the seat, which had been painted burnt sienna to replicate the bakelite used to make the seat. The antenna mast was added, as were bits of metal tubing to the gun ports to simulate the .303 gun barrels. The wingtip and tail lights were painted and then given overcoats of clear red or clear green paint, and the whole model received a wash of dark gray watercolor paint. A vacuformed canopy from Squadron provided the final touch--or so I thought.
 .....
.....
In this condition, the model competed in the Kickoff Classic and was thoroughly beaten. I went back and weathered the model's guns, wing roots and exhausts, and I replaced the windscreen, which had gotten goobered up in the process of removing the Bare Metal Foil. The antenna mast was improved through the addition of an aerial made from a strand of nylon from a pair of smoke-colored panty hose. Most nerve-wracking of all, I went back and replaced some panel lines that had been obscured during construction and painting. I cut these in with an X-Acto knife and gave them a black wash--they look great, but had I slipped with the blade, it would have taken quite a bit of effort to repair!
Conclusion
Although I am disappointed in the Tamiya kit, which gave me lots of extra work in terms of correcting shape problems, I am pleased with the outcome of the model. My thanks go to Jim Priete and Roy Sutherland, whose help resulted in a much more accurate model.


![]()


