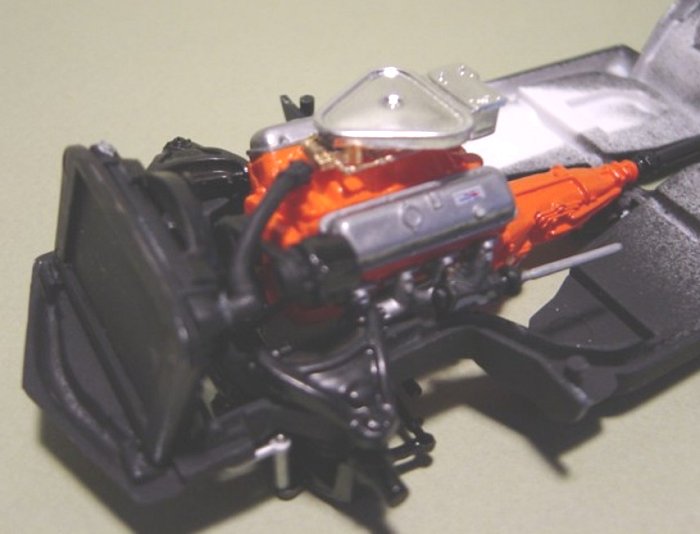
Revell 1/25 1969 Baldwin-Motion Corvette | 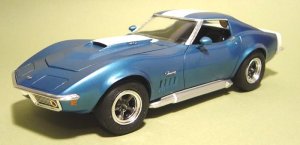 | When I first heard about this kit, I was excited! Here was a chance to build one of the fastest legal straight-line cars you could order through your Chevy dealer. If a 435 hp version of the 427 big block wasn't enough for you the Baldwin Motion Corvette was available if you had the cash. The Long Island based Baldwin Motor Company would engage Motion Performance to build a car that would match your desired E.T. at the local drag strip guaranteed! If the owner couldn't make the promised elapsed time, BM would send out one of its own drivers to test it. They never had to make good on the refund offer. I did some research on the car when I bought the kit. There were 12 BM Corvettes produced in 1969. Of the 12, 5 still exist and 2 of them are Phase III. The Phase III cars dispensed with the normal closed light front nose in favor of a scooped, single exposed light (similar to a Datsun 240Z). The fenders were flared out and the taillights were slotted, as in the Grand Sport style. The other BM Corvettes had the standard nose but still had flared fenders to accommodate the larger Mickey Thompson racing tires. All the cars had the famous all-white tail panel. Unfortunately, Revell has not done the best at representing the car with this kit. Here are some key points: Engine  The kit "write-up" refers to a Phase III Baldwin Motion Corvette and how the tri-carbs were replaced with a single Holley on all cars. The kit comes with the standard tri-carbs, manifold and air cleaner. You'll have to find a big block single card manifold and a single Holley in the spares box. Also, add a circle screen air cleaner. The kit "write-up" refers to a Phase III Baldwin Motion Corvette and how the tri-carbs were replaced with a single Holley on all cars. The kit comes with the standard tri-carbs, manifold and air cleaner. You'll have to find a big block single card manifold and a single Holley in the spares box. Also, add a circle screen air cleaner.
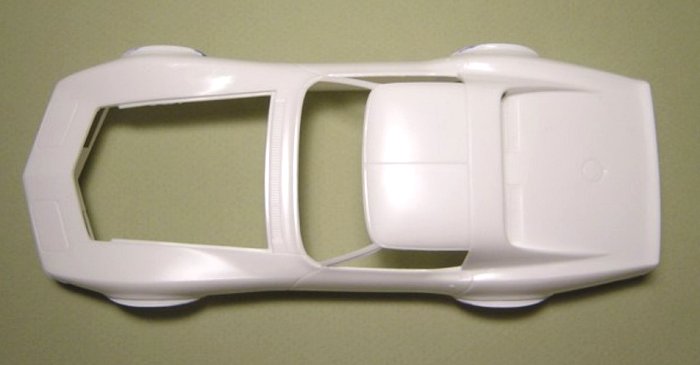
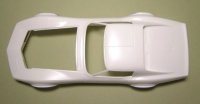
Body 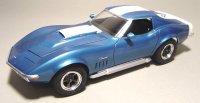 As I mentioned, all the Baldwin Motion cars had flared fenders to accommodate the larger wheels. The body provided with the kit is simply a standard 1969 body. Fenders must be flared in order to make the "standard" cars. To make the Phase III car that is the major item in the "write-up" would require some serious scratch building. That, or obtain the old MiniExotics Phase III transkit which is quite rare. As I mentioned, all the Baldwin Motion cars had flared fenders to accommodate the larger wheels. The body provided with the kit is simply a standard 1969 body. Fenders must be flared in order to make the "standard" cars. To make the Phase III car that is the major item in the "write-up" would require some serious scratch building. That, or obtain the old MiniExotics Phase III transkit which is quite rare.
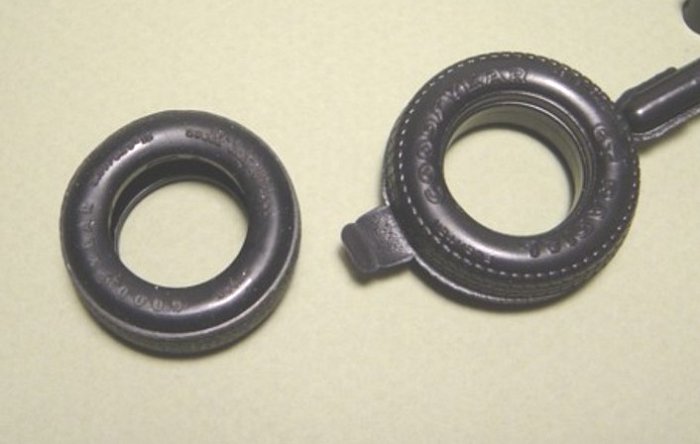
Tires 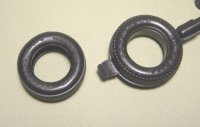 Revell chose to include some tires that are from some late model sports car in the kit. They may even be 1/24th scale. You'll have to find some Goodyear Blue Streaks in the spares box for the "standard" cars and some period Mickey Thompson drag tires from a period drag kit for the Phase III cars. Revell chose to include some tires that are from some late model sports car in the kit. They may even be 1/24th scale. You'll have to find some Goodyear Blue Streaks in the spares box for the "standard" cars and some period Mickey Thompson drag tires from a period drag kit for the Phase III cars.
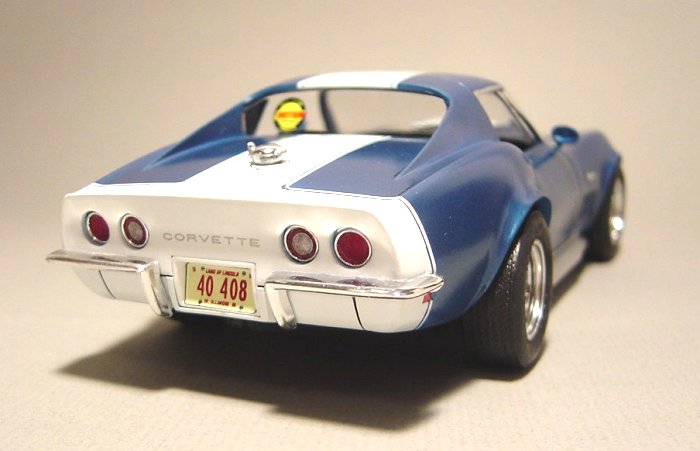
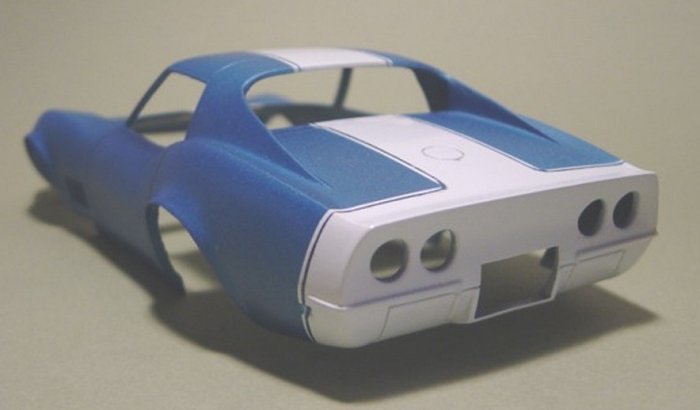
Decals 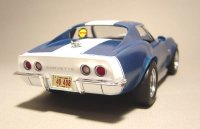 I managed to get photos of three of the cars and all had an all-white tail panel that extended forward to the rear quarter panel reflector. The cars also had the white pinstripe on the edge of the white. The kit decals are pretty much useless for this, as the width of the stripe is too wide and the radius of the back lid is too large. Plus there's no way to match the paint for the all-white tail panel. I painted my own based on the photos and it works fine. The kit supplies some Motion Performance decals for the back window. From the photos I've seen, these are way too large. You could try copying them and reducing them to a more appropriate size or leaving them off entirely. I managed to get photos of three of the cars and all had an all-white tail panel that extended forward to the rear quarter panel reflector. The cars also had the white pinstripe on the edge of the white. The kit decals are pretty much useless for this, as the width of the stripe is too wide and the radius of the back lid is too large. Plus there's no way to match the paint for the all-white tail panel. I painted my own based on the photos and it works fine. The kit supplies some Motion Performance decals for the back window. From the photos I've seen, these are way too large. You could try copying them and reducing them to a more appropriate size or leaving them off entirely.
Rims, Side Pipes, and the Shaker hood
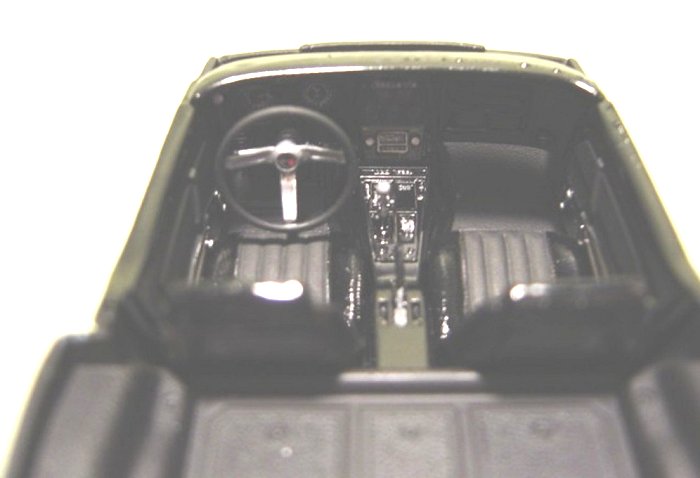
 The kit supplied rims are nice, with molded in valve stems. I could find any cars that wore these rims, but they are correct for the period. Two of the cars I found had the same side-pipes as those supplied with the kit and all the cars had the same Shaker hood. Be sure to cut out the hood scoop as they were functional, if not all that effective compared to today's technology. The kit supplied rims are nice, with molded in valve stems. I could find any cars that wore these rims, but they are correct for the period. Two of the cars I found had the same side-pipes as those supplied with the kit and all the cars had the same Shaker hood. Be sure to cut out the hood scoop as they were functional, if not all that effective compared to today's technology. Construction 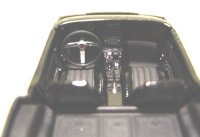 I decided to make the "standard" Baldwin Motion Corvette .The first thing I did was make the fender flares out of .005 styrene stock and fill in gaps with white putty. You need to gauge how far to extend the front and rear track so get this started while you work on everything else. I decided to use the kit-supplied manifold and carb/cleaner. I found fit problems with mounting the distributor. Even when you sand down the mounting stock, the air cleaner will not sit level. If you leave it off, the air cleaner fits well. Make sure to wait to glue on the air cleaner until the last step in construction. I found some fit difficulties with the hood laying flat on the car with the air cleaner on. A little sanding made the difference. The chassis and interior went together per the instructions. Make sure to check the floor pan before assembly as mine was slightly warped. I decided to make the "standard" Baldwin Motion Corvette .The first thing I did was make the fender flares out of .005 styrene stock and fill in gaps with white putty. You need to gauge how far to extend the front and rear track so get this started while you work on everything else. I decided to use the kit-supplied manifold and carb/cleaner. I found fit problems with mounting the distributor. Even when you sand down the mounting stock, the air cleaner will not sit level. If you leave it off, the air cleaner fits well. Make sure to wait to glue on the air cleaner until the last step in construction. I found some fit difficulties with the hood laying flat on the car with the air cleaner on. A little sanding made the difference. The chassis and interior went together per the instructions. Make sure to check the floor pan before assembly as mine was slightly warped.
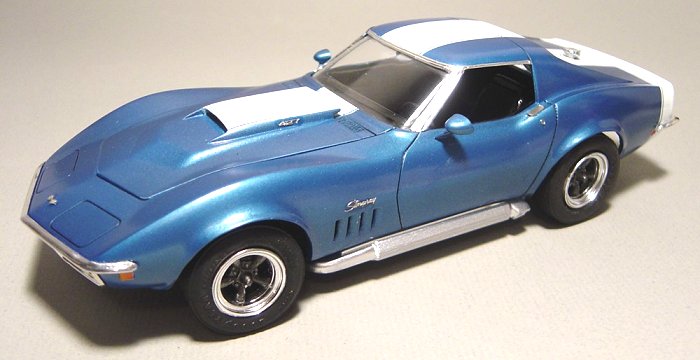
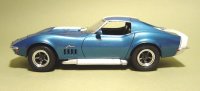
 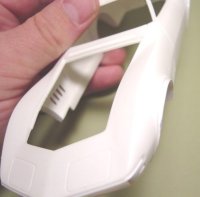 Once the fender flares were dry and sanded, I painted the car Testors Bright White. I then masked off the area to remain white, including the pinstripe, and sprayed GM Lemans Blue from Model Car World. I had replaced the kit tires with some Goodyear Blue Streaks from the spares box. Now that the body was the correct width, I loosely placed the rimmed tires on the chassis and measured how far I would need to extend the front and rear axles to have the tires sit on the edge of the new fenders. I then cut some 1/4 inch hollow round styrene and bored out the inner wheel to accommodate the new diameter. The rest of the assembly went fine. Once the fender flares were dry and sanded, I painted the car Testors Bright White. I then masked off the area to remain white, including the pinstripe, and sprayed GM Lemans Blue from Model Car World. I had replaced the kit tires with some Goodyear Blue Streaks from the spares box. Now that the body was the correct width, I loosely placed the rimmed tires on the chassis and measured how far I would need to extend the front and rear axles to have the tires sit on the edge of the new fenders. I then cut some 1/4 inch hollow round styrene and bored out the inner wheel to accommodate the new diameter. The rest of the assembly went fine. 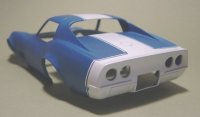 The correct diameter and style of tires really makes the difference on this car and the Baldwin Motion paint scheme is truly striking. This was my first attempt at making fender flares and it wasn't as hard as I anticipated. The hardest part was getting the paint masking correct - use your patience on this. The correct diameter and style of tires really makes the difference on this car and the Baldwin Motion paint scheme is truly striking. This was my first attempt at making fender flares and it wasn't as hard as I anticipated. The hardest part was getting the paint masking correct - use your patience on this.
Recommendation This kit is a disappointment in the sense that it does not represent the actual car it claims to be on the box and in the "write-up". The only thing truly Baldwin Motion about the kit was the shaker hood and the oversized decals. That being said, this is a good starting point, as I wouldn't want to scratch build that hood, and everything else is correctable. Not recommended. | 


|