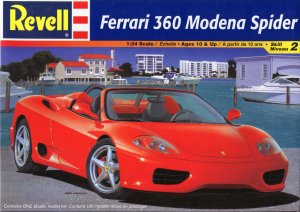
Revell 1/25 scale Ferrari 360 Modena SpiderDave Carter |
 |
-lg.JPG) The
Revell Ferrari Modena Spider is a kit that the average modeler can build
into a very attractive model of this beautiful car.
The
Revell Ferrari Modena Spider is a kit that the average modeler can build
into a very attractive model of this beautiful car. -lg.JPG) Unused
side windows are included for an unreleased coupe version. Except for
a few things, it's an easy build that goes together quickly. I made only
two modifications to the kit, both easy. The backs of the seats are molded
hollow, so I filled these with plasticard. The ends of the exhaust pipes
were thick and a few spins with the #11 blade make them look a bit better.
The kit instructions would have you glue the rear body panel to the chassis,
and later glue the body on. I prefer when possible to have the body parts
glued together before painting, to minimize damaging the paint and to
solve fit problems early in the construction. Test fitting showed that
this modified assembly sequence would work, but it was a very tight fit.
Be careful it you choose to do it this way.
Unused
side windows are included for an unreleased coupe version. Except for
a few things, it's an easy build that goes together quickly. I made only
two modifications to the kit, both easy. The backs of the seats are molded
hollow, so I filled these with plasticard. The ends of the exhaust pipes
were thick and a few spins with the #11 blade make them look a bit better.
The kit instructions would have you glue the rear body panel to the chassis,
and later glue the body on. I prefer when possible to have the body parts
glued together before painting, to minimize damaging the paint and to
solve fit problems early in the construction. Test fitting showed that
this modified assembly sequence would work, but it was a very tight fit.
Be careful it you choose to do it this way.
There's not much to see under the car. Like the real car, Revell provided
a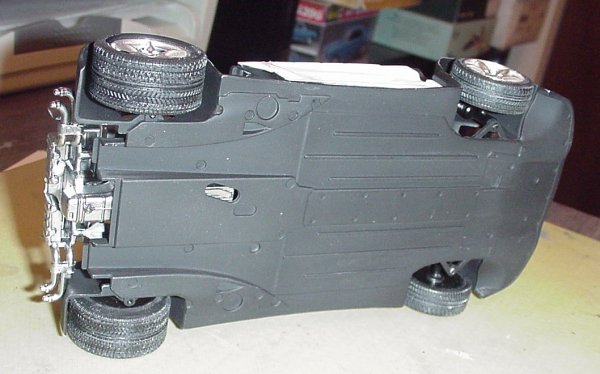 full aerodynamic body pan that covers almost the entire bottom of the
car. The models front and rear suspensions seem simplified, but it hardly
matters as there is not much to see. The front wheels can be steered,
a nice little plus.
full aerodynamic body pan that covers almost the entire bottom of the
car. The models front and rear suspensions seem simplified, but it hardly
matters as there is not much to see. The front wheels can be steered,
a nice little plus.
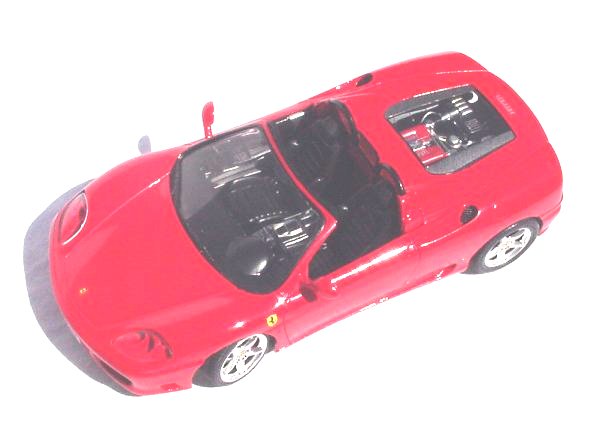
-lg.JPG) The
engine can be viewed under the clear rear deck panel. The engine parts
are unusual, being stacked one on the other, but look good once in place.
There is no provision to display the engine compartment open.
The
engine can be viewed under the clear rear deck panel. The engine parts
are unusual, being stacked one on the other, but look good once in place.
There is no provision to display the engine compartment open.
Some details on the model are represented with decals that would be better
done in plastic. The rear third light is provided as a decal, but a clear
plastic part would better match the other rear lights. There is no raised
detail where the decals go on the dashboard. These decals look very good,
and have finer features than many modelers can paint. 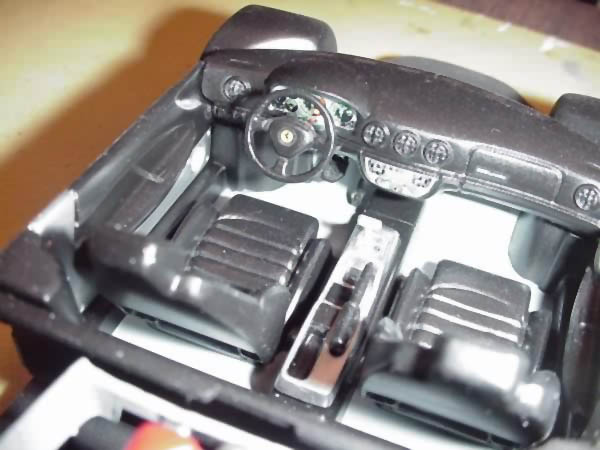 Still
I'm sure some modelers would prefer raised details to be able to paint
them themselves.
Still
I'm sure some modelers would prefer raised details to be able to paint
them themselves.
The front part of the body was molded slightly off from the rest of the
body, perhaps caused by small mold misalignment. The mold seams run through
the middle of the headlight openings. This contributed to the only real
fit problem, the headlight lenses were a little difficult to position
correctly. In fact it was tough to make them stay in place long enough
for the white glue to hold them in place.
The instructions indicate that most of the plated parts should be painted.
In most cases it says to paint them aluminum, but the plating looks like
more like aluminum than chrome. So I left most of them as is. The engine
parts are molded in white plastic. -lg.JPG) I
painted the engine parts Tamiya TS14, spray black lacquer, and then painted
the parts various shades of Alclad II. The car body was painted with Tamiya
spray lacquer, Ferrari Red. This is great line of paint, dries very quickly
and glossy; car modelers should give it a try.
I
painted the engine parts Tamiya TS14, spray black lacquer, and then painted
the parts various shades of Alclad II. The car body was painted with Tamiya
spray lacquer, Ferrari Red. This is great line of paint, dries very quickly
and glossy; car modelers should give it a try.
Screen Mesh is provided for air intakes and for the roll bars behind the
driver and passenger. The air scoops are easy but it took a couple of
tries to achieve a good result with the roll bars. I found it easiest
to cut them a little larger that the patterns in the instruction sheet,
then trim to fit.-lg.JPG) I used white glue to hold them in place. Fortunately Revell gives enough
material so that you can try several times. Not all of the real cars have
this screen in place, and I imagine some modelers will skip this step
as well.
I used white glue to hold them in place. Fortunately Revell gives enough
material so that you can try several times. Not all of the real cars have
this screen in place, and I imagine some modelers will skip this step
as well.
I finished the kit in a few weekends and it looks as cute as a button.
It will be hard to keep kids in the house from playing with it, or me
for that matter! VRROOOOOOOMMMM!!!
-lg.JPG)

![]()


