Collect-Aire 1/48 A-12A Avenger II
By Allan Wanta
|
 |
History
A-12 Avenger II
The Navy's A-12 Avenger Advanced Technology Aircraft (ATA) was slated
to replace current A-6s on aircraft carriers in the mid-1990s. But on
7 January 1991, Secretary of Defense Richard Cheney canceled the program,
in the largest contract termination in DoD history. The Navy originally
planned to buy 620 of the McDonnell Douglas/General Dynamics aircraft,
with the Marine Corps purchasing an additional 238 planes. And the Air
Force at one point considered buying 400, at an average cost that was
estimated at close to $100 million each. Rather than go into all the details
here, for further information click
here.
The Kit
"What have you got there, Senior. Looks like a big Dorito chip?"
And if you were to see this aircraft, you'd probably ask the same question.
It's nicknamed the "Flying Dorito" for a reason, although due to strange
and almost comical circumstances it never did get put into U.S. inventory.
What Collect-Aire models have done was to replicate the mock-up aircraft
in a nice tan resin, with numerous white metal bits.
To say that all Collect-Aire kits are of similar quality would not
be entirely true. It seems to me that I heard that two or three master
mold makers work in making these kits, and casting houses in the USA or
Czech-Republic cast them. So it depends on what kit and where it was made
that would determine its quality and workmanship. I'd say this kit was
one of the better ones I've seen with extremely well done parts and engraving,
but let me give you a run down on its assembly.
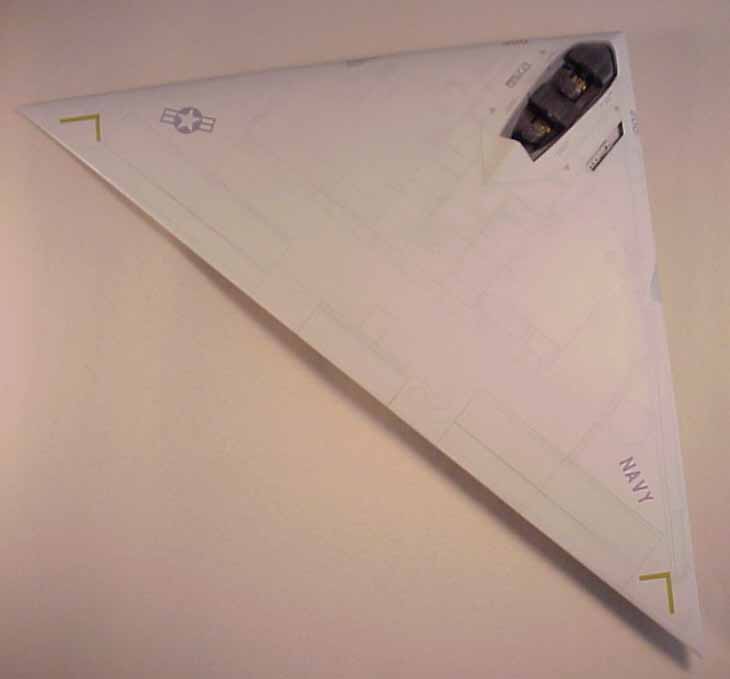
First off, there are only six pieces that make up the entire fuselage,
two main pieces for the center section, and the folding wing tips comprise
the other four. Very little needs to be done to clean up the parts, just
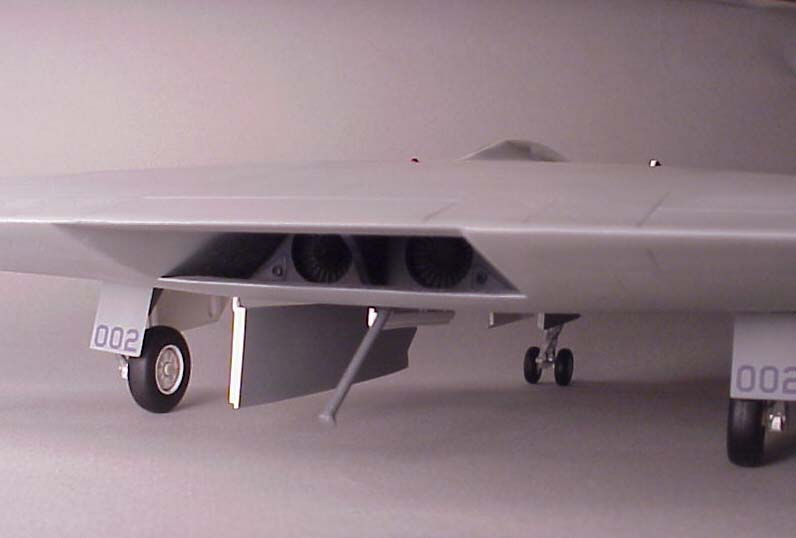
a light sanding on a flat surface will do it. The cockpit, air intakes
and exhaust fir neatly into the lower center section, it's actually a
bit simplified but they look the part. Also to be assembled is each individual
weapon and landing gear bays, these might need some sanding to fit, most
will snap into place and look good. The bays are lacking any detailing,
just boxes with some ribbing, so those with the time can detail them out
with hoses and then close up the center section when all these bits are
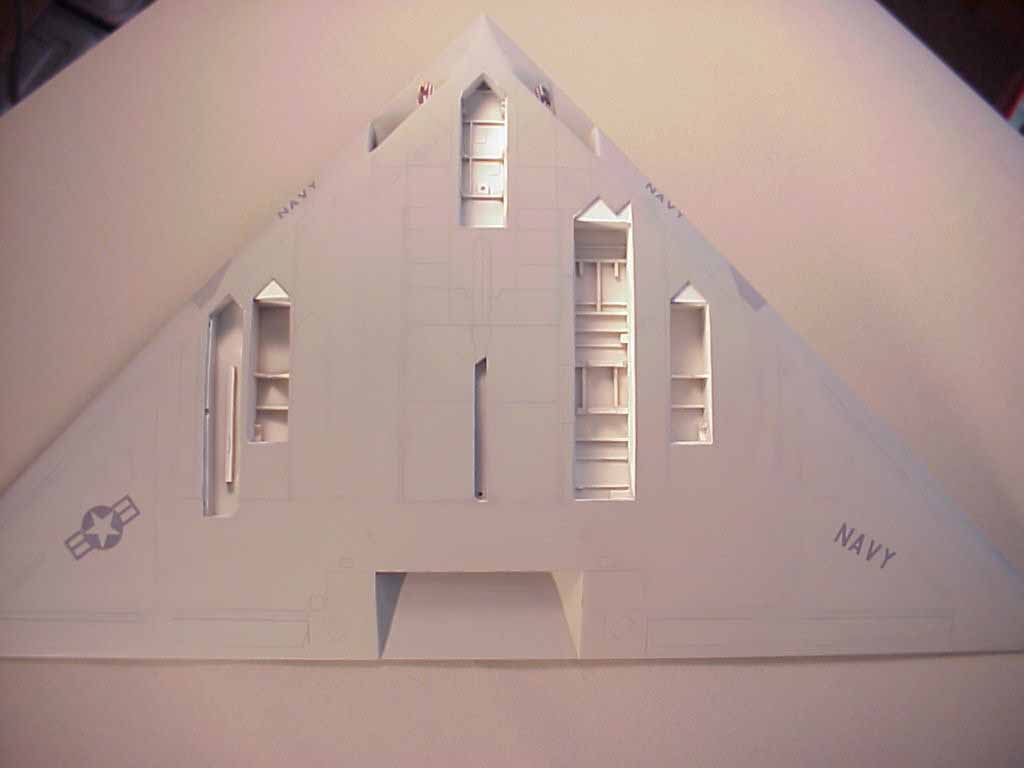
firmly in place and set aside. Now comes the big decision. Do you wish
to portray the aircraft opened up, or closed, or a bit of each? Here's
what I found out, it would help you to decide.
Each open bay, refueling probe and tail hook has a door that can be
positioned open or closed. Further each open bay and door has a corresponding
item that can be placed in it to fill the space.
All the doors do not fit their respective openings. You must carefully
sand each one to fit, so itís almost easier to poise them open. But that
ruins the clean lines of the airframe.
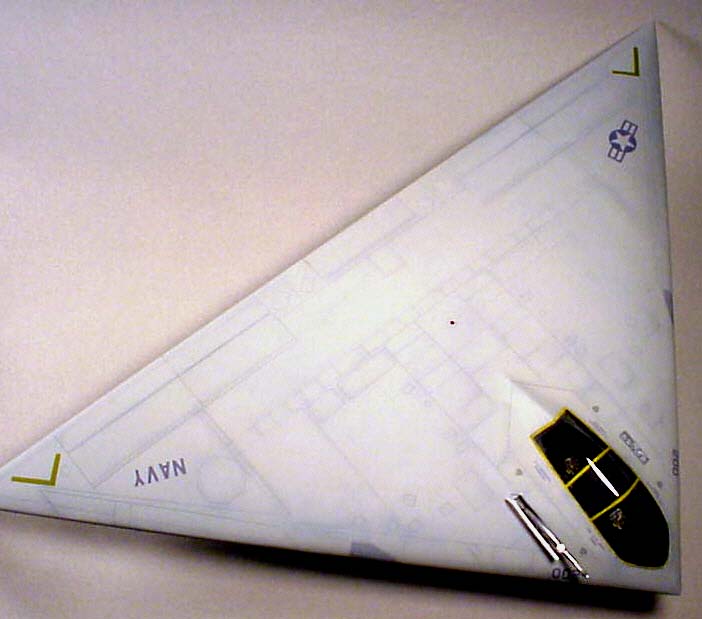
The canopy frame, to which the very nice vacuformed canopy fits, almost,
is too long to fit in the opening on the top of the center section.. Those
neat little folding wing tips are too long in chord, lots of work is involved
if you poise them in the down position. Bring out the Bondo.
It's my guess is that when casting all these pieces, someone forgot
to consider mold shrinkage, all those pieces look great, except when you
match them up. I spent way too much time blending the wing tips to the
center section and way to much patience fixing that thin vac canopy to
the canopy frame. The rest of the kit was a piece of cake.
Next time, I would suggest gluing the canopy to the frame and vacuforming
the entire unit, something, which should have been done in the first place.
Come on guys, why make this kit harder than it has to be? My depiction
of the A12 is something of a compromise. Some weapons bays open, and wing
tips down, also the canopy is closed to hide the simplified cockpit detailing.
White metal is used for the gear, cast extremely well and easy to clean
up. For the most part, this flying wedge was a very simple kit to assemble,
with the exception of the above mentioned horrors.
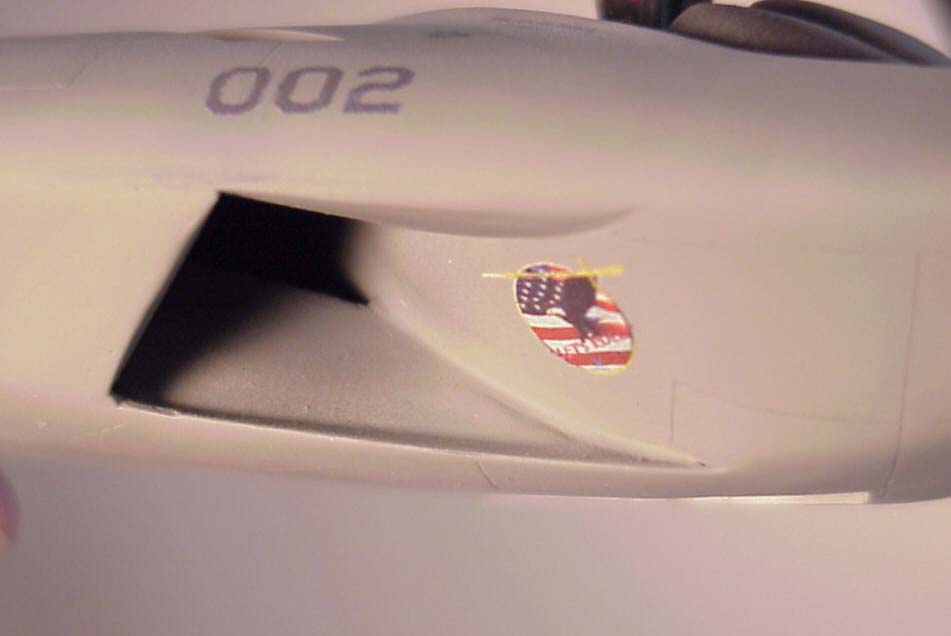
A decal sheet for one aircraft is included, and it looks very nicely
printed, I however did not want to have the same kit as everyone else.
Call me a renegade. So some official "Lets Roll" decals were made on my
Alps printer, the logo appears on the intakes. Overall color could be
a single color or two-tone gray, mine is a single FS 35492 with some panel
shading added to break up the vast expanse.
The last items to go on are the canopy and doors. I left the clear
part off cause it was the make or break item of the whole kit. Fudge it
here and Iíd be taking a long-long walk to settle down. So with a little
luck, and some black silicone adhesive, the canopy was placed on, but
not after three or four hours of sanding to make it fit, one canopy was
sort-of ruined and placed aside as a last ditch spare.
Conclusion
Thank goodness that's over with. Success at last. Stitching up a head
wound was child's play compared to that last agonizing placement. O.K.,
you must be wondering if this, or any Collect-Aire kit is worth the price
you pay, in time or money? And again the answer is not quite cut and dry.
Yes, I have a great kit of a great aircraft design, well cast and generally
well thought out. No, the price could be a lot less, and some general
engineering of this kit should be reconsidered.
I enjoyed the A-12 for the most part, just having it on my shelf complete
is a milestone.
The entertainment factor rating is a 6, cool factor is a 10, and ease
of assembly is 5. Thank you Collect-Aire for offering this kit!
| 


|