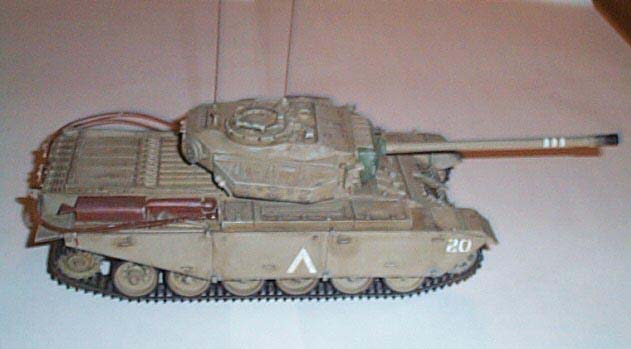
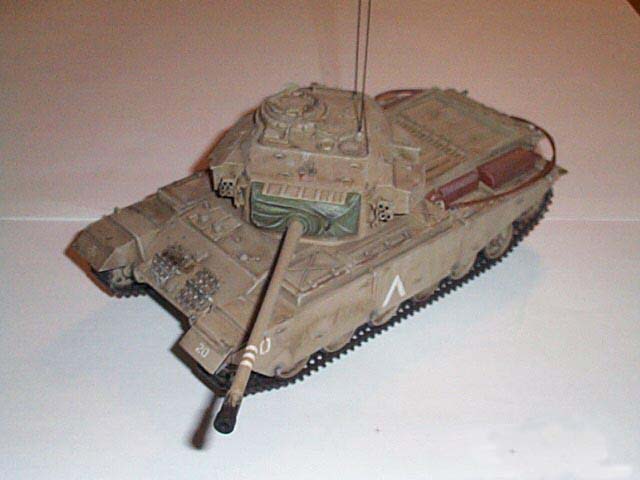
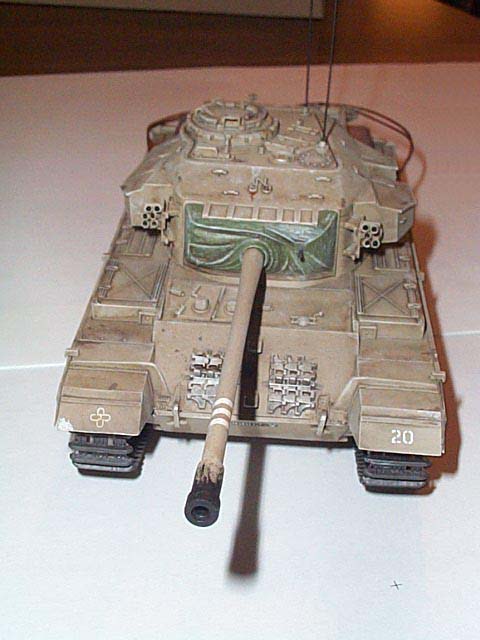
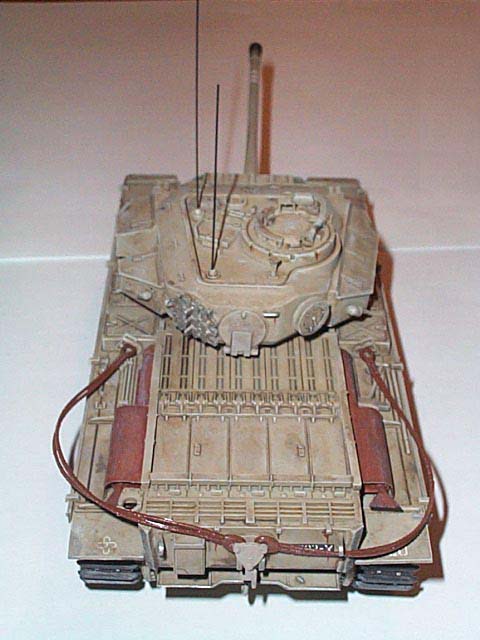
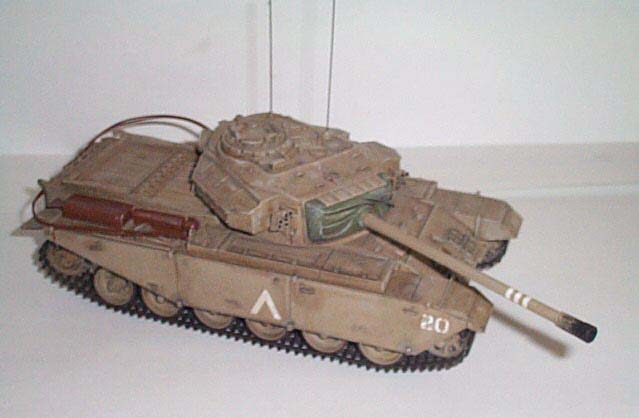
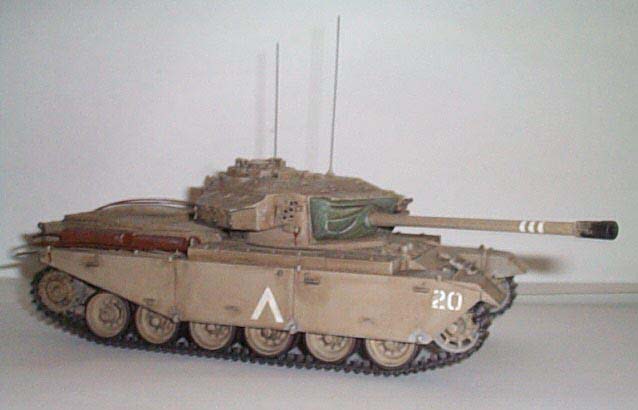
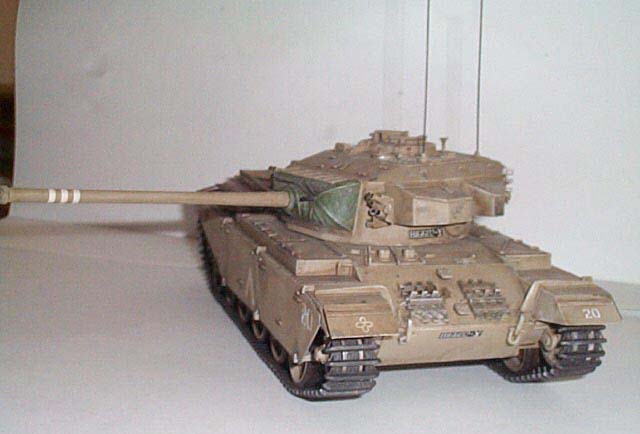
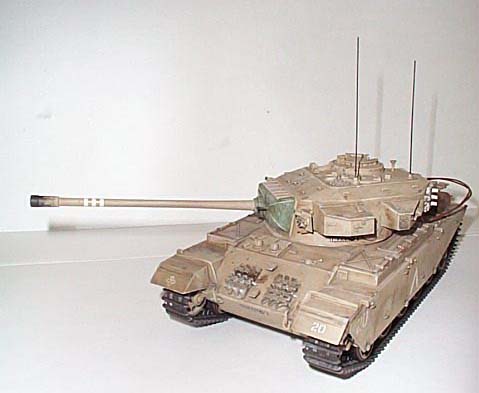
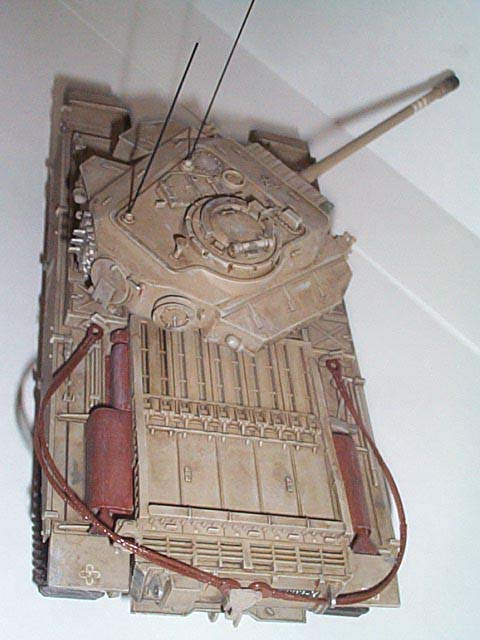
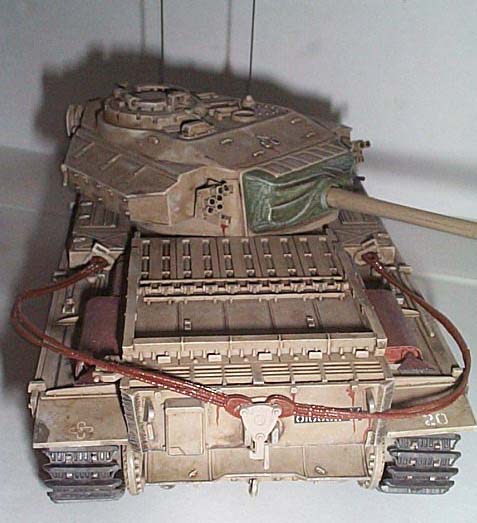
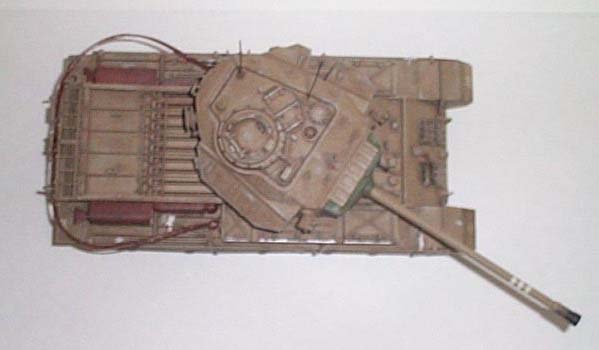
MODELKRAFT CANADA 1/35 BRITISH CENTURION MK. 3 KIT NO. 35-9009 MSRP: $19.98 GREATMODELS PRICE: $16.00 By Larry Martinson |  | HISTORY The British Centurion MK. 3 tank was the mainstay of the British Army in the 1960s and 70s. It entered service in 1945, but it was too late to see action in WWII. It was produced in great numbers and sold worldwide. The MK. 3 saw action in Vietnam, being used by the Australians. The tank was powered by a Rolls Royce twelve cylinder gasoline engine. The tank had a range of 64 miles and a top speed of 21.7 mph. It was armed with a 20 pdr. main gun, a 50 cal. spotting machine-gun, a 30 cal. coaxial machine-gun, and a second 30 cal. gun on the commander's hatch. The Centurion was finally replaced by the Chieftain in the early 80s. THE KIT: Upon opening the box, I was greeted with five trees of olive green plastic parts and a set of metallic gray tracks. The instruction sheet is easy to follow with 15 steps to it. The one thing I was happy to see was a description of the decal sheet, as far as what the markings were for. This is lacking in the 1/25th scale Chieftain kit (also by Modelkraft) that I built recently and was reviewed in an earlier issue of Internet Modeler. The decals are for a British 8th Hussars in Korea, the Canadian Lord Strathconas, an Israeli tank, and an Australian tank in Vietnam. The decal sheet is very nice and in good register. Upon inspecting the parts trees closer, the kit has very little flash. However, the detail is very much like a late 1970s Tamiya quality kit. Some of the tools are molded into the top of the chassis, just like the old Tamiya Pz.Kpw. III. All the small tie down loops could stand to be separate parts, instead of the lumps of plastic molded on. I may shave them off and make them out of wire later. LET'S BUILD THE KIT: STEP 1: For a change, in this kit, you start with building the main gun...instead of the running gear. Naturally, after you join the two gun halves and add the end to the gun you will need to do some sanding on the seams. The barrel in my kit wasn't too bad. STEP 2: In this step you get the choice of a covered or uncovered mantlet. I chose the covered one. It had some nice canvas fold detail on it. STEP 3: Here you put the turret together. It has a little ill fit, when you put the top on, but if you take your time you can make it work okay. If you chose to use the uncovered mantlet, in step 2, you need to make sure you install it when you join the turret halves. STEP 4: With this step you add the storage bins, smoke candles, and what I think are fire extinguishers on the left side of the turret. The smoke candles are going to be hard to clean up. Part no. D22, which is part of the commander's turret hatch ring, is too long....so dry fit, measure, then cut to proper size. There is some filling needed where the storage boxes join the turret. STEP 5: This step consists of doing the right side of the turret (storage box, smoke candles, rear hatch, and telephone wire reel). The kit supplies a jerry can that is poorly made and out of scale. I decided to delete it and shaved off the mounting pins that were on the hatch. The telephone sprocket has three parts. One part is B-7, which is the outer part of the sprocket. Next is a pin that isn't labeled. Finally, there is the inner sprocket, that should be labeled B-8. STEP 6: You get a choice of motorizing your kit or leaving it a static model. I chose static, so I used the solid plugs (parts A-29 & A-30) for the drive sprockets. Then you put A-27 over A-29 & A-26 over A-30. STEP 7: In this step you put the sprockets, bogies, and basic suspension together. The bogie wheels needed quite a bit of sanding. Also, note that part E-8 is really part E-3. STEP 8: Here you put the tow pintel on the tow brackets. You also put the suspension units and bogies on. I elected to leave them off for painting purposes until later. STEP 9: In this step you install the idlers and some sort of shield over the pintel hitch STEP 10: Here you put the side shield arms, that support the bottom of the shields on. These arms are oversized and need cleaning up. Note: part A-5 is really D-5 and part A-19 is really part A-6. STEP 11: This step consists of attaching the spare track pieces to the glacis plate, along with notek style head lights. STEP 12: This step is a little busier, in that you put on quite a few pieces on the engine deck, some of which is a shovel and a gun travel lock. STEP 13: Here you put the exhaust on, along with the towing cables and a couple of lifting points. STEP 14: This is where you join the lower chassis to the upper hull. I chose to wait and paint the lower hull first. Then I joined the two and put some sheet styrene in the sponson openings. STEP 15: This step consists of putting the side skirts on. After this, I painted the rest of the tank. I chose to do the Israeli version, since I don't have any tanks representing that country right now and I'm in a desert scheme mode of things at the moment. I painted it in Testor's Modelmaster armor sand, FS #30277. This is probably not the correct FS color to use, per the anals among model builders, but it was what was on my shelf. I washed it with Windsor artist oils and Grumbacher odorless thinner. I have found out that, of all the thinners, the Grumbacher doesn't attack any type of paint that you may use. Finally, I dry brushed it with Testor's Modelmaster sand, FS #33531, to pick out all the highpoints and edges. Lastly, I added antennas on top of the turret. CONCLUSION This kit was not a bad one to build and it is a welcome sight for British tank enthusiasts. I understand the price is in the $20.00 dollar range, which is not bad. I would like to thank Ray Mehlberger and Mike Benolkin for letting me build the Centurion. While I was giving my Centurion its wash, I learned that another person has released his review of this kit. (Oh well! It never fails!) He elected to do a lot of photo-etch work on his and some other modifications. I did mine just out of the box. The pictures of his are dynamite. I still submitted this article, because I built it straight and that type of review helps everyone who is interested. Larry Martinson
Treasurer of the
Alexander Lippisch Chapter, IPMS USA
Cedar Rapids, Iowa | 


|