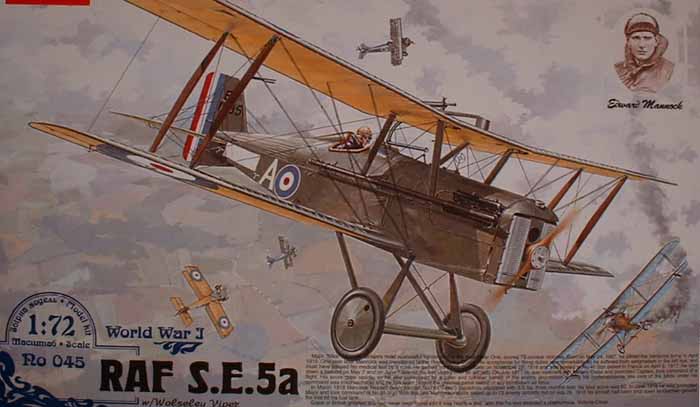
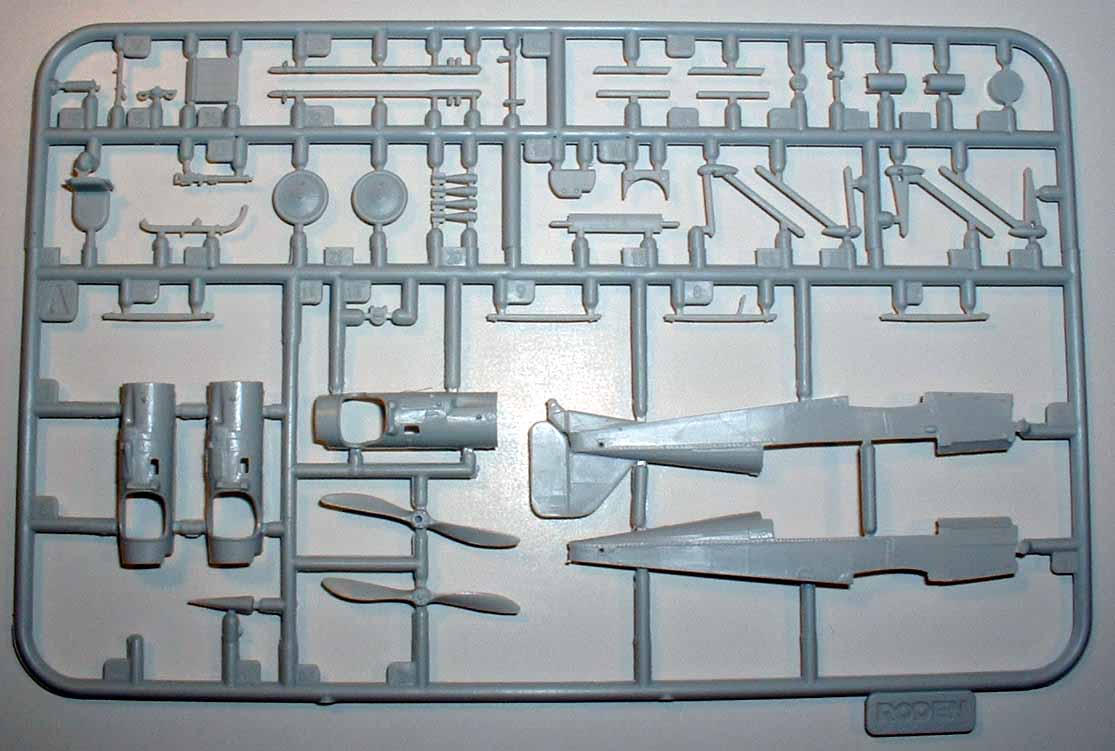
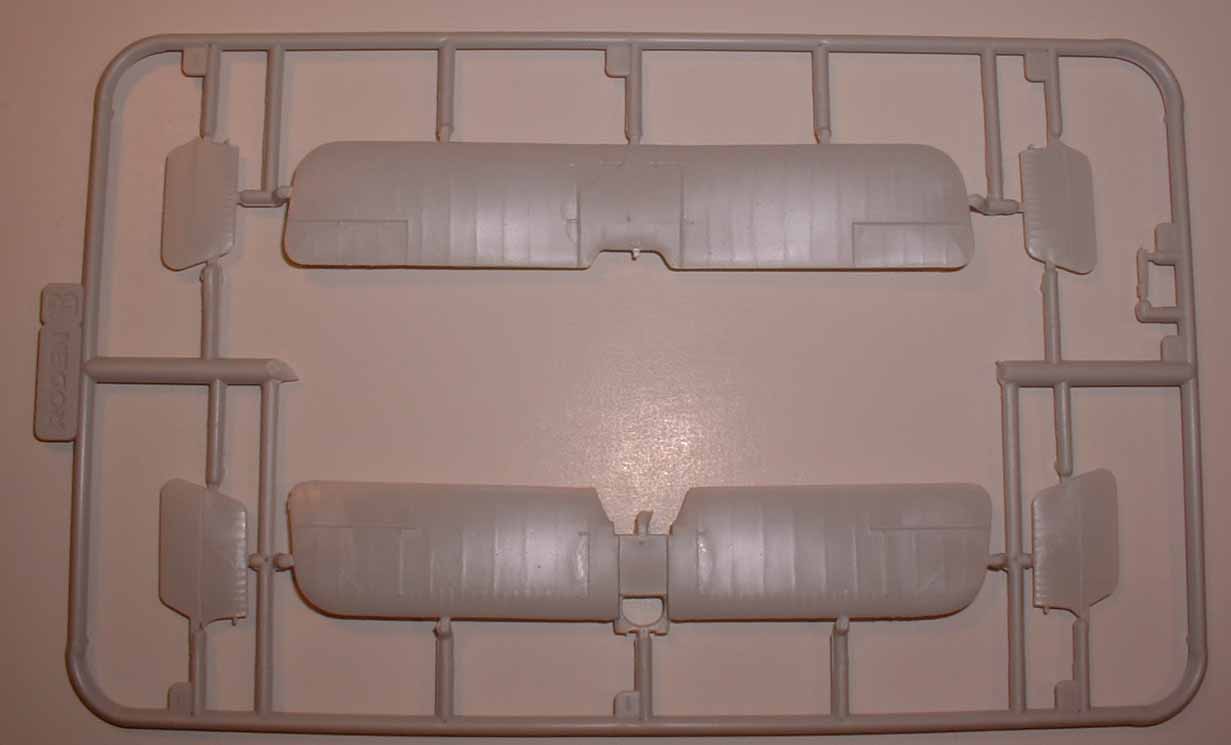
Roden 1/72nd RAF SE5a w/Wolseley Viper | 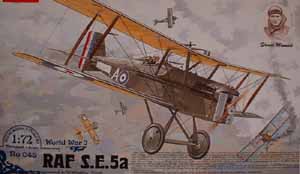 | History The Royal Aircraft Factory (RAF) SE5a was an important British type, and to some is considered the best Allied fighter of the war. When RAF had problems acquiring Hispano-Suiza engines for the first version of the SE5a, the factory started to use Wolseley's Viper – a derivative of the 200hp Hispano-Suiza – instead of the 'standard' Hispano-Suiza. Not only were the Vipers more readily available to the British, they were also just a tad better than the standard French version, for example, the Viper increased the SE5a's maximum speed by 7mph. The Kit 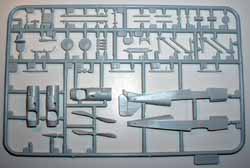 The Roden kit of the RAF SE5a consists of 53 parts, of which nine are relegated to the parts bin. There is also a clear film that is used for such things as different types of windscreens, as well as the clear for the 'hole' in the forward cockpit that allowed light to come in to help with reading the instruments. The only option in the kit is for two different types of propellers. The Roden kit of the RAF SE5a consists of 53 parts, of which nine are relegated to the parts bin. There is also a clear film that is used for such things as different types of windscreens, as well as the clear for the 'hole' in the forward cockpit that allowed light to come in to help with reading the instruments. The only option in the kit is for two different types of propellers. There are decals for four machines: Beauchamp-Proctor from No 85 Squadron; Claxton from No 41 Squadron; Mick Mannock from No 74 Squadron; and Billy Bishop from No 85 Squadron. In addition to the standard markings, there are decals to represent the clear cellon covered pulley covers as well as an instrument panel. Overall the quality of this kit is high! While there are a couple of problem areas, namely the underside of the upper wing at the port tip has a slight bulge in it, plus there are a couple of sink marks in a bad place in the cockpit. However, both are eliminated with careful sanding and time. Even with these problem areas the rest of the kit is very impressive. I cut the fuselage halves off the sprue to see how they halves would line up and fit, and the fuselage halves are almost as thin as a vacuformed kit!! Everything is molded to a high level. 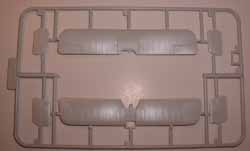 Construction starts in an unusual place, with constructing the overhead Lewis and its mount. Then you assemble some of the smaller pieces to the upper, forward fuselage piece (part 6A), as well as assembling the radiator and the landing gear. However, I would wait for adding the pieces to part 6A until closer to the end of assembly. Construction starts in an unusual place, with constructing the overhead Lewis and its mount. Then you assemble some of the smaller pieces to the upper, forward fuselage piece (part 6A), as well as assembling the radiator and the landing gear. However, I would wait for adding the pieces to part 6A until closer to the end of assembly. From there construction moves into the cockpit. You can assemble the cockpit after the fuselage halves are together which definitely helps if you plan on adding all the control wires that normally ran close to the floor, under the seat. Plus, if there happens to be a gap in the cockpit floor, you could easily take care of it prior to adding cockpit pieces. 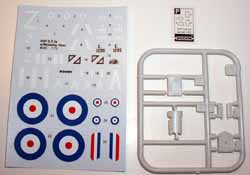 Once the cockpit is in and all together, and fuselage halves assembled, then more bits are added like the lower wing, horizontal tails and the two upper, forward nose pieces. Then you add the radiator and exhaust pipes (although those too might want to be added after painting). Painting can now commence. Once the cockpit is in and all together, and fuselage halves assembled, then more bits are added like the lower wing, horizontal tails and the two upper, forward nose pieces. Then you add the radiator and exhaust pipes (although those too might want to be added after painting). Painting can now commence. After painting the struts, upper wing and landing gear can be added to complete the model. Conclusion I seriously hope all of the upcoming Roden kits are molded to as high a level as the SE5a. This is an exceptional kit, and if the fit is as good as the molding, Roden has raised their bar quite high. Highly recommended!! My thanks to Roden for the review kit. | 


|