Eduard 1/144 Ju-87R Stuka
|
 |
Ok, while I had all of my mistakes and the miscellaneous trouble spots
still fresh in my mind, I decided to take on the Ju-87R. That, and the
fact that the kind and generous editors of Internet Modeler were willing
to send me another one, with the request that I have it finished for this
month's issue.
I'll spare the reader another long winded history of this aircraft,
other than to say that the Ju-87R is essentially a Ju-87B with two 300
liter fuel tanks slung under the wings. For more history, refer to my
article on the Ju-87G
in the November issue.
The Model:
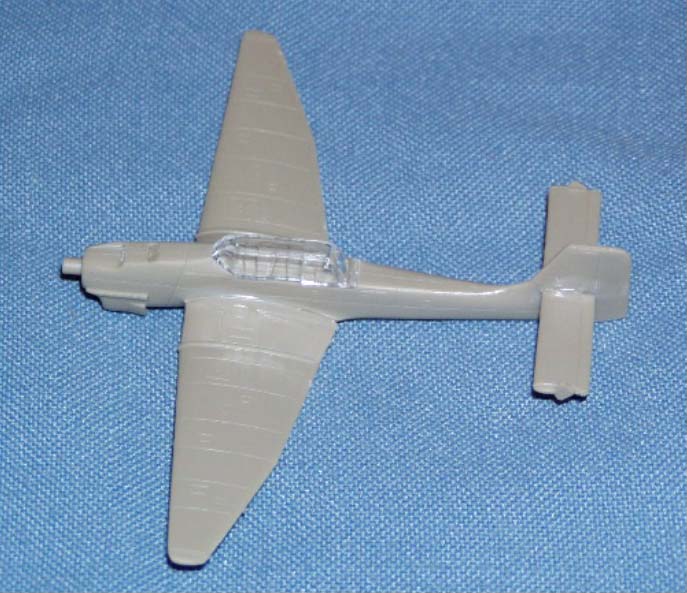
The Ju-87R kit is molded in 27 light brown/gray plastic parts on a
single sprue, clear canopy, with photo-etched parts, vinyl painting masks,
building instructions, decals and full color painting guide for three
different aircraft, with two versions of the one with the snake on the
side. The parts are very fine with recessed panel lines, only slight flash
where the mold separated, no sink holes or ejector pin marks.
The Build:
 Having
learned from my mistakes the first time around, the first thing I did
with this kit was to test fit the fuselage halves. Like the G model, these
didn't line up just right. I removed the locator pins which solved that
problem. Unlike the G, this kit does include a part to represent the radiator
grill inside the chin scoop. Having
learned from my mistakes the first time around, the first thing I did
with this kit was to test fit the fuselage halves. Like the G model, these
didn't line up just right. I removed the locator pins which solved that
problem. Unlike the G, this kit does include a part to represent the radiator
grill inside the chin scoop.
 I
assembled the fuselage, attached the wings, tail planes, and tail wheel
in a few hours. The wing roots had small seams that needed filling. I
used Elmer's white glue for that. I also test fit the canopy before any
painting was started and found that, while not perfect, it did fit better
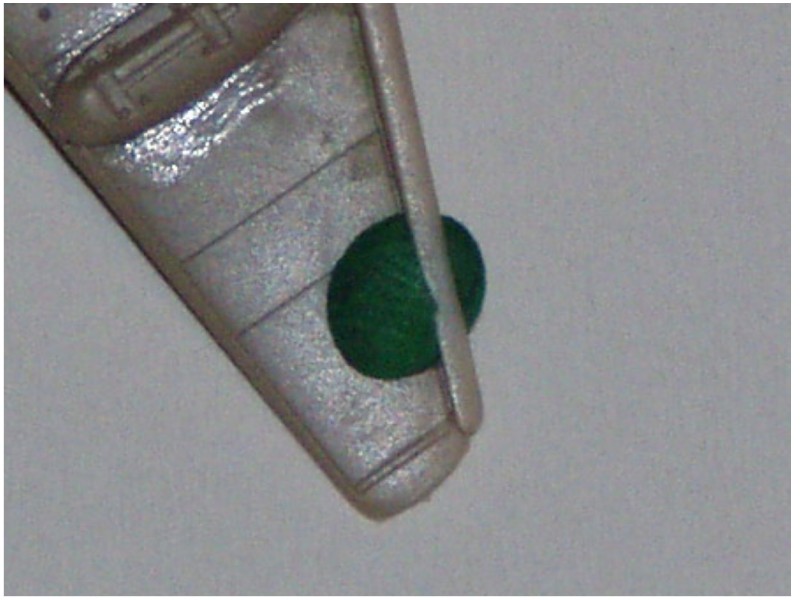
than the canopy on the G. The six piece aileron/flaps are still the biggest
challenge with this kit for me. This time, I used a little blob of modeling
clay to hold the part in position while I applied the liquid cement. Maybe
Eduard will add locator holes in future moldings. I
assembled the fuselage, attached the wings, tail planes, and tail wheel
in a few hours. The wing roots had small seams that needed filling. I
used Elmer's white glue for that. I also test fit the canopy before any
painting was started and found that, while not perfect, it did fit better
than the canopy on the G. The six piece aileron/flaps are still the biggest
challenge with this kit for me. This time, I used a little blob of modeling
clay to hold the part in position while I applied the liquid cement. Maybe
Eduard will add locator holes in future moldings.
Painting and Decals:
I first painted the cockpit portion with Testors Acrylic RLM 02, with
the instrument panel portion painted black.
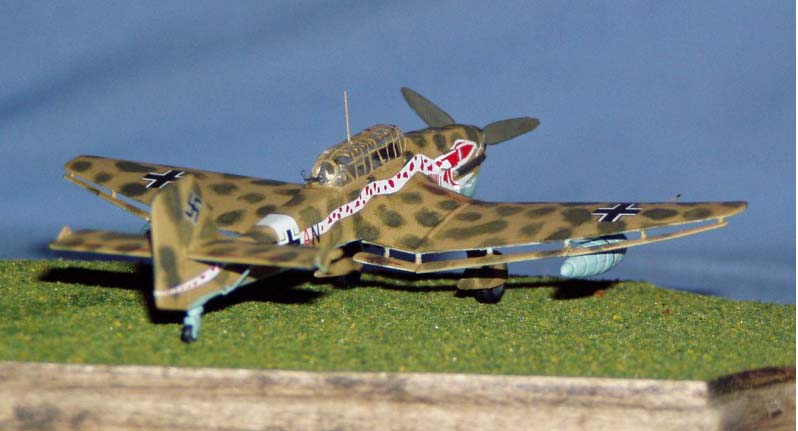
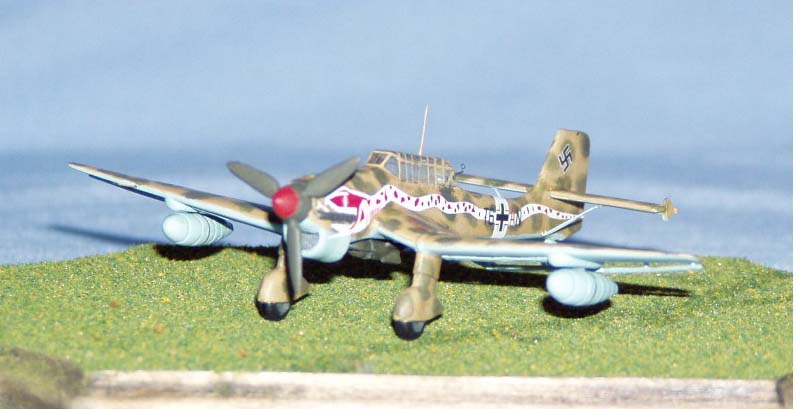
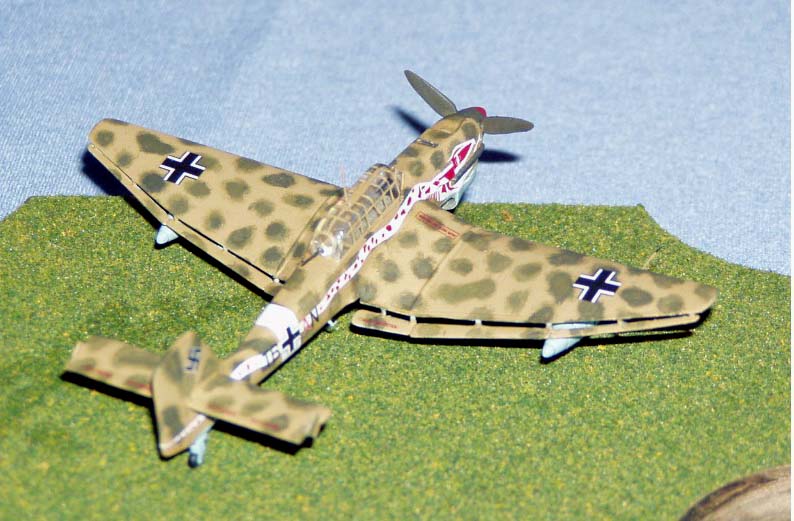
I chose to build this model as the aircraft on the box top, with the
big snake on the fuselage, operating in the Mediterranean. Unable to locate
a photo of the actual aircraft, I did learn that there was some question
about the actual colors and camouflage pattern. Eduard include decal options
for the red and white snake, as well as another version with the snake
done in white only over the sand color. I opted for the red. I also learned
that some of these had their sand camo patterns applied over the standard
factory green/black green splinter pattern, while some were painted the
overall sand color at the factory with green splotches applied in the
field.
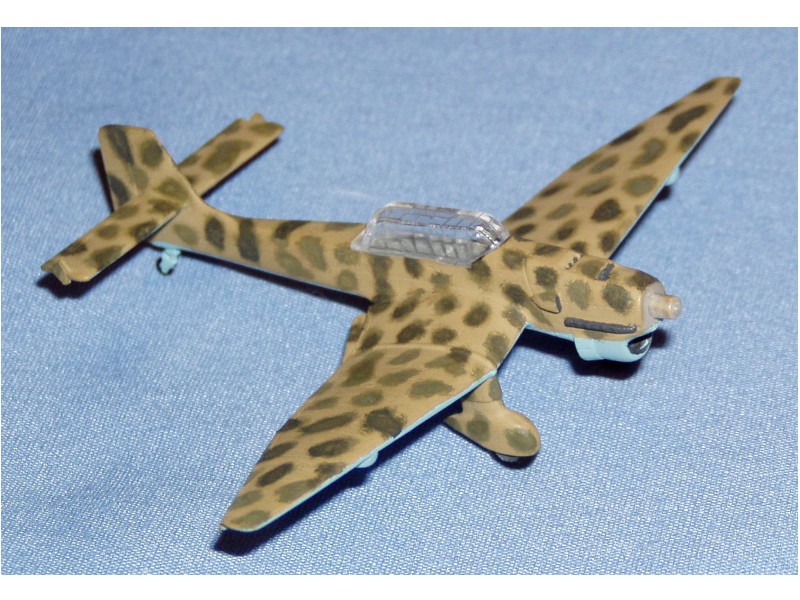
The painting instructions included with the kit indicate sand applied
over the factory splinter. I didn't care for the pattern shown, and with
a deadline over my head, I took an easy way out. I applied a base coat
of sand color, in this case Humbrol Eighth Army Sand, (it was the best
looking color I had on hand). After two coats had cured, I applied the
green splotches with a dry-brush technique which gave me a reasonable
sprayed effect. I also used two different shades of green to imply a sand
camo pattern over the factory splinter.
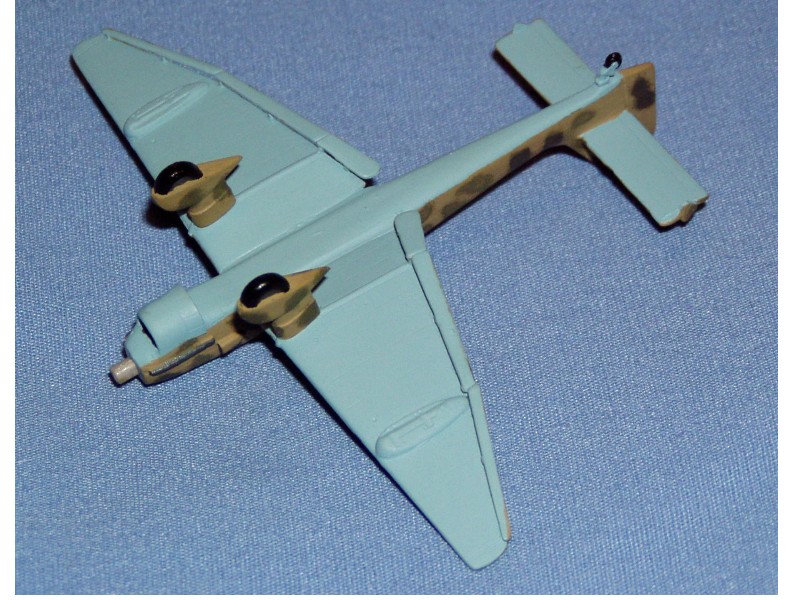
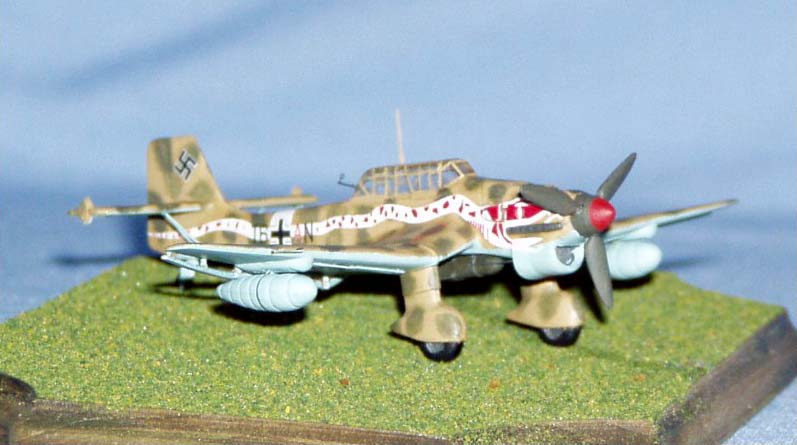
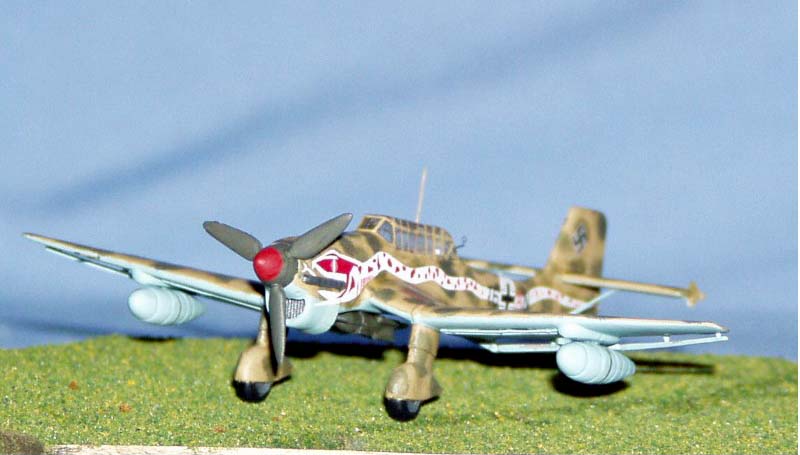
For the spinner, I first brushed on two coats of red, then mounted
the spinner on a bit of sprue, chucked in the Dremel, and applied the
dark green while it was spinning. I then attached the landing gear and
gave the entire model a coat of Future for good decal adhesion. Before
the decals were applied, I attached the canopy and painted the frames.
The decals are of the same high quality as those with the Ju-87G.
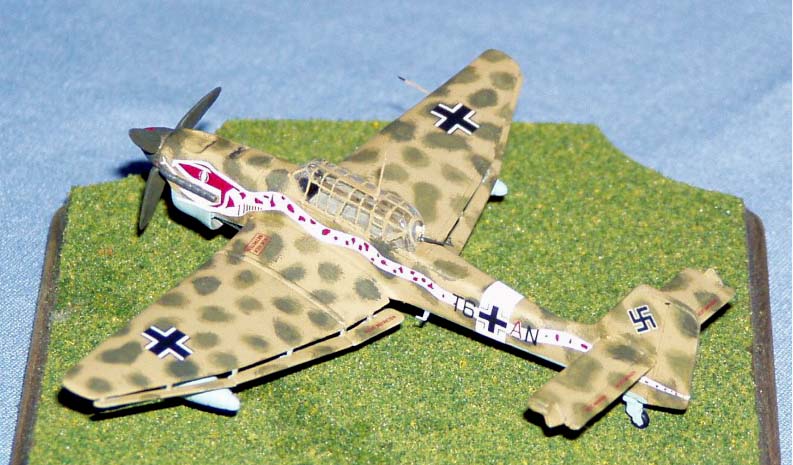
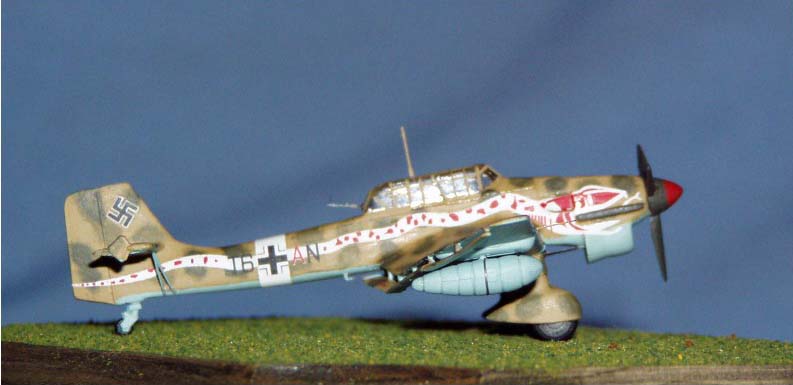
Due to the nature of the multi-part snake decals, and the way they
fit with the fuselage band and markings, I decided the best way to approach
these was to first apply the front portion of the starboard side snake.
The position of which would be determined by the section cut out to fit
around the air intake on the engine cowling. The white fuselage band came
next, with the tail of the snake applied last. The port side snake decals
were then applied to butt up against the fuselage band and finally the
lettering and crosses were applied on top of those.
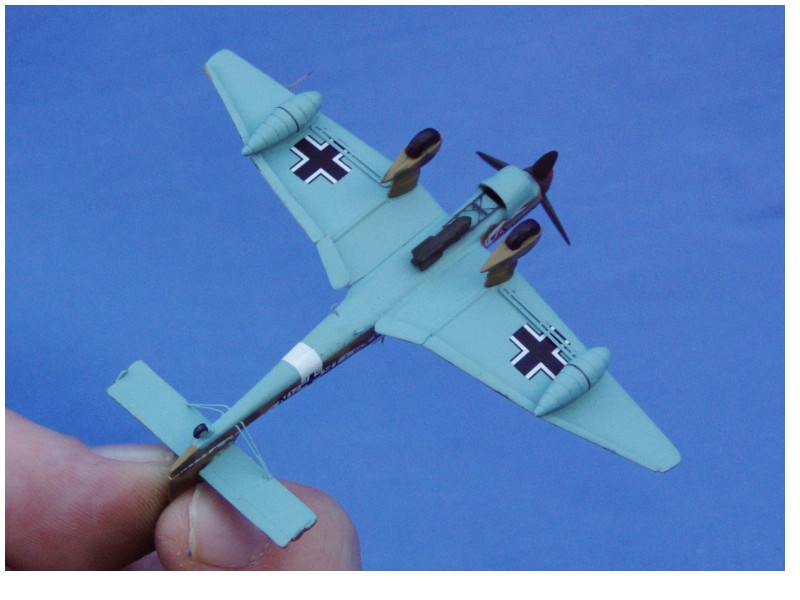
The crosses for the wings, swastikas on the tail and stenciling came
next. None of these caused any problems at all and I didn't even use any
setting solution. I did leave the PE dive brakes off until after the decals
were applied so they wouldn't be in the way of the underside crosses.
This might have been a mistake because I ended up with one of the underside
crosses in a slightly different position and it became noticeable when
the dive brakes were installed. Like the yellow fuselage band on the 87G,
the white band on this kit was sufficiently opaque to cover the varying
tones of the camo pattern.
Final Assembly:
When I built the 87G, I had attached most of the PE bits before painting.
This time around, I saved all the PE for the end, which made the painting
easier. First I attached the tail plane braces. Then came the straps for
the wing mounted fuel tanks, which I left off until this stage. Next were
the dive brakes, steps, rear machine gun, radio mast and pitot. That left
the prop and spinner. If I hadn't already built the 87G, I'd be wondering
why Eduard molded this with separate prop blades. But the separate spinner
made applying the G's spiral spinner decal much easier. The blades fit
into the spinner nicely so it was no big deal.
The final step was a coat of Pactra acrylic dull coat and thats one
more model for the shelf.
Conclusion:
I really enjoyed this kit. And it was easier the second time around.
I don't keep track of hours building, but it took some time. Painting
the canopy took two or three hours, what with painting, scraping off the
mistakes and re-touching. The PE took a few hours too. One glaring omission
is the gun barrels sticking out of the leading edges of the wing. Being
a review kit with a close deadline, I didn't bother trying to fabricate
these but those with AMS should make the effort.
All in all, I would highly recommend this kit for those who enjoy building
in this tiny scale.
Thanks to Matt at Internet Modeler for the review copy.
|
|