I was originally asked to do this review through and for the World War I Modeling Page but discussions with the Paper Panzer designer Andy Holmes lead to the mutual agreement that his designs would get a little more exposure here. To learn more about Andy's products please see his website.
For a short history of this first operational German tank have a look at the Wikipedia article.
A word about paper; as the United States clings to the historical, comfortable, (at least to most of us) English system of measurements, and the rest of the world plants itself firmly on metric, this little tank build is an outstanding example of the WW-II vintage saying; the US and the UK are a common people separated by a common language, in this case how paper is classified. In a nutshell the US system is based on the weight of 500 sheets of 11”x 22” paper. If this pack of paper weighs 20 pounds, then it is called 20-pound stock. USUALLY anything below 60 pounds is called sheet paper, anything over 60 pounds is called card stock. The metric system uses the weight, in grams, of a single square meter sheet of paper. Andy's instructions calls for two different weights of paper, one that weighs between 110 and 160 Grams per Square Meter or GSM and the other that weight 90 GSM. One can actually create a very accurate spreadsheet that will give you the equivalent US range of weights, but it turns out to be a waste of time. As you can see by this site US paper weights are roughly in 2 pound increments up to 105-pound stock. I very much want to thank the staff at the Oklahoma City Xpedx paper store for clarifying that for me. The simple point I'm trying to make is for us in the US, for the heavy paper called out in the Paper Panzer instruction, use paper around 38-pound stock, and for the lighter pages use 20-pound stock, or normal typing paper. I learned the hard way by starting with my “usual” paper modeling 90-pound card stock. I could fold it but it wasn't easy.
THE “KIT”
Paper Panzer provides for two variations on the print out of their 1:72 A7V kits; a simple version and a relatively detailed complex version.
THE SIMPLE VERSION
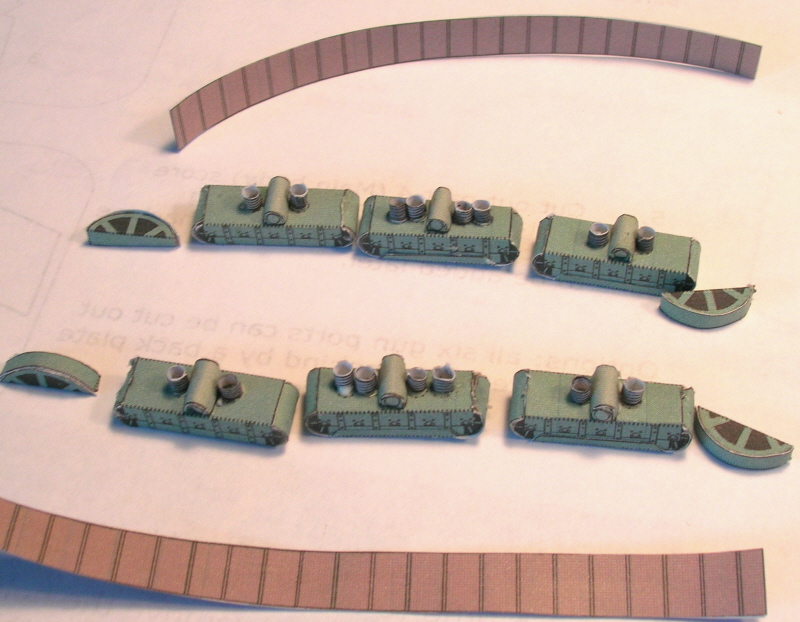
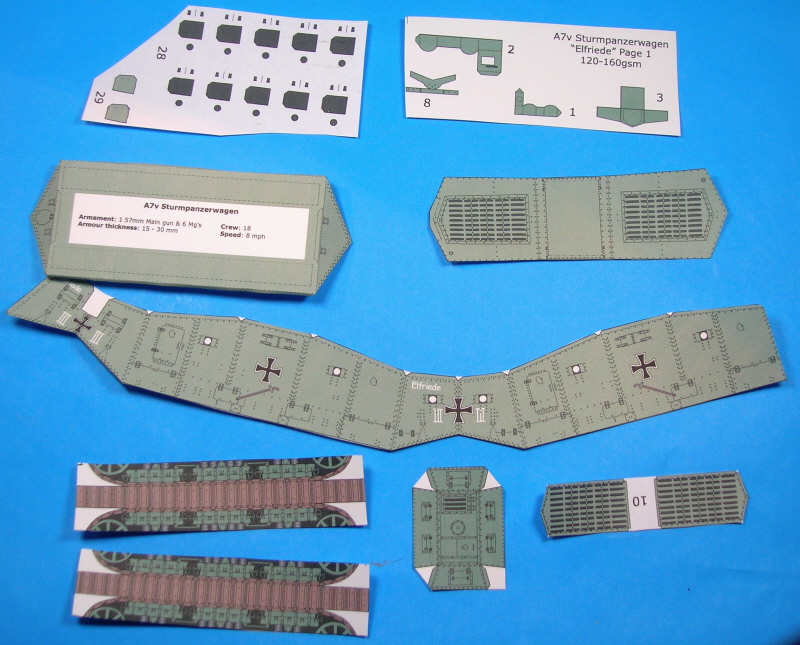 As you can see in this photo, the simple version of this tank consists of 12 major pieces, and enough material to make the six machine guns and one cannon. It takes less than an hour to cut them out and another hour to assemble them.
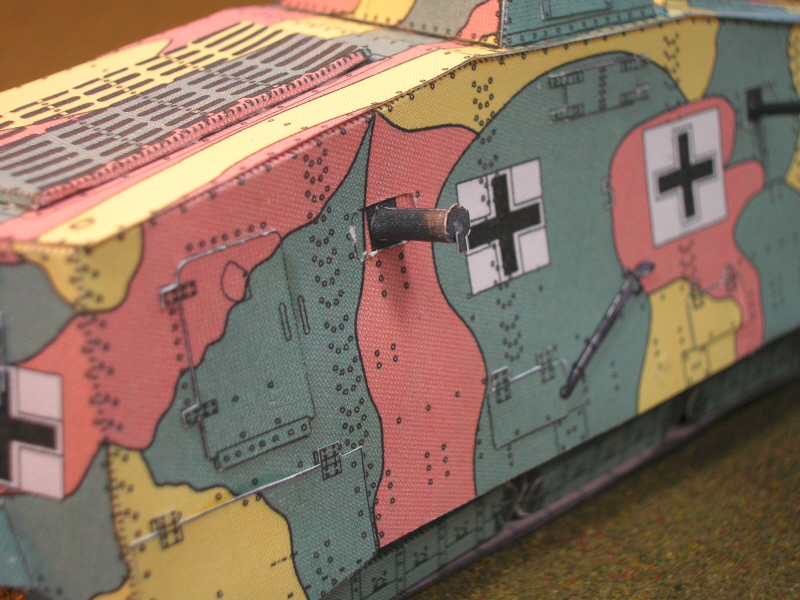
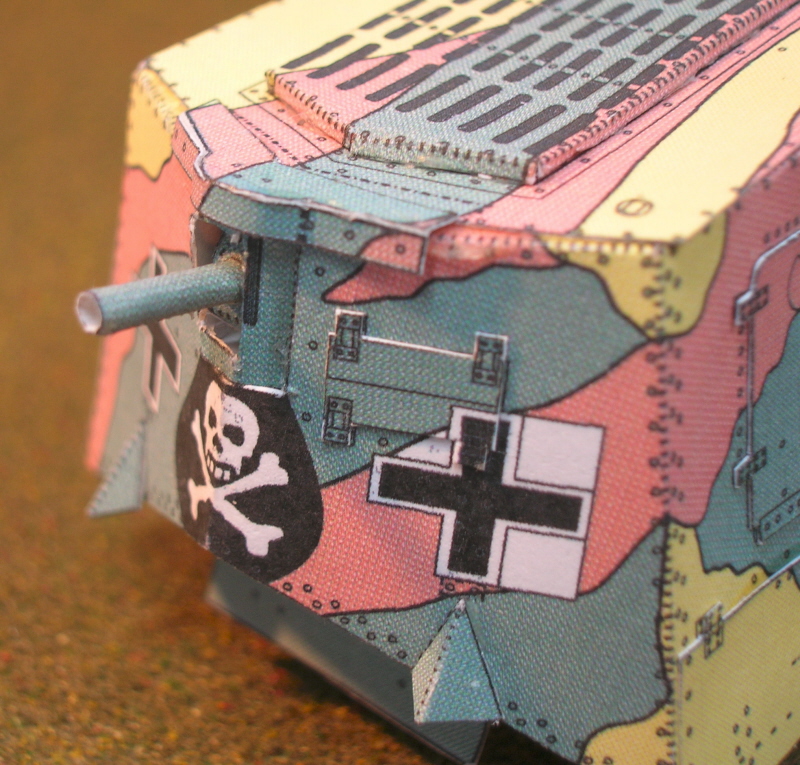
 I do have to apologize to Andy but I HATE rolling tubes, especially very small paper tubes so, on my models I've substituted 0.047” diameter plastic tubing for the LGM 08 machine guns and the 5.6 CM gun in the front of the hull. I did this by simply cutting the plastic tubing to the same length as the gun barrels printed on the plans.
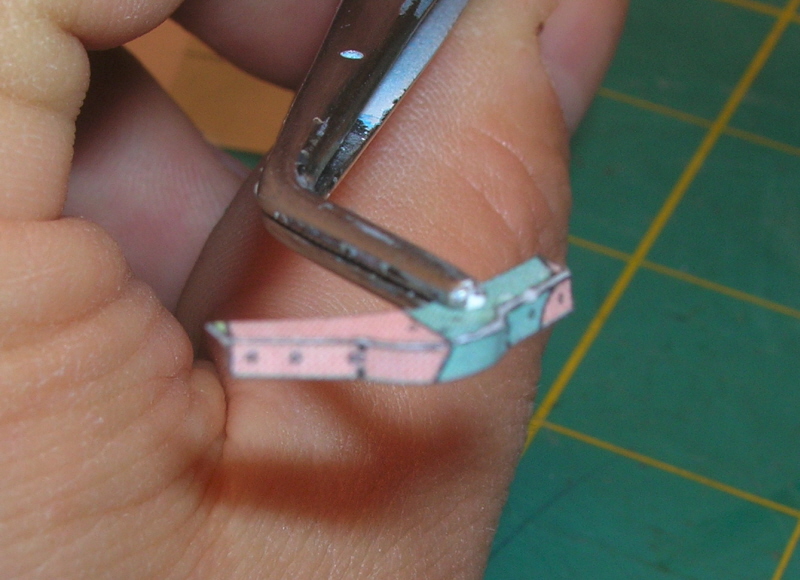
The most complex component on this version is the foreword gun mount. It consists of three parts that are folded and assembled to make the mount. The major components were cut out, scored, folded and glued to make a little kit.
 I did deviate from the instructions just a bit again by opening up the bottom of the chassis so that I could reach inside the hull and have an easier time aligning the top of the hull with the sides
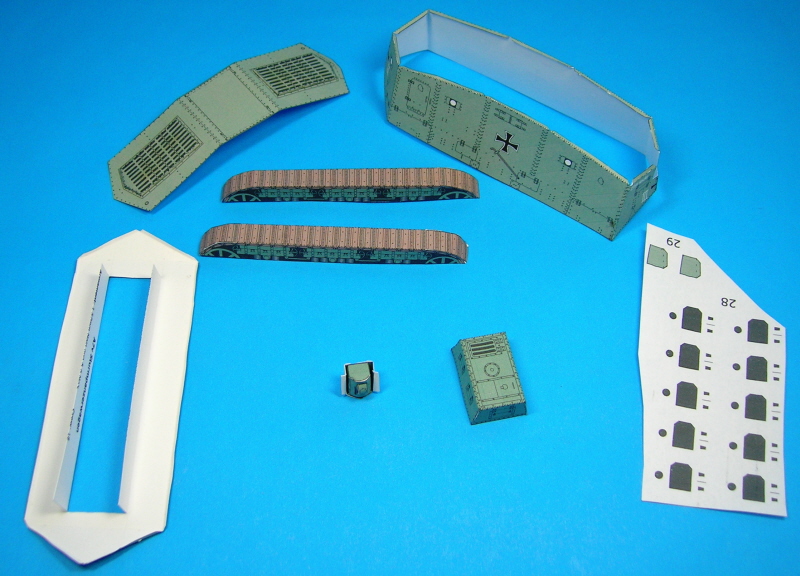
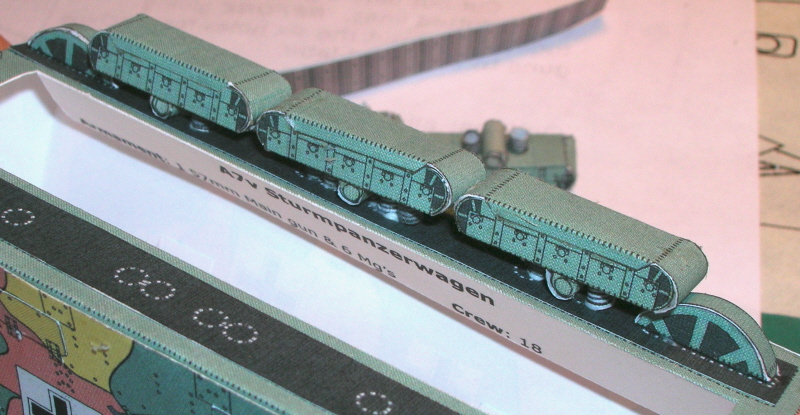
 Then these were assembled into the final product
THE COMPLEX VERSION
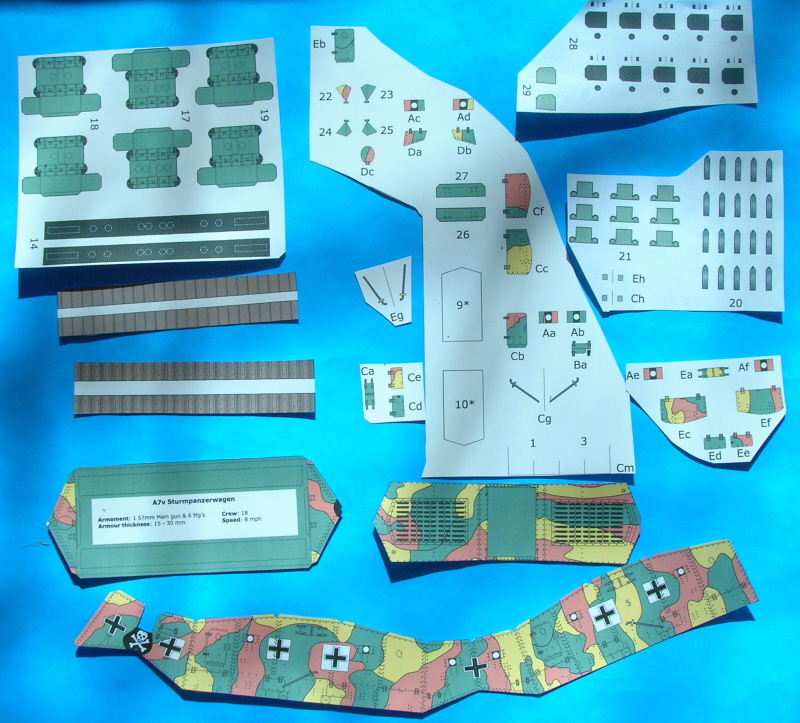 As you can see in this photo, the complex version of this tank has the same basic12 major pieces, and enough material to make the six machine guns and one cannon. In addition the complex version includes external hatches and doors to give the “depth” that the armor would have on the full-scale vehicle. The challenge on the complex version is the relatively detailed suspension and track system. And, unfortunately for me, you have to roll no less than 22 itty bitty little tubes, more on that later.
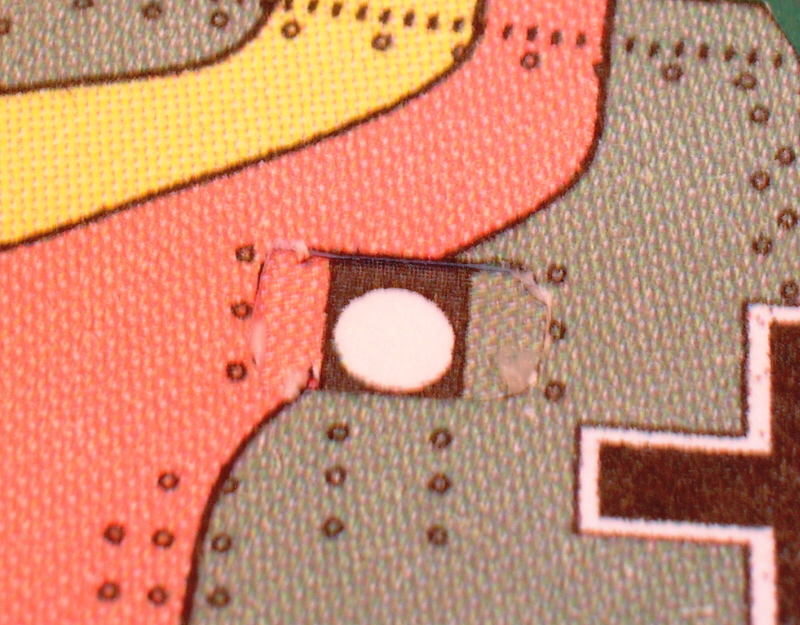 The first step in assembly of this version adds depth to the machine gun ports by cutting out the six rectangular areas out of the sides of the hull and gluing a replacement set of portal doors on the inside of the hull, this replicates the configuration of the prototype vehicles.
I followed this by adding all of the additional hatches and doors to the exterior of the tank.
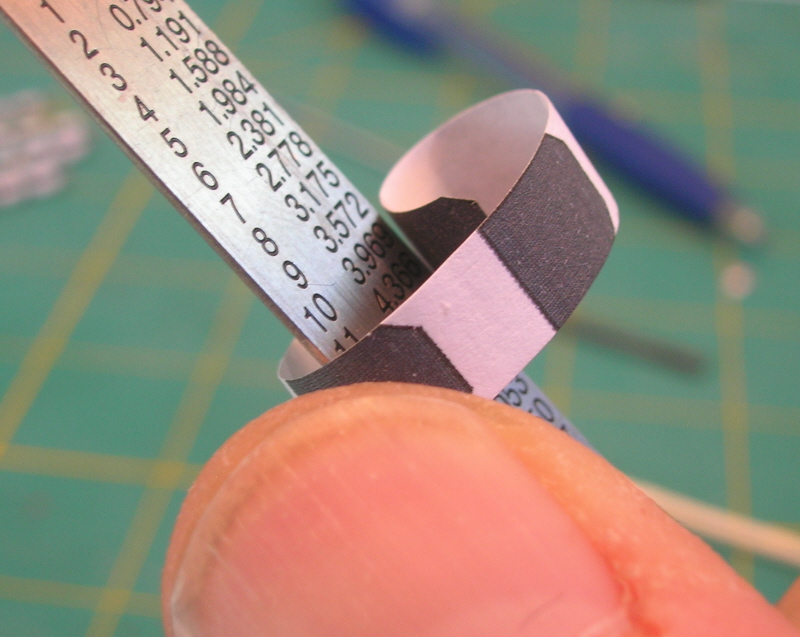
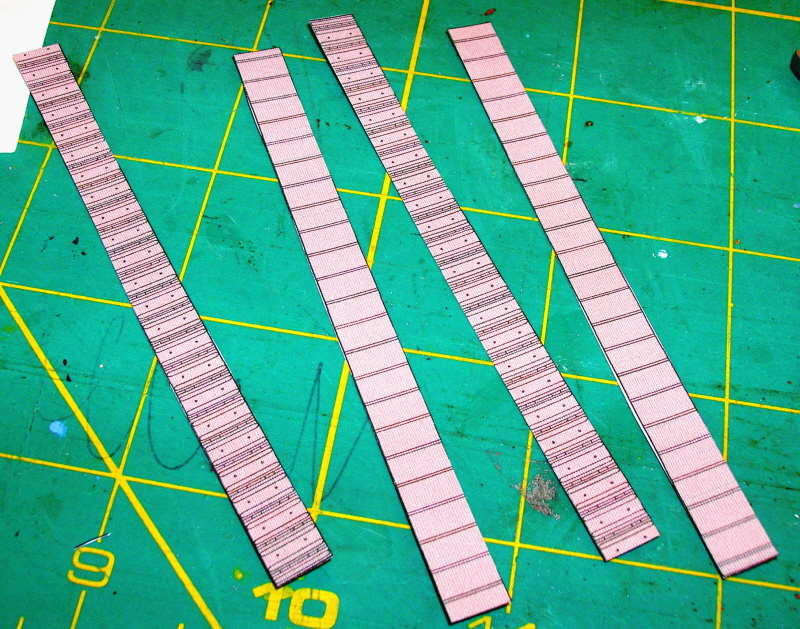
 I moved on to the rough part, so here's my method of assembling all the little rolled tubes in this kit. One of the best tools to have around for paper model making is a complete set of drill bits that include standard fraction sizes, letter sizes and number sizes. These drill bits allow you to roll the paper to just about any diameter that the designers intended. In this case I saved a little time by rolling and gluing five springs at a time.
 The tubes with the five springs were allowed to cure, then the tube was slid back on the drill stem, and each tube was cut off and put in a safe place.
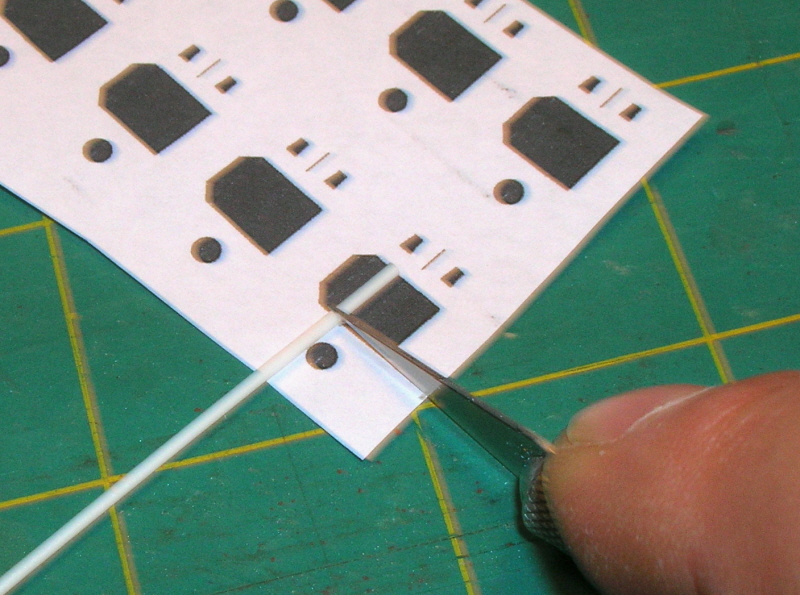
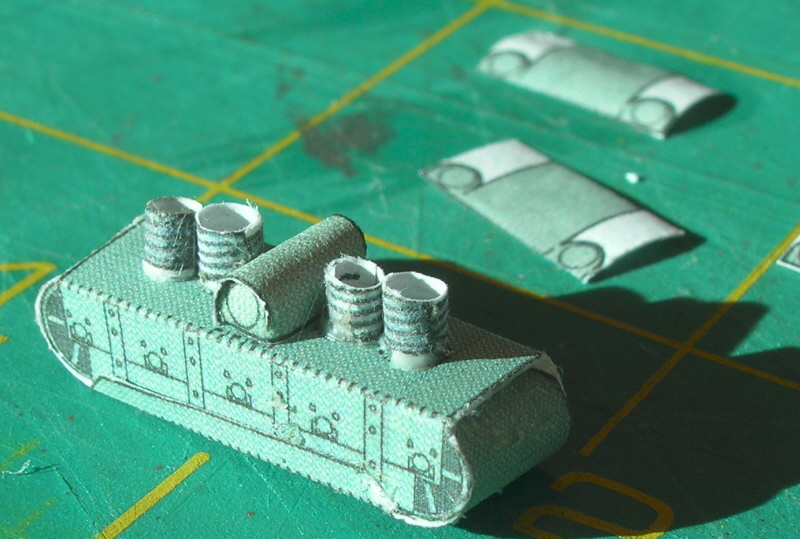
 Another technique frequently used in paper modeling is “curling” it's easier to roll a tube if the paper has a curl to it to begin with. To do this, trap the paper between your thumb and a sharp edge and GENTLY pull the paper across the sharp edge. Here you see the process applied to the multiple gun cooling jackets in this model.
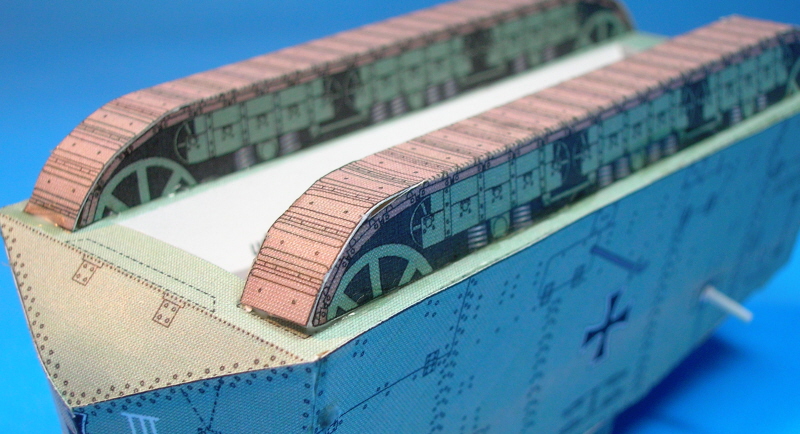
 As I said above the other addition to the complex version of this tank is a rather detailed track system. This starts by taking four track components and gluing them together to form tracks, each with an inner and outer surface.
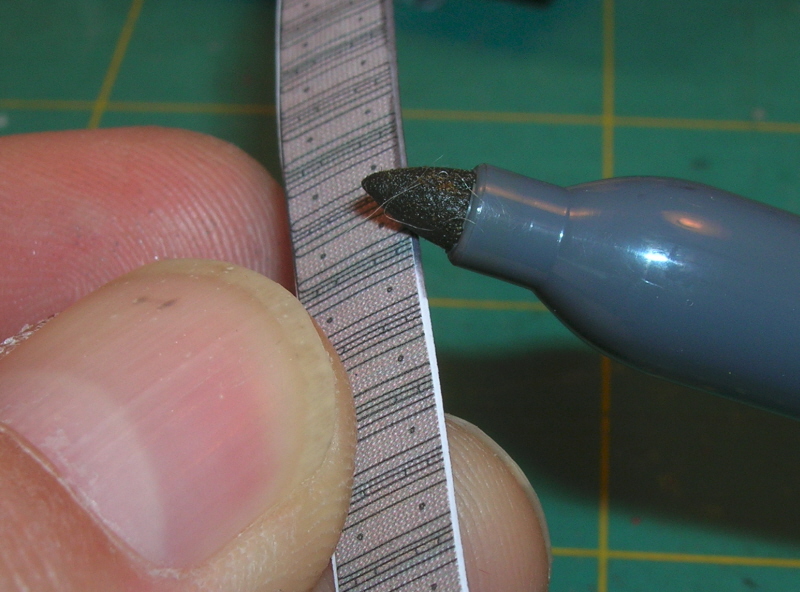 One other technique you may consider is that when you have an open, raw unprinted edge like we get on these treads, use an appropriately colored marker or crayon to color the white edges.
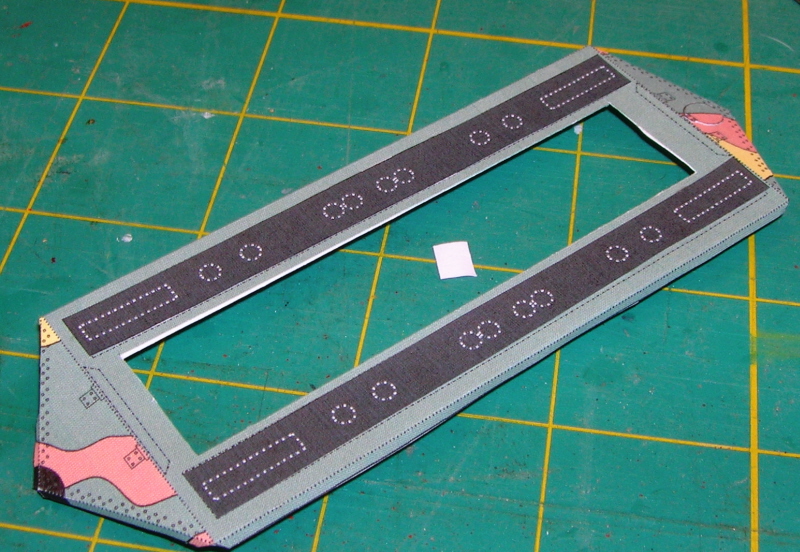 The suspension build starts with reinforcing strips on the bottom of the chassis.
 Followed by folding and gluing the track sponsons and then the idler wheels.
 The springs and attach fittings are added to the sponson, and you end up with a track kit for the bottom of the tank.
 All of these items are carefully arranged in the proper locations. I found it worked best if you start with the middle sponson and move outward towards each end, making sure that the sponsons touch each otherwise you may run out of space.
 The last detail to add on this one was the mantle above the canon turret.
 To be fair to the designer I did actually try to roll the main gun and one machine gun on this version.
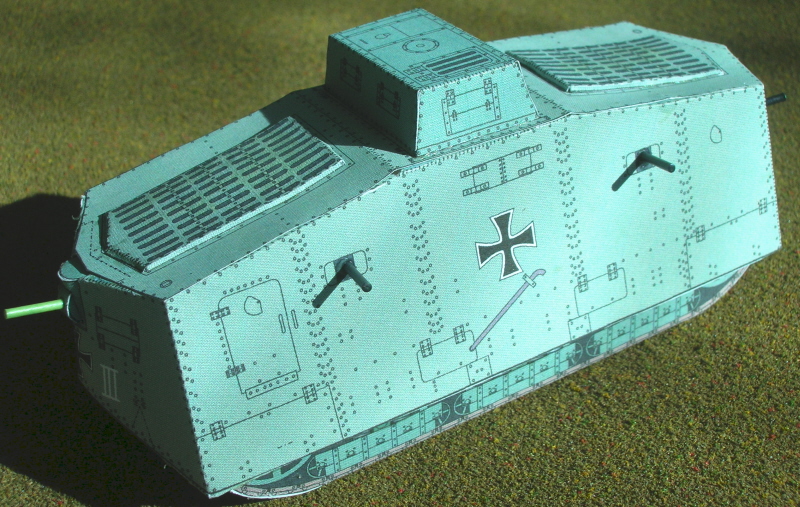
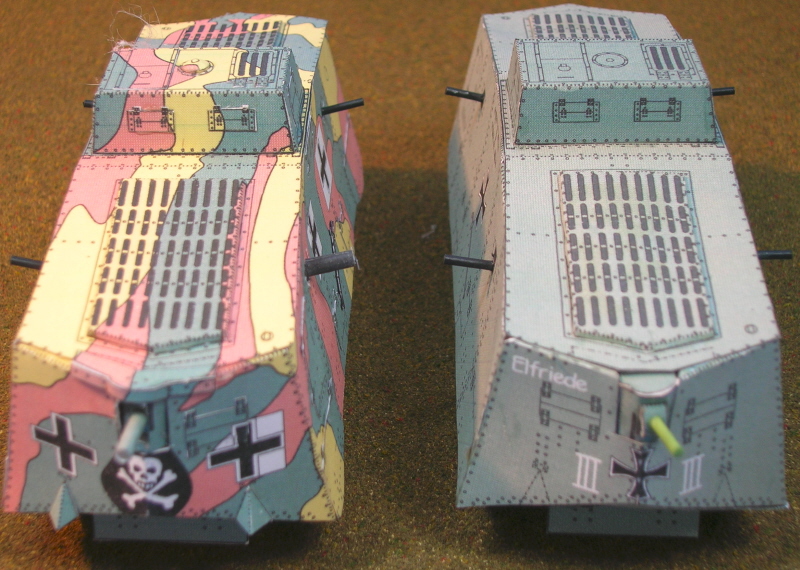 All in all a fun way to spend my Christmas vacation and a quick way to build some WW-I armor for a diorama, or for gaming.
 I'm looking forward to Andy's next designs.