Engine & Transmission
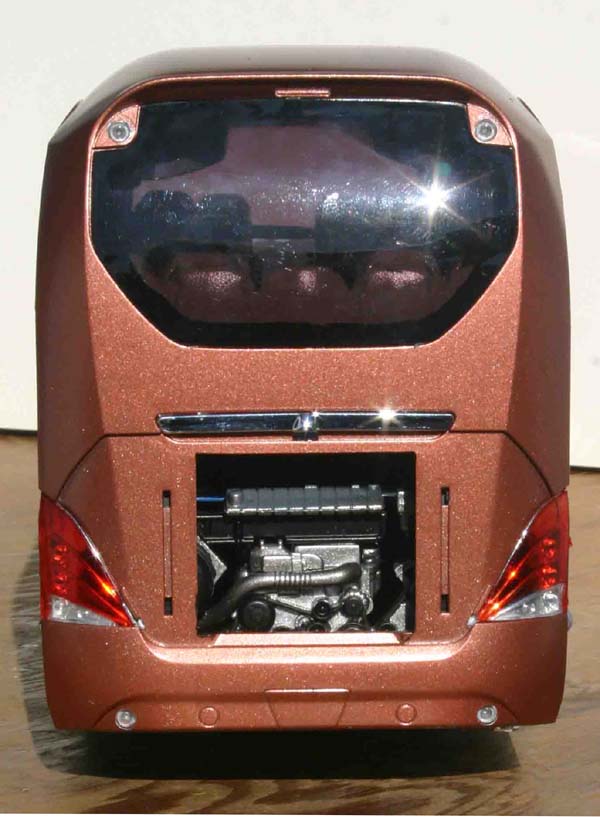
 Hiding inside the legally mandated engine cocoon is a simplified, but well detailed engine/transmission assembly. The M.A.N (Machinenfabrik Augsburg-Nurnberg) D 2066 LOH 03 10.5 litre 400 hp is actually very well represented and I almost stole it for another project. The attached transmission represents the ZF TipMatic 12 speed automatic. Since all that can be seen is the engine front and transmission rear, those areas receive the most attention from the mold makers. The engine assembly slots neatly into position and it can be withheld until you are ready for final assembly of the chassis/interior bucket.
Chassis
The chassis, as is the case with modern European buses, lacks noticeable detail. Almost everything is contained within the monocoque shell. The visible suspension components are slightly simplified, but perfectly adequate. Other underside details are molded in relief and could use a little detail paint to bring them out.
Interior
This is where all the detail-and work-lives. First off the passenger compartment underside was shot with Tamiya TS-4 German Gray Lacquer and was then mounted on the chassis bucket. Next the floor and side panels were painted and attached. This is a 55-passenger coach and all the seats are present, waiting to be detailed. 25 seat pairs, plus the 5-seat rear bench equals 56 seats total, including the driver’s seat. If you include the 2 decals each for the upholstery patterns, you have 112 decals just for the basics of the seat assemblies! Detail painting on 50 seat backs consumed several sessions alone.
Once all the detailing was finished, the inside seat arms were attached and then the seats were mounted to the floor and sidewalls. The interior cabinets, rest room and handrails were all assembled and mounted in their respective locations. An additional 38 decals finished off the interior assembly. Then it was time to get on with the body shell assembly.
Body
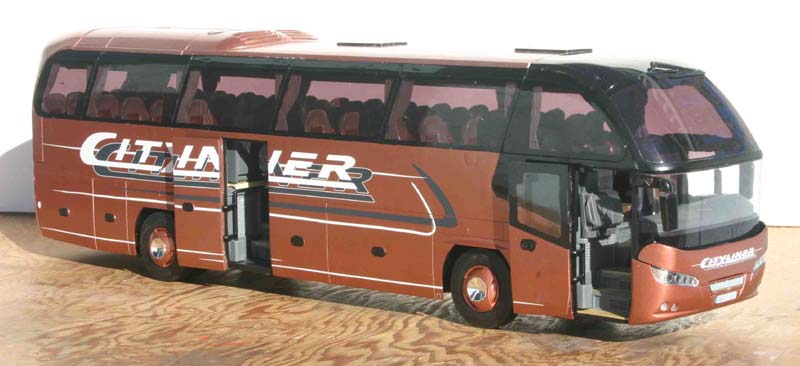
The body side panels are some of the largest single chunks of injection molding I have seen in a kit. Only 3 other kits in my personal experience have larger moldings and all 3 are marine subjects. The side ceiling and roof panels are all exquisitely formed and suffered no warpage at all. Revell Germany has a very well thought out system to assure proper alignment of, and a solid attachment to, the chassis assembly. This consists of multiple keys on the side panels that mate with holes in the chassis/interior. There is only one slight downfall, at least on the one I have - the sides are riddled with sink marks at the keys that were not apparent until I had applied the final clearcoat.
 Therefore next time round, I will glaze fill the side panels to assure they are gone.
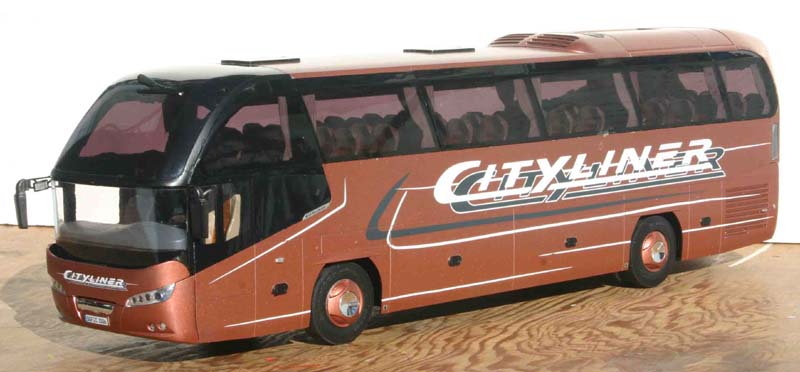
All panels slot together along regular production panel lines, so nothing to hide there. There is a section of the roof that is designed to be removable to show off the interior. However, after studying the view available, I decided to secure the panel and just go with what can be seen through the windows and doors. Now for the last great challenge of this build. Since I had decided to go ahead with the factory demonstrator color scheme as provided on that huge decal sheet, it was time to apply the side logo decals. The left side decal is almost full length and has limited carrier film. Proper alignment to panel lines is absolutely crucial and required much care and finesse. One full day was required for each of the sides and rear and about half that again for the front. OK, decals on, hang mirrors doors and the last of the light lenses and the Neoplan is finally finished.
Conclusion
My few haggles with the kit have already been covered. Overall, this is a wonderful kit that fills a gaping hole in my personal commercial vehicle collection. Was it worth $125? It was worth it to me, yes: I actually have purchased 2. The next one I build will be for an actual in-service coach for a carrier yet to be determined. I do have some neat ideas from my trips to Europe. And I might just completely open the engine compartment for the challenge and detail possibilities. This kit is not for beginners, it does some technical skill just to deal with the sheer size and available detail. Now, if I could just justify the purchase of 4 more of these kits so I could build the 3 axle version AND possibly the articulated prototype that has been proposed...
Color Guide
Mfg Color Used on
Humbrol 112 Gray Air tanks
Humbrol 33 Matt Black Suspension Air Bags
Humbrol 85 Anthracite Transmission Chassis details
Tamiya Laq TS-29 Semi-gloss black Rear Suspension
Tamiya Laq TS-3 Dark Yellow Floors
Tamiya Laq TS-4 German Gray Engine Compt interior Dash Panel
Tamiya Laq TS-69 IJN Gray (Sasebo) Driver's seat Base
Testors Metalizer Aluminum Wheels
Testors MM Auto Laq Dark Bronze Metallic Body exterior
Testors MM Auto Laq Fabric Tan Interior sidewalls
Testors MM Auto Laq Plymouth Bright Platinum Engine
Testors MM Enamel 2910 Sand Beige Seats