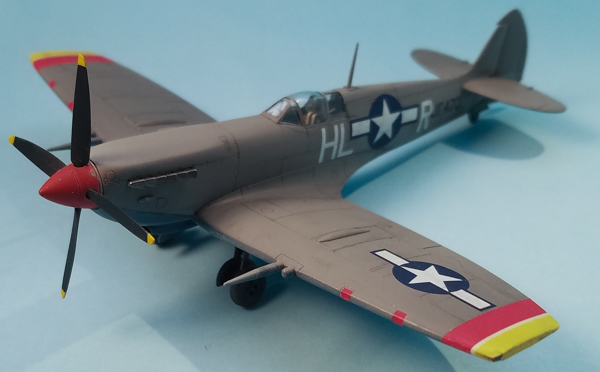
Hasegawa 1/72 Spitfire Mk.VIII
By Matt Bittner
Introduction
Every once in a while you just need to pick up a kit on the second-hand market. One of the local IPMS/Fort Crook (out of Omaha, NE) members had this for sale for a few bucks. It had already been started but for some reason he decided not to go any farther and parted with it. So I thought, why not? At the time (many years ago) I had a couple of Hasegawa Mk.IXs and the Eduard kit wasn't even on the horizon, so the Hasegawa was it for the Mk.IX variants. So I paid my money and took my chances.
The main part of construction already completed were the wings: they were already glued together and the prior modeler decided on the blunt wing-tips. So, I had a place to start and even though the decals were for British machines, I saw HL-R in a photograph and color profile and knew that's the one I wanted to build.
One other thing. It has been a few years since I purchased this model and just recently finished it. So most of what I'm typing is from memory. No doubt I'll leave things out.
Construction
As I mentioned, the kit was already started with the wings glued together. So I had only one airframe option I could finish the kit as, a blunt-tip bird. While the boxing I had didn't have the decals for HL-R, and knowing Hasegawa did those marking in another boxing, I went on a quest to find those decals. It took a few posts to different forums through the years but finally someone answered my call and sent me the decals to the HL-R boxing. Excellent.
Even though the wing was already assembled there were some areas that needed to be dealt with. First, there were a couple of molding flaws in the outer gun ports so those ports needed to be filled so that area could be smoothed down. I did not re-create the ports because they would be covered in the end. There was also a drop of glue or something that needed to be sanded away on top of the wing. Because Hasegawa engineered this kit to accommodate both long and short aileron Spitfire variants, and because the Mk.VIII has the shorter ailerons, the outer lines were filled. In addition the buldges over the landing gear were sanded away.

|
I decided I wanted to spruce up the kit a bit, so I purchased the Eduard Zoom photoetch set along with their masks, plus the Quickboost replacment prop and spinner (the Hasegawa prop blades just aren't quite "right") along with the Quickboost exhausts.
|
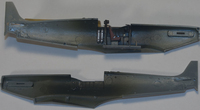
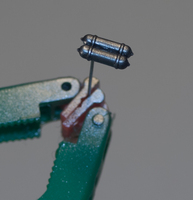
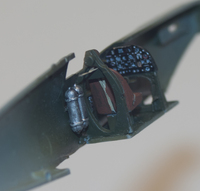
I sprayed the cockpit pieces with some sort of green (again, this was years ago so the memory...) and assembled it all. I know I lost a few of the Zoom's smaller pieces but wasn't too concerned because I had already decided this was going to have a closed canopy. I asked another local, Omaha-area modeler to resin-cast me some oxygen bottles from (I think) an AZ or KP kit so those were added as well. Moot, as they can't be seen, but I know they're there.
|
Once all the cockpit pieces were assembled and painted, then it was time to close the fuselage halves. If memory serves, there isn't a lot of putty on the fuselage seams. The kit goes together pretty well and overall I think the worst offending area for putty is the wing-root seams. I think there may be some putty also in the stab to fuselage joint but if so it wasn't a lot.
|
Because of the putty in the wing roots I lost the main panel line and decided I would "pencil that back in" when the model was complete. It looks okay but then again this isn't a contest-winning model. Since the Zoom set came with the base for the antenna the kit's molded on base was sanded off and the photoetch one glued on. Now it was time for paint.
|
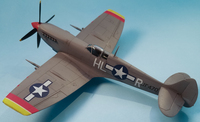
I painted the model with mostly Hataka paints, from their RAF Photo Reconnaissance Units paint set: Medium Sea Gray for the uppers and P.R. Blue for the underside. The red for the spinner was from The Color of Eagles, which is actually a Vallejo Model Color set (The Color of Eagles had Vallejo create paints for them, with scale-effect already built it). I thinned the Hataka paints further with their thinner and Future. The final overcoat was Vallejo's Premium Gloss.
Final Construction
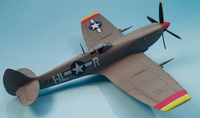
Once everything was cured decals were added. Lo and behold if you do wait long enough you will be rewarded and I was, as one of the Eduard Mk.VIII kits also comes with HL-R decals. So I used those instead of the Hasegawa ones that were sent so long ago. And the Eduard decals went down like a dream. I still opted to use the wing-tip decals from Hasegawa, though, and definitely regret that. They didn't lay down very well and it took multiple applications of multiple setting solutions to get even a decent effect. There are still issues with them but as I mentioned, this is definitely not a contest-winning model. Because the thinking was this particular aircraft had it's top surfaces painted in the field, the only stencils I added from Eduard were to the underside.
|
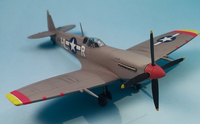
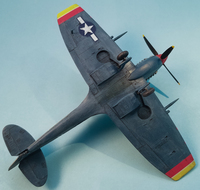
Now that the decals are on, I sprayed Future over everthing. Once that cured I then started on the panel lines. I used Vallejo's Model Wash Dark Gray for the underside and Model Wash Gray for the top side to bring out the panel lines. Once that had dried I then used True Earth's Filter & Wash Light, Desaturation & Fading 3 on the entire underside. I was told by one modeler that the underside should probably be Azur Blue instead of PRU Blue (which was in the Hataka set) so I wanted to lighten the blue by applying this wash. It was my first time using it and I think it's going to take a few more times to get used to how to use it.
|
As I mentioned this was a second-hand bought kit, so for some reason - and I probably removed them myself - the kit was lacking it's wheels/tires. So I robbed an Eduard kit for those. Just had to pack the mounting holes with plastic tubing and they fit on the landing gear with no problems.
The final overcoat was Vallejo Premium Satin Varnish. Then I added Vallejo Engine Fuel Stains to the fuel filler cap area and Vallejo Engine Oil Stains to the underside.
Unfortunately while removing one of the Quickboost exhausts from the popsicle stick it was attached to for painting, I ruined that exhaust. So I just dry-fit the kit's exhausts in until I can purchase new Quickboost exhausts.
Conclusion
Don't pass up second-hand deals, they can yeild some decent models. I'll have another one to post soon. While the majority of my mid-mark Spitfires will be Eduard, the Hasegawa kit isn't horrible. And this build convinced me to build two more Mk.VIIIs - one standard wing-tip, one long wing-tip - and finish them as U.S. birds.
|
My thanks to Hataka for the review paints.
