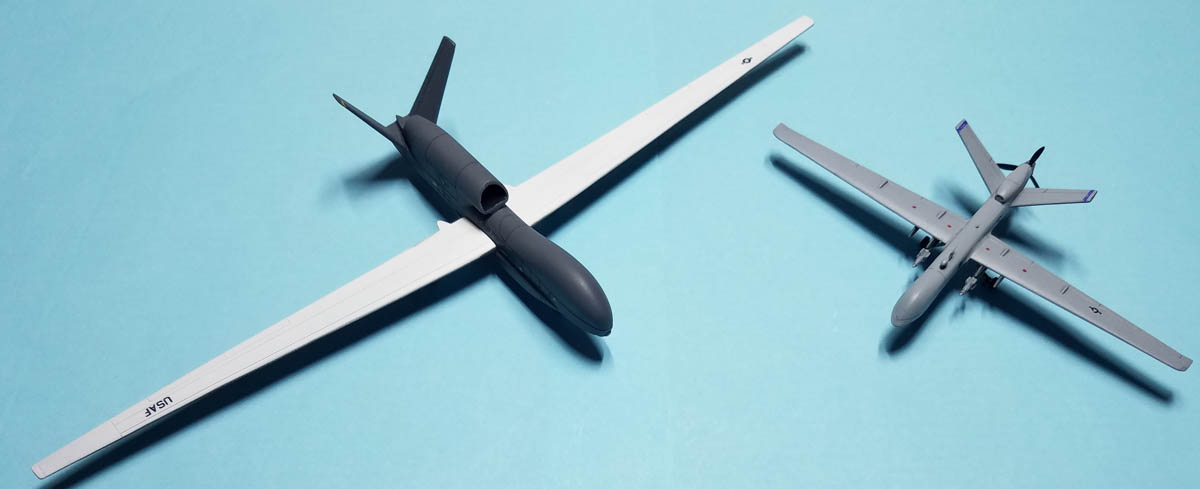
Miniwing 1/144 General Atomics MQ-9 Reaper / USAF
By Matt Bittner
Introduction
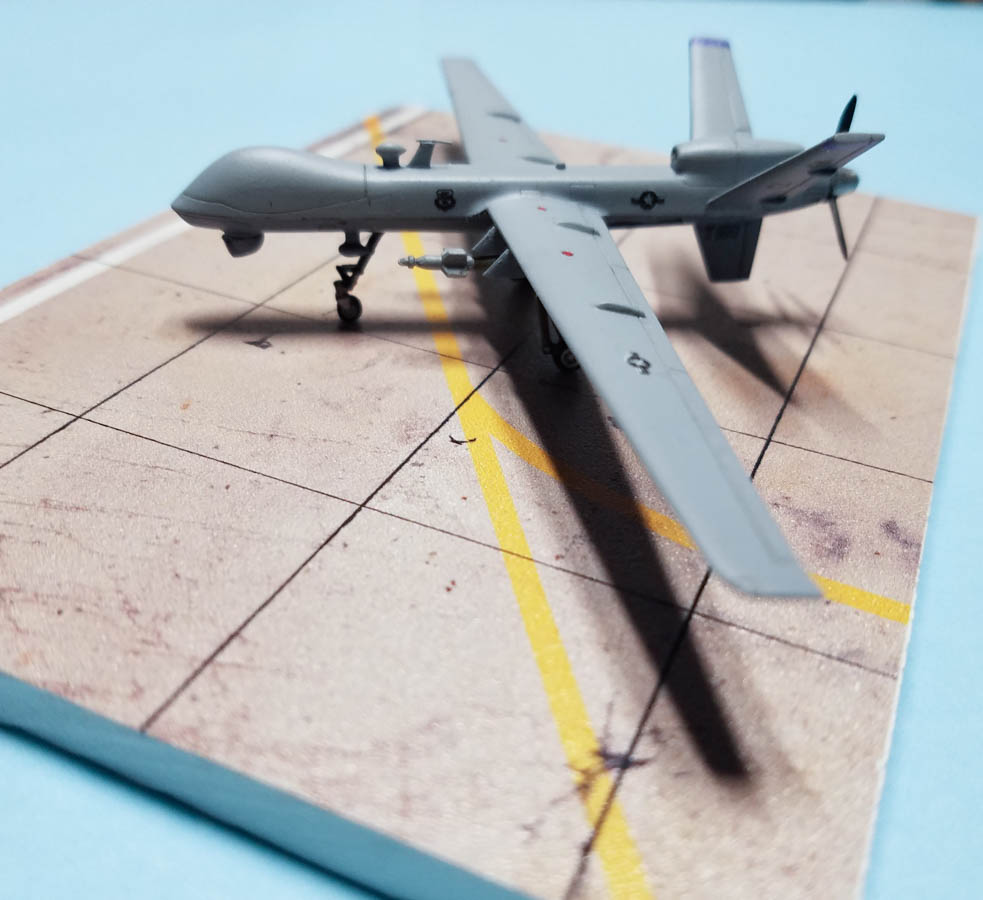
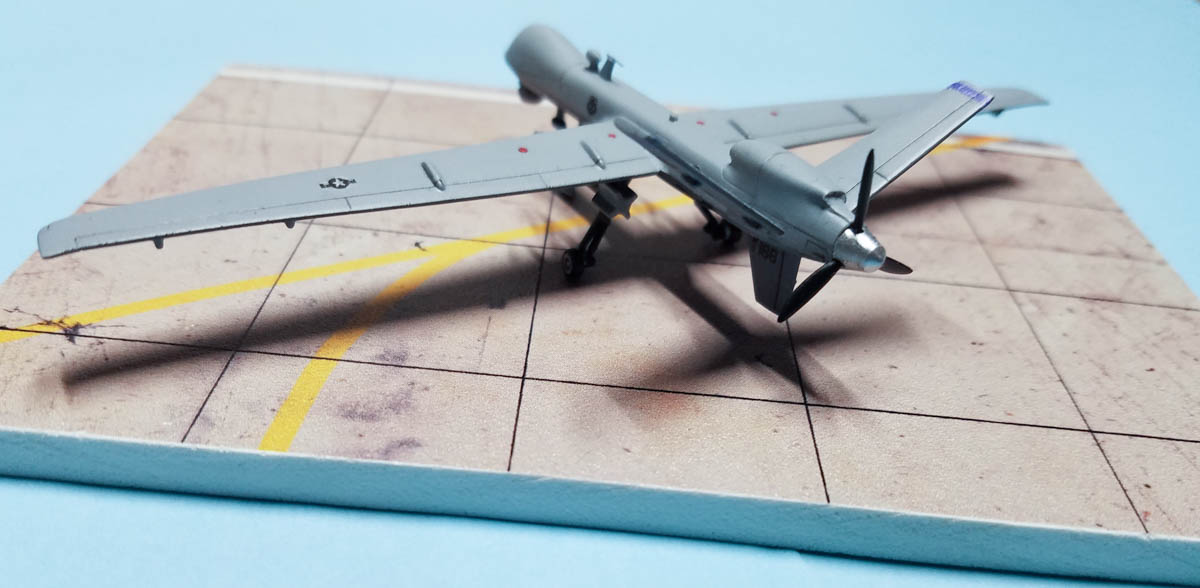
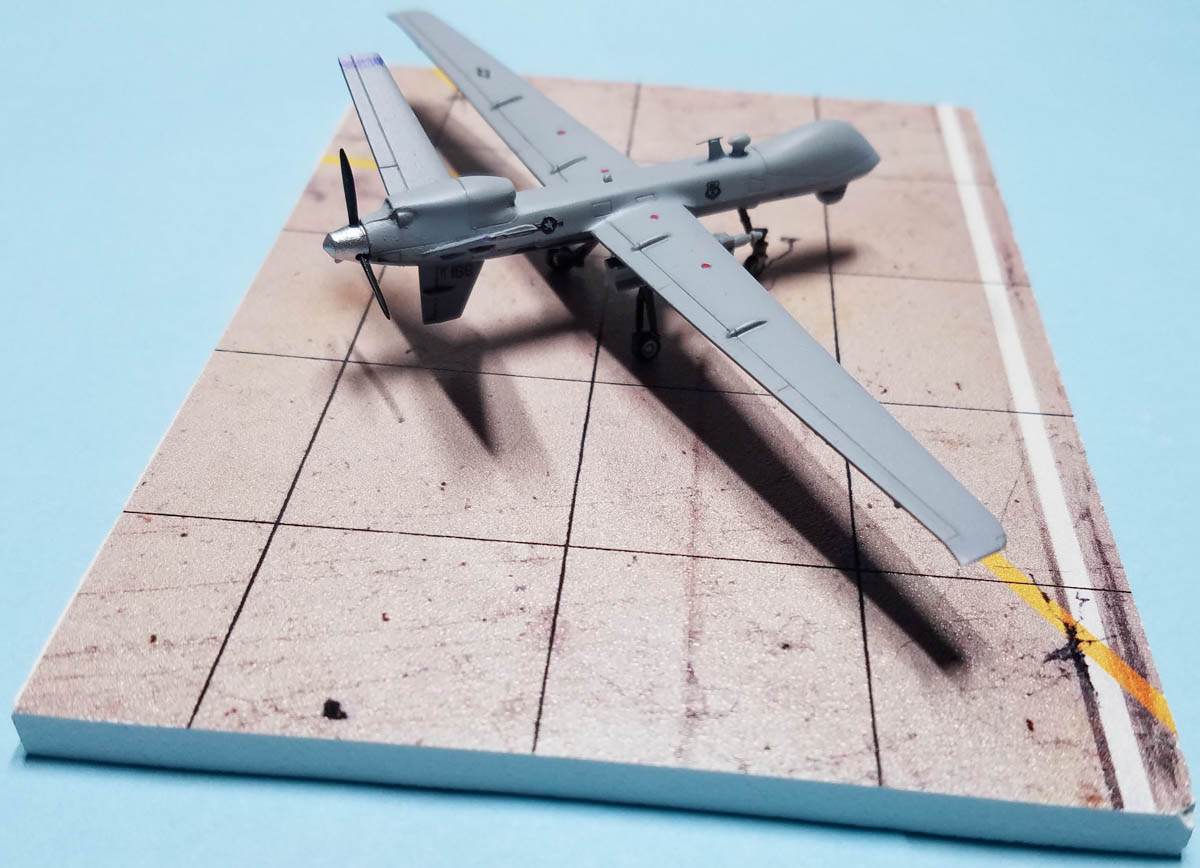
I wrote a First Look on the Minwing Reapers sometime ago and they've been out for a few years. You have your choice of either buying two-in-a-box, or a single, bagged version with decals for only one aircraft (refer to my First Look to see what's in each package). Either way, you're receiving a very nicely molded model of the General Atomics MQ-9. For this article I built the bagged, California ANG version.
|
Construction
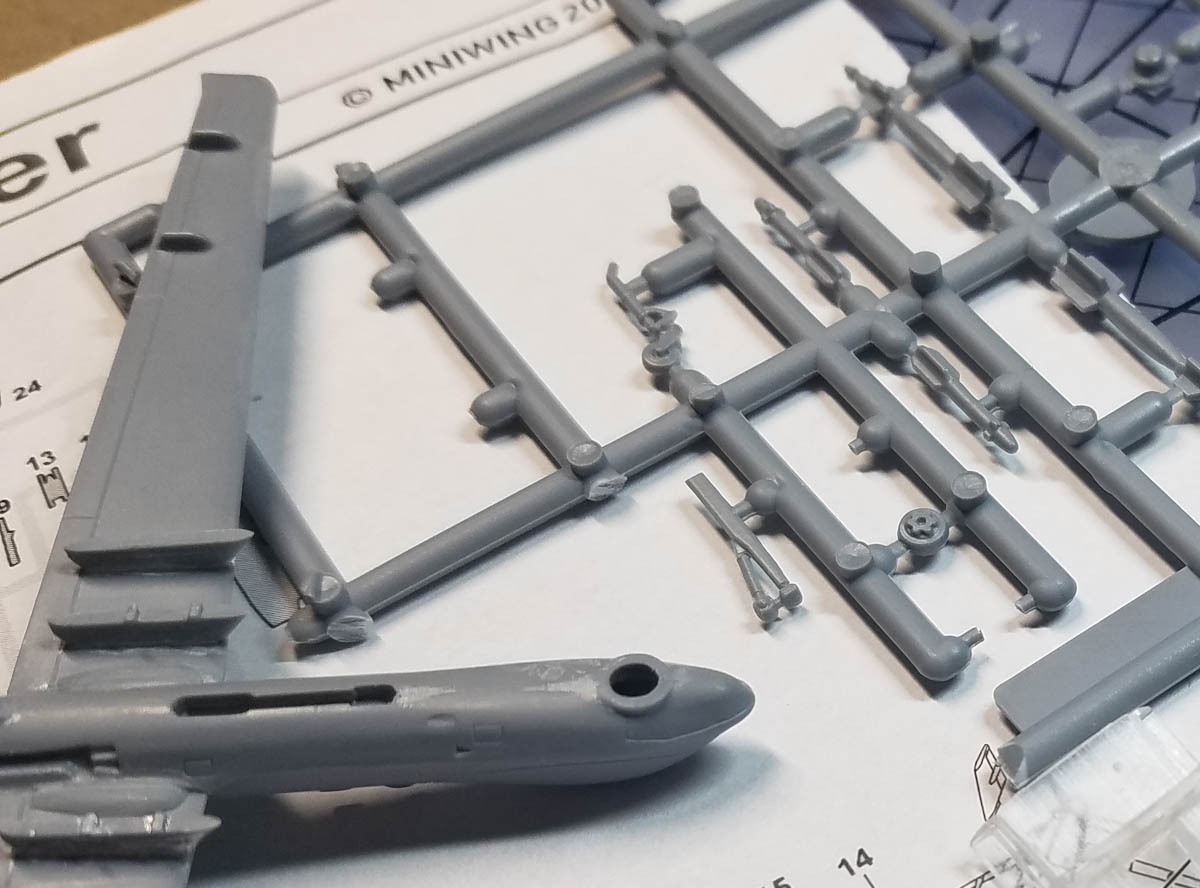
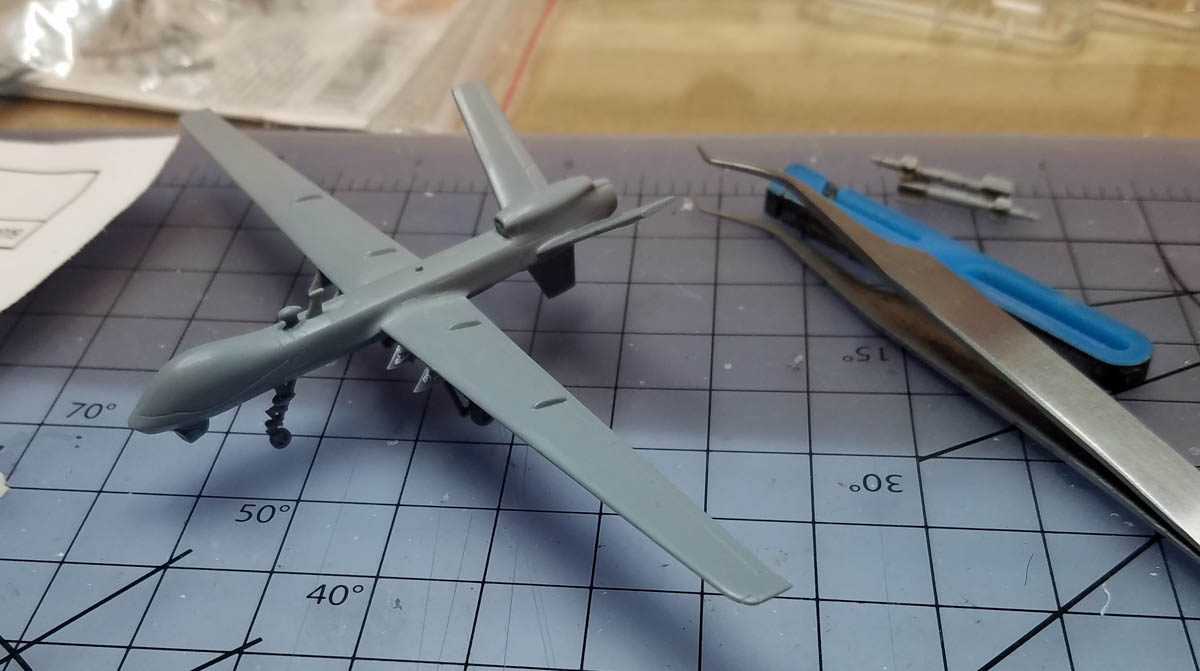
Actual construction isn't difficult and you should have a built 1/144 Reaper in very little time. Definitely follow Miniwing's instructions and add at least one gram of weight to the nose.
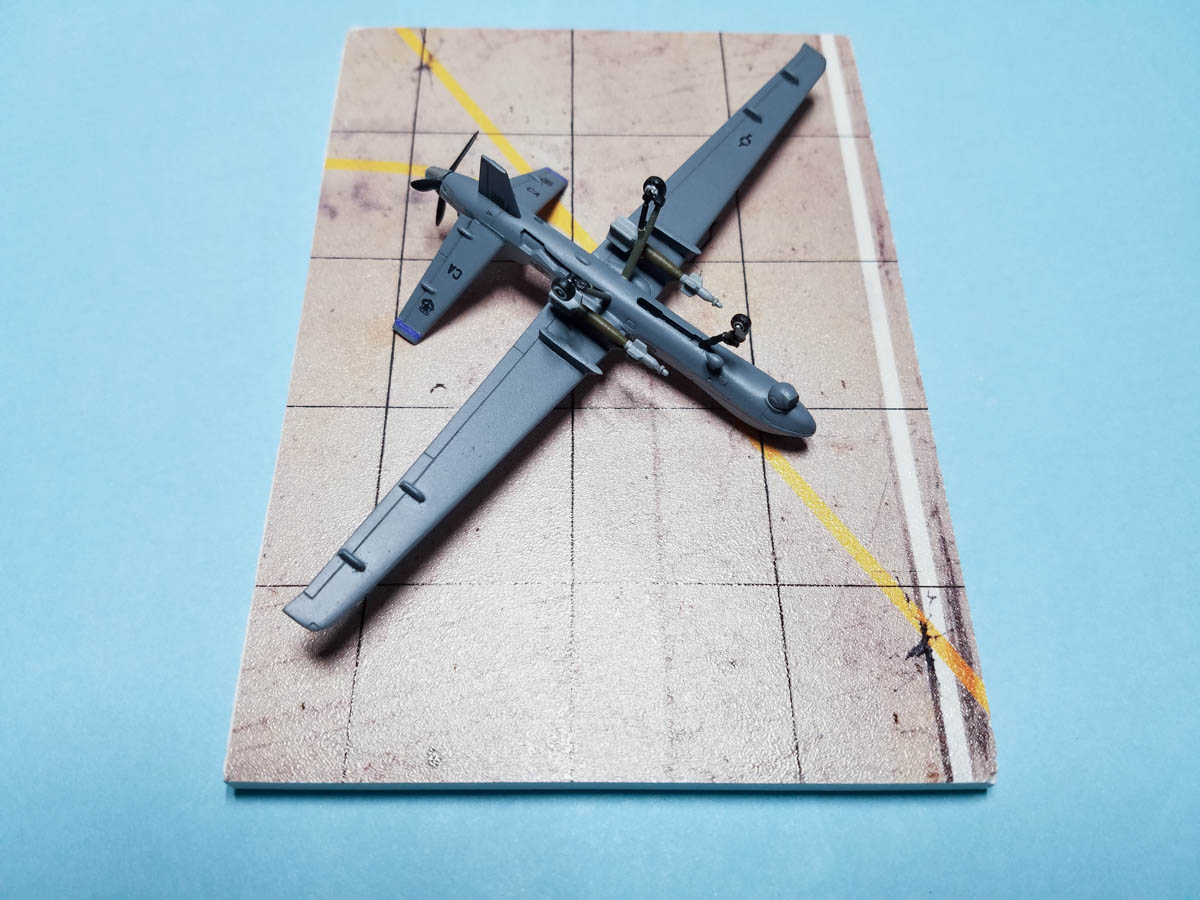
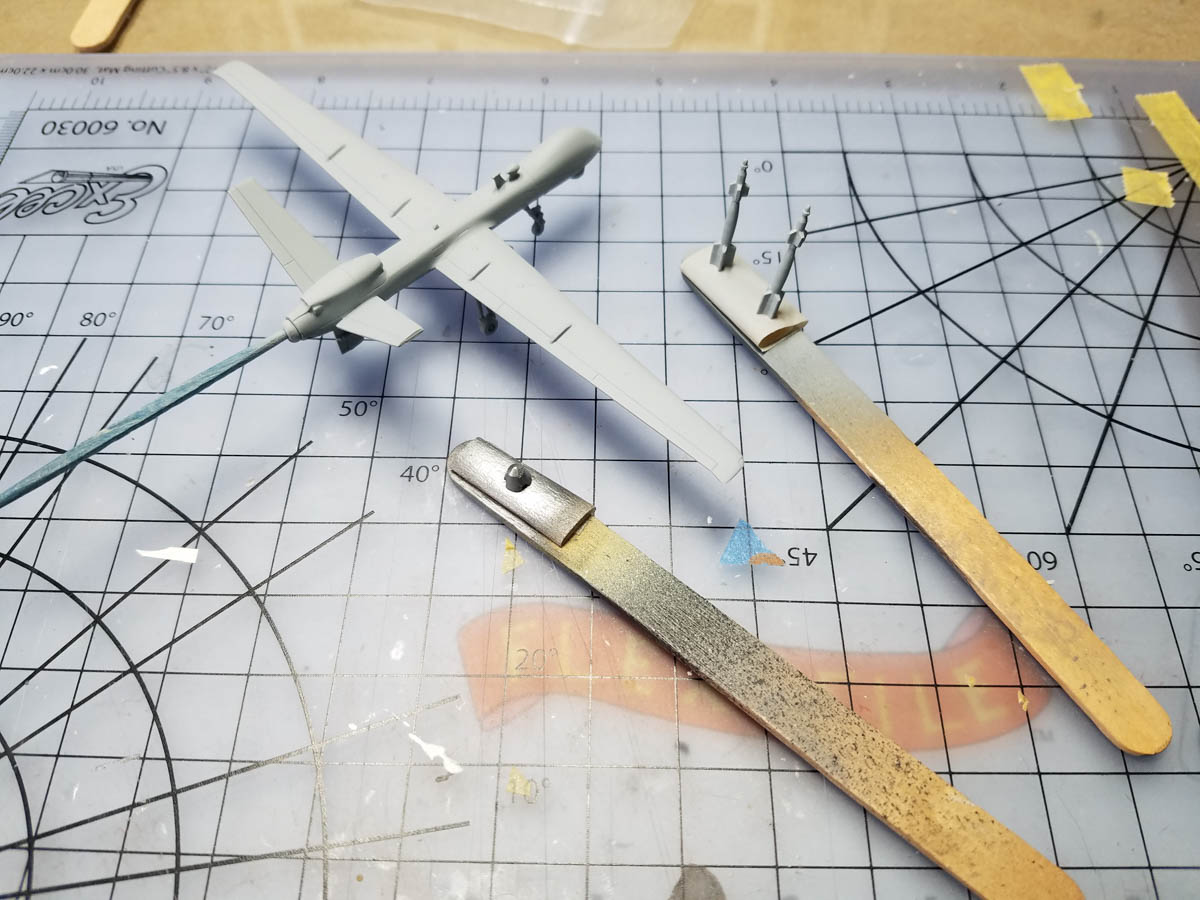
I did need some filler in a few places but thankfully not much. I decided first thing to only hang the GBU-12s and kept the ones from the kit since I thought they were decent enough. I did add both pylons but kept the outer ones empty.
|
While construction was completely straight forward with no issues, one area I wanted to try differently was the assembly of the main landing gear. Each leg consists of three parts so I decided to keep the main part of the leg attached to the sprue and glue the two smaller sections onto the main leg. It worked, but you have to take into consideration the angle of how all pieces glue together.
One part to watch is the antenna on the top. The end of it is molded on and it's easy to break it off with handling, which happened to me. So I just used a piece of sprue to add it back.
|
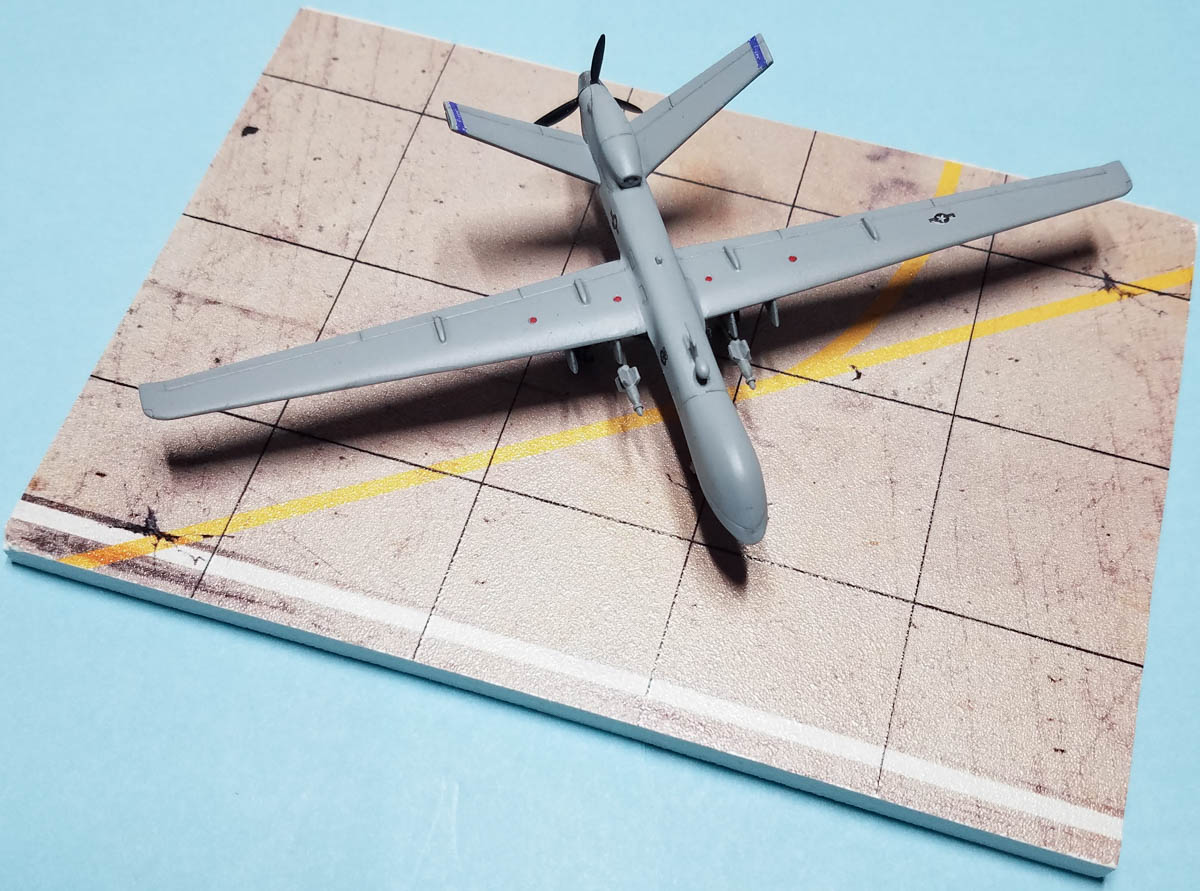
I primed it with Vallejo Light Gull Gray, which is a close-enough match for the top sides. For the underside I went with Vallejo Ocean Gray. A conundrum was how I was going to get a good look for the main landing gear legs but looking through my paint, a good match was True Earth's Burnt 11. It's definitely a "close-enough", scale match. Then paint the rest of the gear with black and it was all finished. For the spinner I used Vallejo's Chrome.
Unfortunately the decals are out-of-register, especially noticeable on the stars-and-bars. I ended up going over the areas of white showing through with paint to try and hide the registration problems. It must have worked out as the model placed 3rd at the 2022 IPMS/USA Nationals.
|
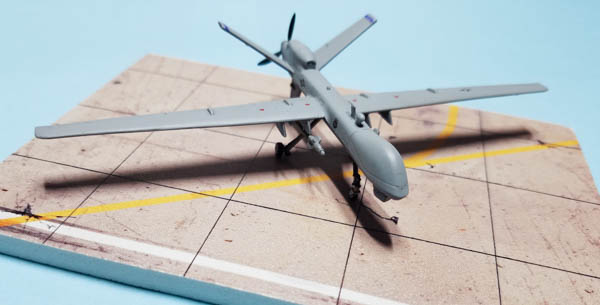
I finished it with a coat of Vallejo Satin and posed it on a base by Steel Scorpion, now unfortunately out of business.
Conclusion
This is not a difficult build. The only thing truly missing from the kit is the nose probe, easily added, but I wanted this as an "out of the box" (or as the IPMS/USA rules call it now "Basic Kit Build") so didn't add it. It still looks like a Reaper without it, though.
I definitely thank Miniwing for the review kit.