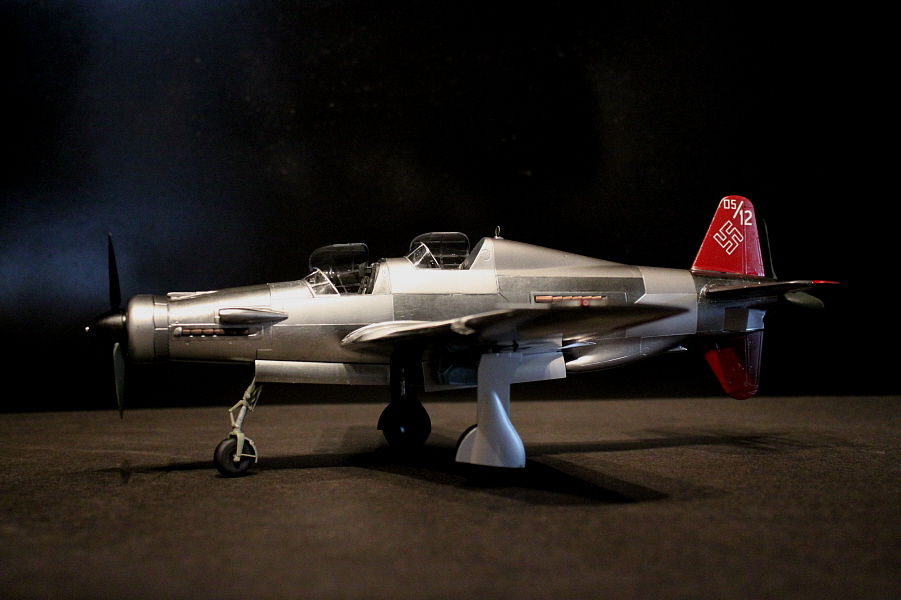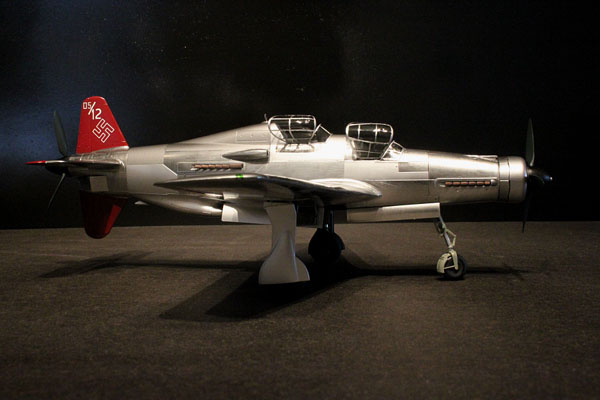
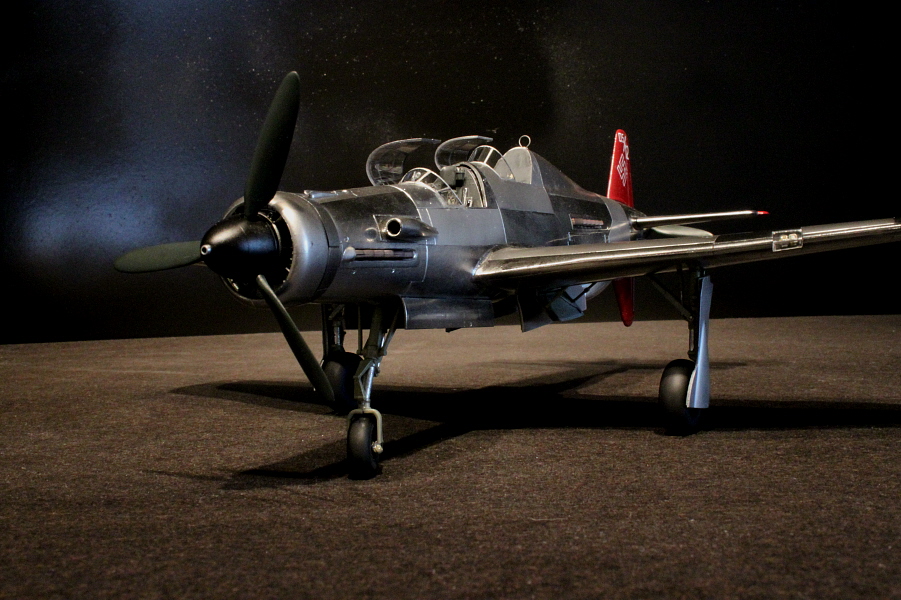
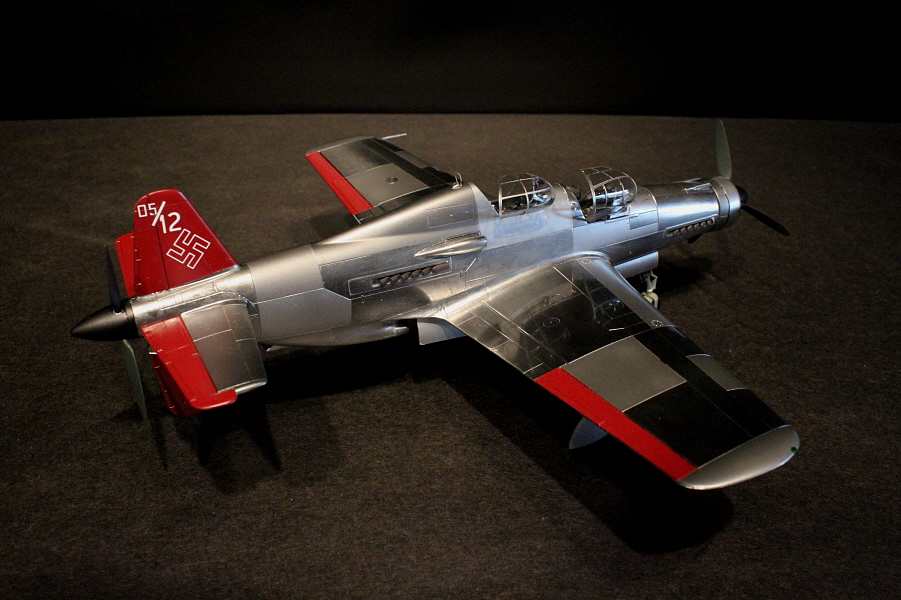
Tamiya 1/48 Dornier Do 335A-12 in an Alclad II Finish
By Greg Goheen
Overview
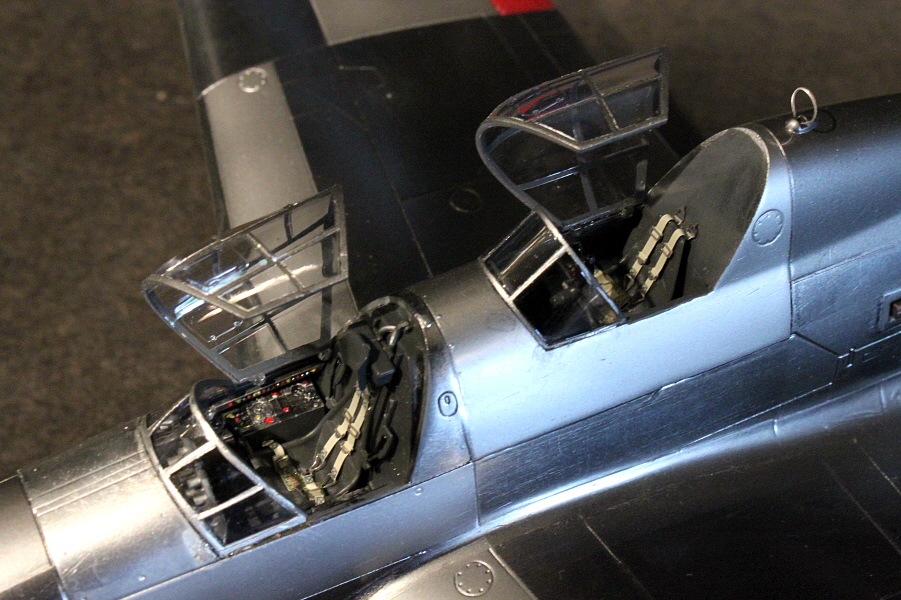
Preparation (with Patience)
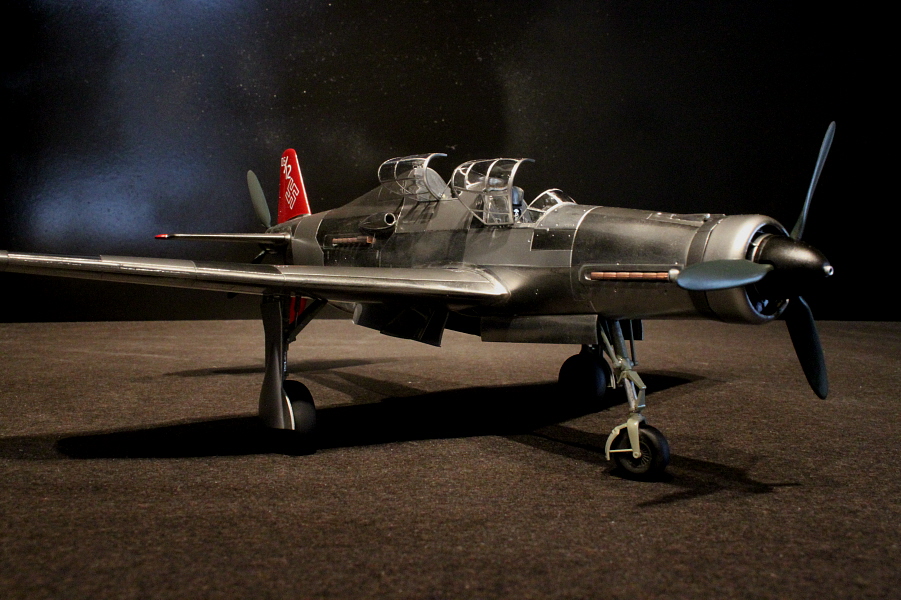

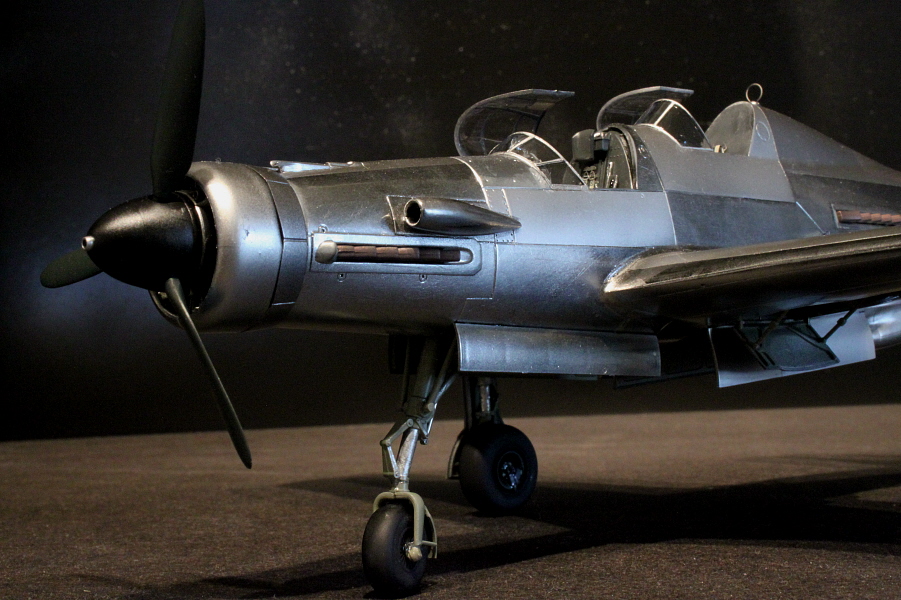
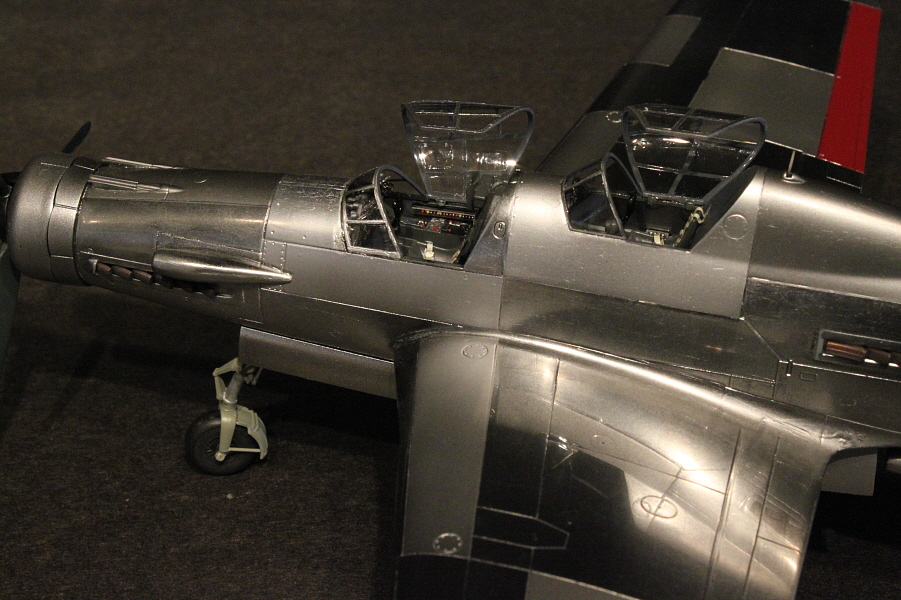
Painting
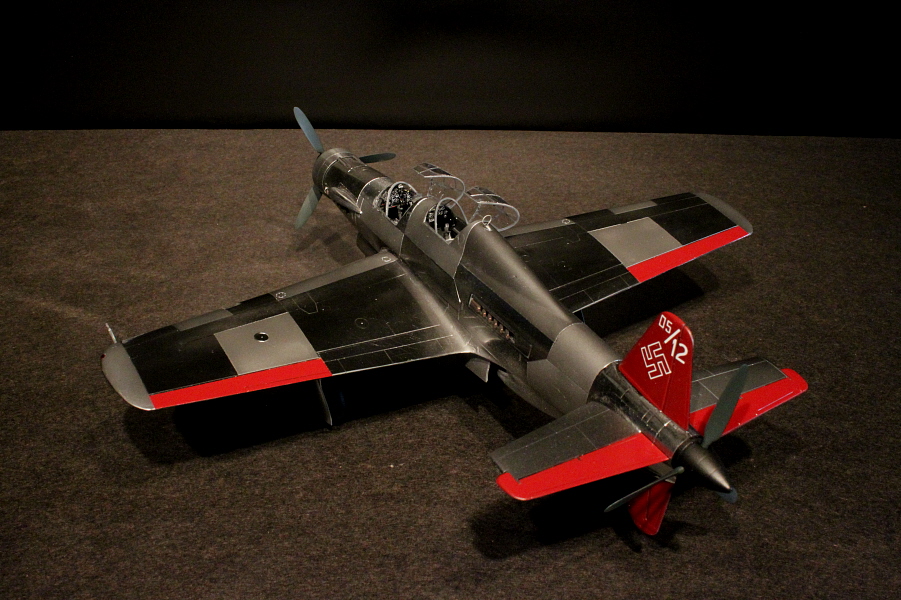
Other Colors
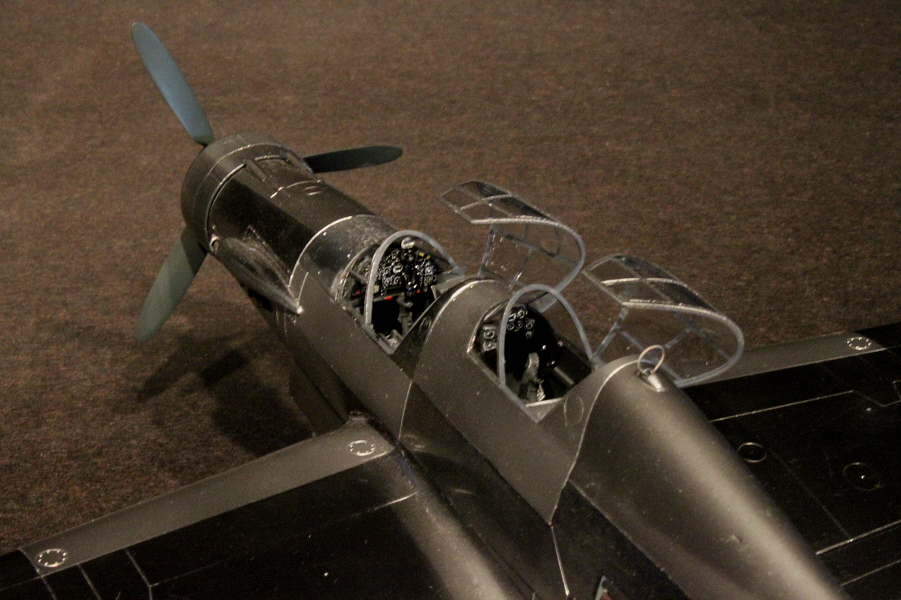
Finishing Touches