
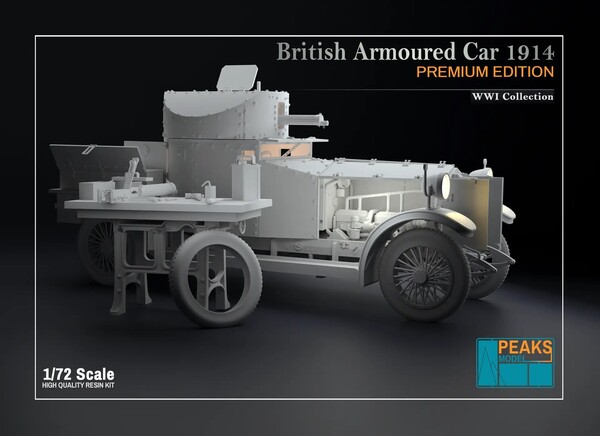
Peaksmodel 1/72 British Armoured Car Premium Edition
By Matt Bittner
Introduction
The Peaksmodel 1/72 British Armoured Car is, in actuality, the Rolls Royce Mk.I 1914 Pattern. In that end, I give you part of the text from the Tank-AFV site:
"The Rolls Royce Silver Ghost, as a car, was not yet associated to the image of immense luxury we know today. Although they were already much costlier than other sedans and coupés, they were built with a very high quality level and a quite remarkable engine which did most for its reputation. It was a carefully crafted 6-cylinder petrol, water-cooled engine, giving 80 hp (60 kW) or a 19 hp/tonne weight ratio. The early series' aetheric name came from its all-silver finish, but could also stem from the ability of the engine to run almost without vibration and noise. It is said to have been customary for a seller to put one customer's coin on its edge, right on the engine hood central hinge and start the engine to illustrate this.
|
"The chassis was a 2x4, with a single front and a double rear axles, and metal wire wheels, with two to four in spare. The armor was made of 0.47 in (12 mm) rolled steel plates, riveted around the chassis to a light frame. As defined by Flight Commander T.G. Hetherington, the armored bodywork's most important feature was its rear revolving turret (Admiralty turreted pattern), fitted with folding panels on each side and a small hatch for the commander in the middle. It housed a regular water cooled standard naval 0.303 cal (7.62 mm) Vickers machine gun. The engine hood and radiator were completely armored. The rear of the chassis, between and above the axle, was left for storage boxes, spare parts and everything else, as well as the side catwalks."
|
Know that Peaksmodel has released the British Armoured Car in four distinct versions: the "standard" armoured car as a "Classic Edition"; this release they call the "Premium Edition" with exposed areas and more detail; a "Classic Edition" with the 37mm "Pompom" gun; and that same "Pompom" release but as a Premium Edition kit with more detail.
The Kit
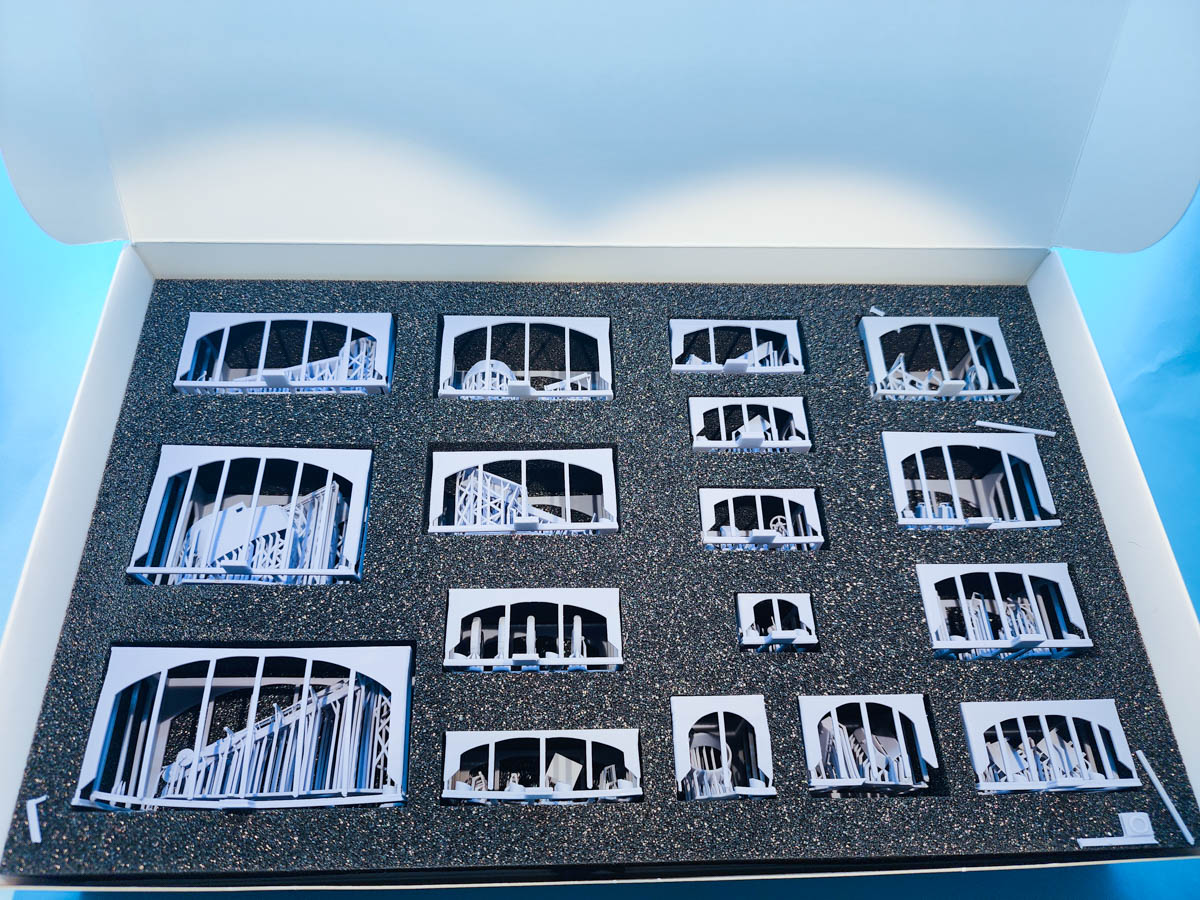
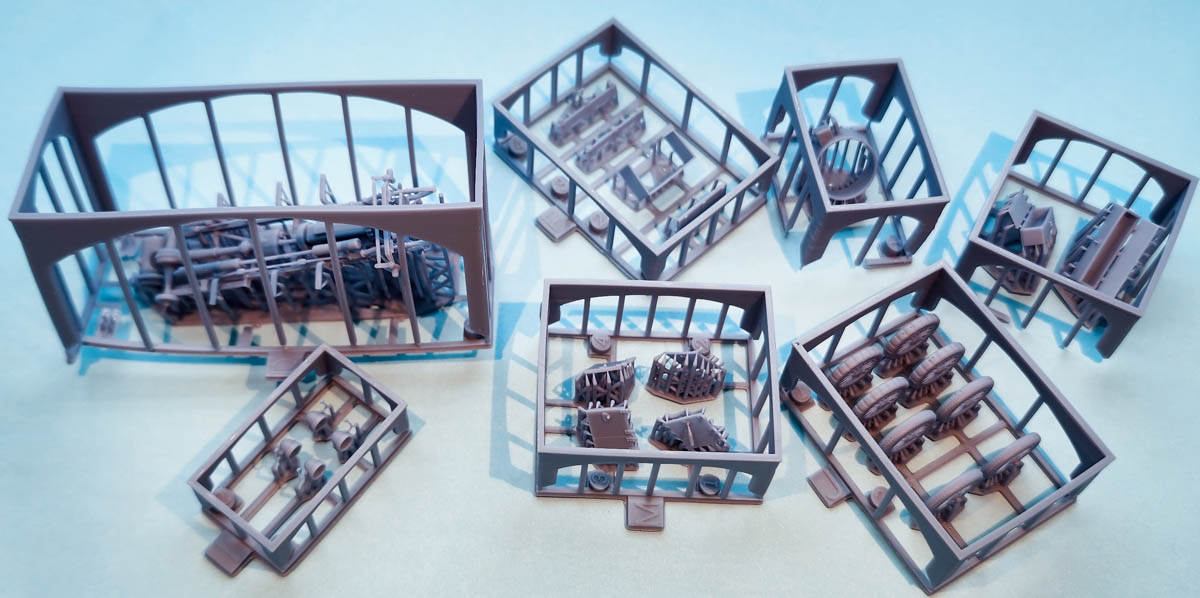
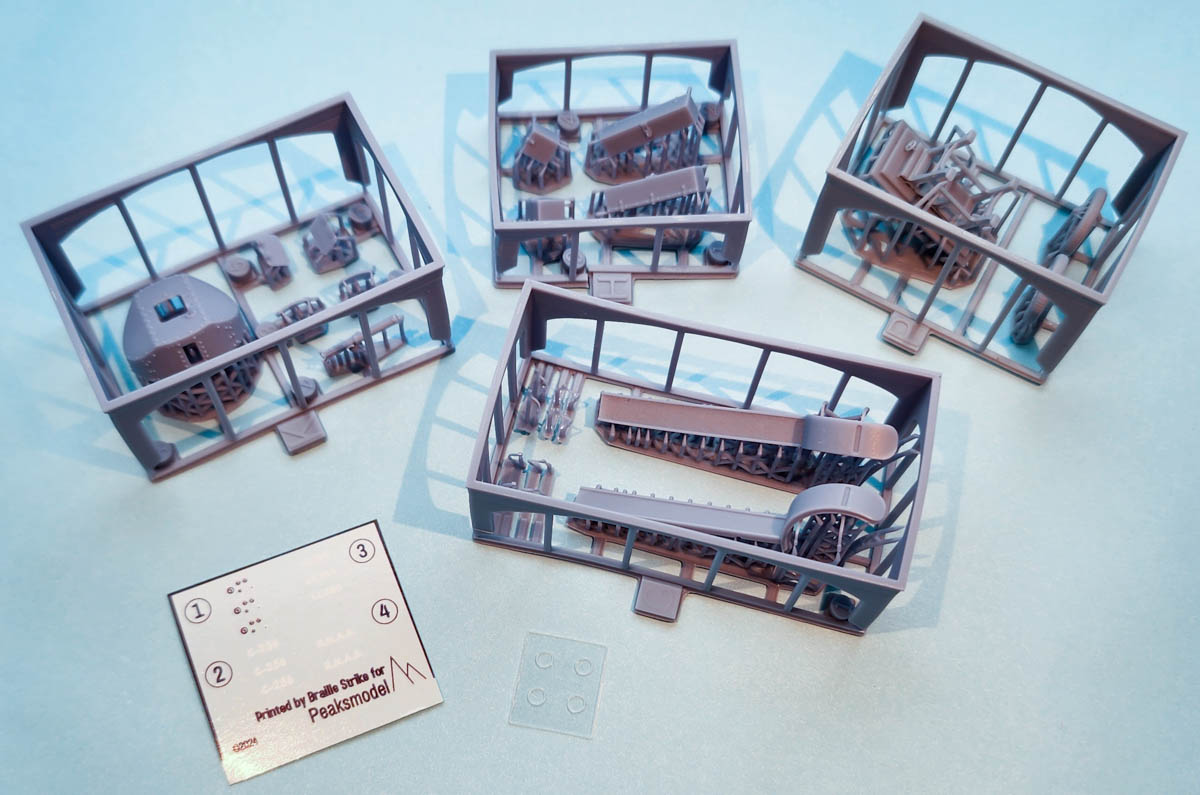
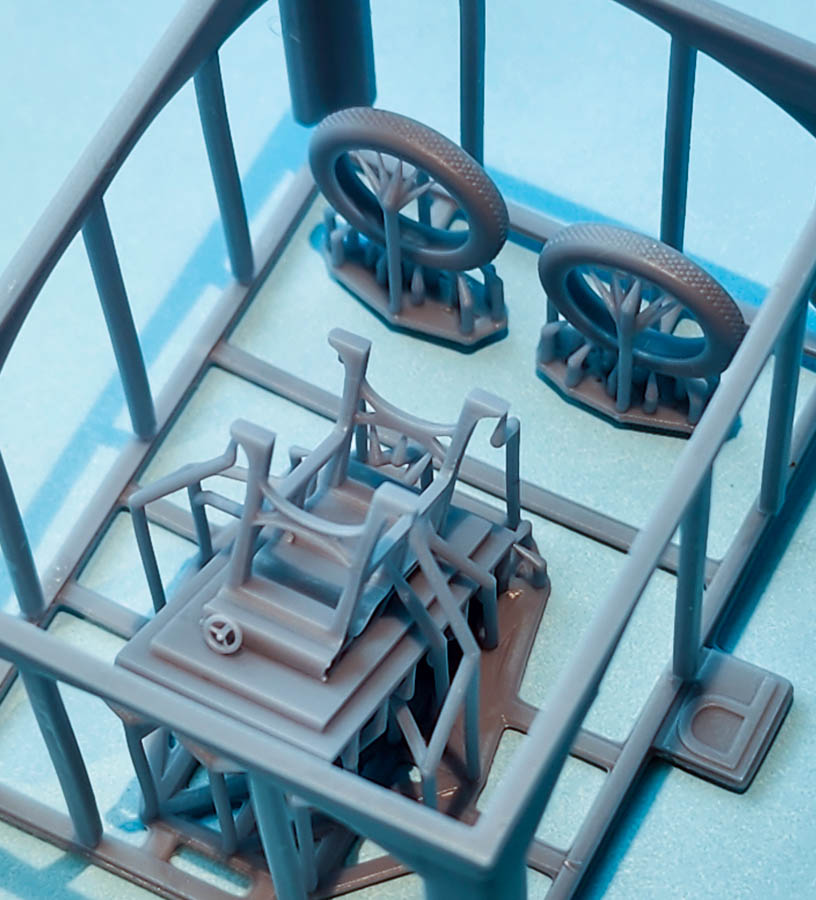
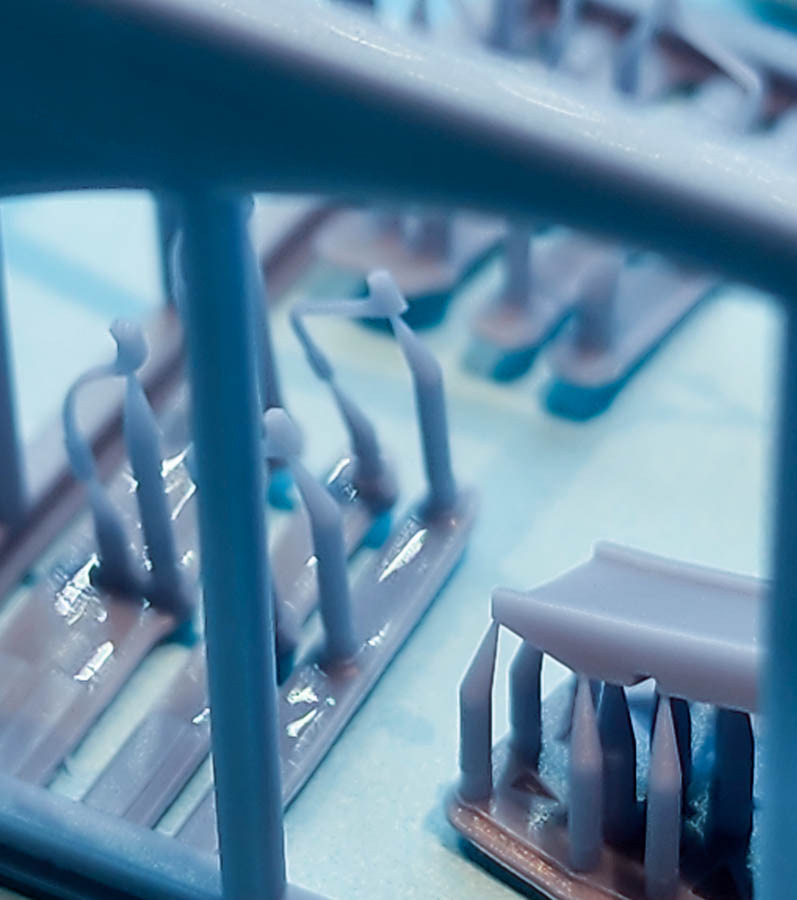
The Peaksmodel 1/72 British Armoured Car Premium Edition kit consists of a lot of 3D printed resin parts. Because I wanted to keep them all on their supports, in their cages, I didn't remove any parts for counting, and kept re-counting things over and over. So just know there are plenty of parts with this release. Also included is a decal sheet that consists of not only markings for three specific cars, but also instrument dials for the dashboard. Stunning. Also included are four (which includes two spares) clear discs for the front head lights. In an usual twist, Peaksmodel sends this kit in an extremely sturdy box, with all parts enclosed in foam, each "tree" being enclosed in a foam cut-out. Each of these parts blocks, or "trees", also includes a tab that not only serves as an indicator of parts, but also as a handle to pull out each block from the foam. Brilliant!
|
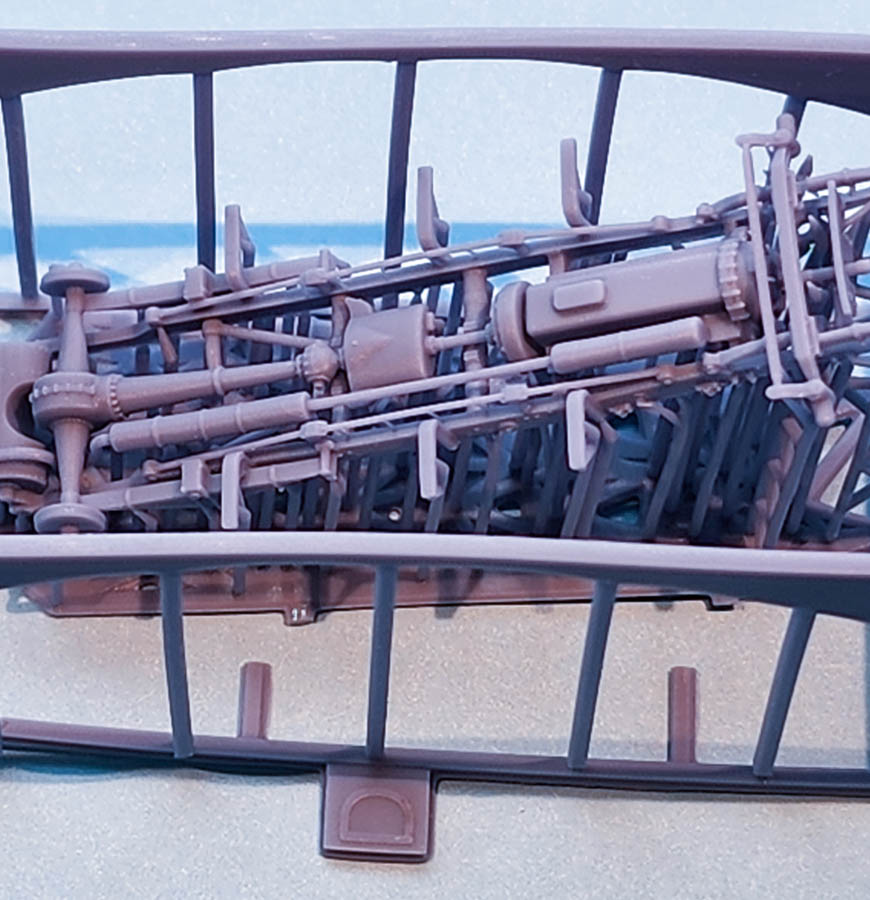
Color call outs are mostly well done except for one area: the engine. With this being the Premium Edition and having the ability to open up the front area of the car, the engine will be exposed. Unfortunately, Peaksmodel doesn't contain any painting information for the superbly printed 3D engine. The only flaw I can find with this release, but not one that should stop you from picking up this beautiful model.
Of course the first few steps of the instructions deal with the interior, and after carefully removing all parts from their supports - and after painting all the parts according to the instructions - then you can build up the insides, which includes the already mentioned instrument dial decals added to the dashboard.
|
The next step has you add the dashboard to the painted interior of the one-piece body, and then glue that body to the interior. Step 3 has you add the engine to the chassis and the chassis to the part you built in the previous step.
Now you need to decide if you're going to open or close the doors at the rear of the body assembly . I would say with all the detail contained in the Premium Edition you'll want to open up everything to show off all the wonderful detail. Construction then continues with adding parts to the underside of the rear of the model, along with fenders and the very front of the car.
|
The next two steps has you add the external body boxes - again, opened or closed - along with the headlights. At the end of construction and all painting and weathering, you'll then add the clear light covers if you are choosing that option.
While the next step has you add the wheels, I plan on leaving those off until the end, to ensure I have everything painted and weathered. Then you glue the gun to the turret and put the turret into place. There is no indication if it is meant to move, but I suspect if you don't glue it down you can have a moveable turret. But it might also mean if you're not careful the turret could come off. More will be known during construction.
|
More decisions are now to be made: do you have the driver's visor open or closed; do you have the turret's rear door open or closed; do you have the engine comnpletely or partially visible? Once the decisions are made then those pieces can be put into place. Plus, Peaksmodel provides a guide to help you glue the spare wheel to the right side of the body.
|
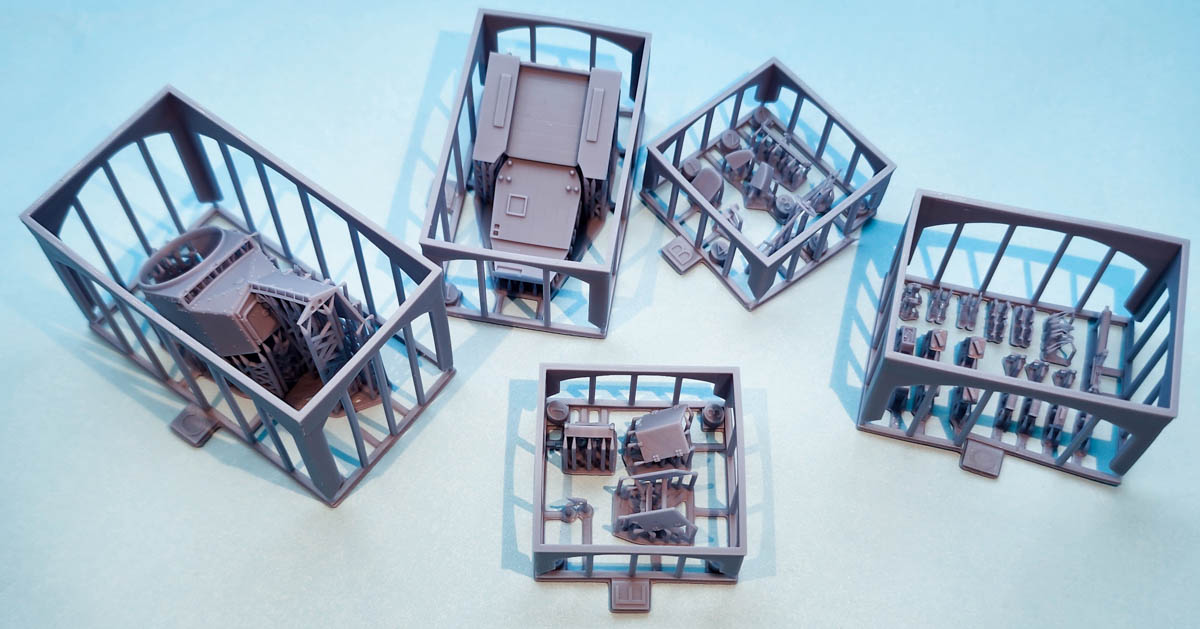
The Premium Edition includes extra parts, like a separate Vickers gun, tools, a table and spare tires, but the instructions make no mention of these parts. You're on your own for any assembly, paint and display decisions for those, but know these parts are made to the same high quality as the rest of the model.
Conclusion
This is the most detailed model I have and have seen. The amount of detail packed into these 3D printed parts is truly remarkable and must be seen to be believed. It is a truly stunning kit. Here's hoping they come out with more WWI armored cars. Since they're a French company, I'm hoping they start covering French types, in which most have not been kitted in 1/72.
Huge, HUGE thanks to Peaksmodel for sending this kit to review. I am truly looking forward to starting it.