
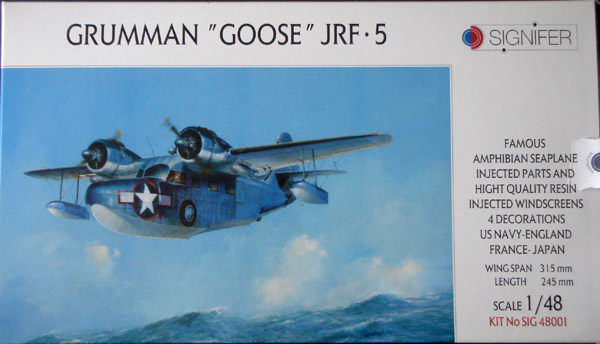
Signifier 1/48 Grumman Goose
By Bob Pearson
Introduction
Growing up in the Pacific Northwest of Canada during the 1970s, a very common sight was to see various Grumman Goose aircraft flown by Trans-Provincial Airlines. The highlight each year was our Seafest flypast which would include two or three yellow Geese, a white RCMP Goose and a pale blue Mallard flying in formation with the Beavers and Otters. Sadly these are all long gone now with one Goose crashing in 1979 or '80, and the rest dispersed to the wind - the RCMP Goose is now on display in Ottawa.
The Grumman G21 Goose was designed in 1936 for the civil market and was later adapted to the military role as the G21A by the USAAF and the JRF by the USN. Total production was 367 aircraft bulit between 1937 and 1946 with the JRF5 being the most numerous with 190 built. Today, around 20 are still flying - sadly, not here.
The Kit
Signifier of France has produced a 1/48 kit of the JRF5 in plastic and resin. The kit consists of two sprues of plastic parts containing the fuselage, wings, cowls, cabin floor and bulkhead and propellor blades. There is no detail moulded on the interior of the cabin and you will need to remove some raised ejector pin marks. Exterior detail is quite nice with recessed panel and rivet lines. Test fitting shows the panels lining up between the two fuselage halves, but a little work will be needed to prepare the edges for mating due to the light flash along the perimeter and in the various openings.
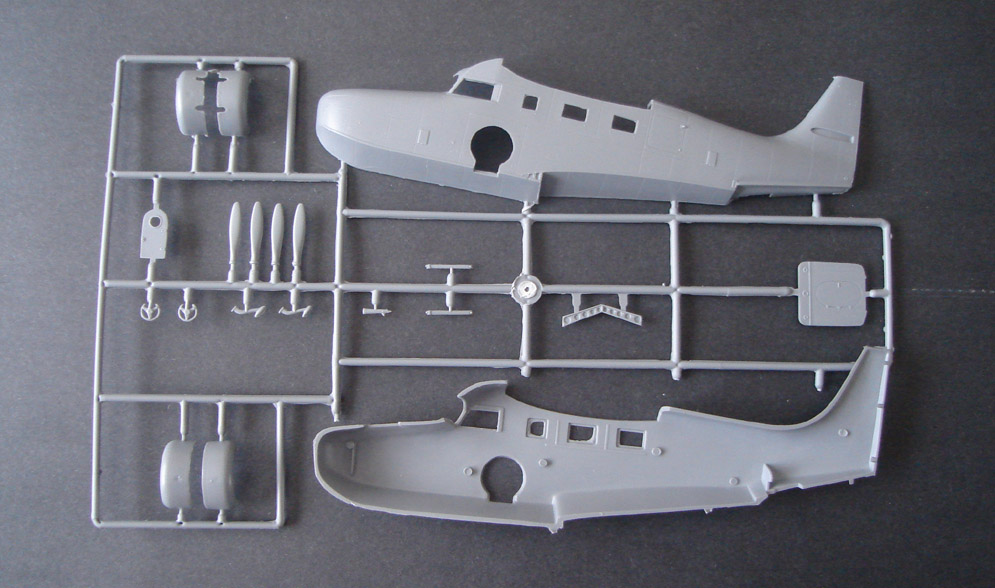
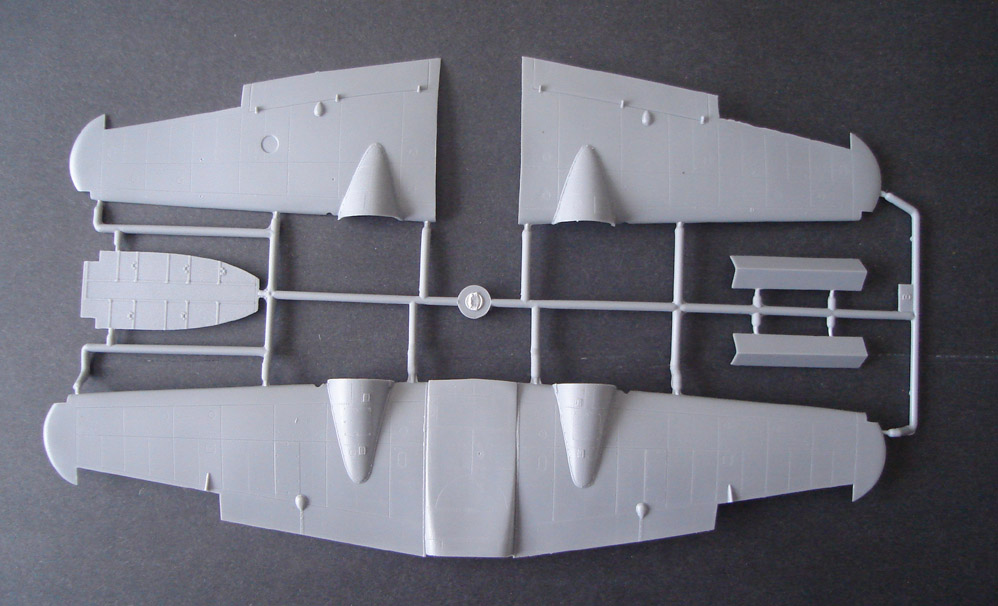
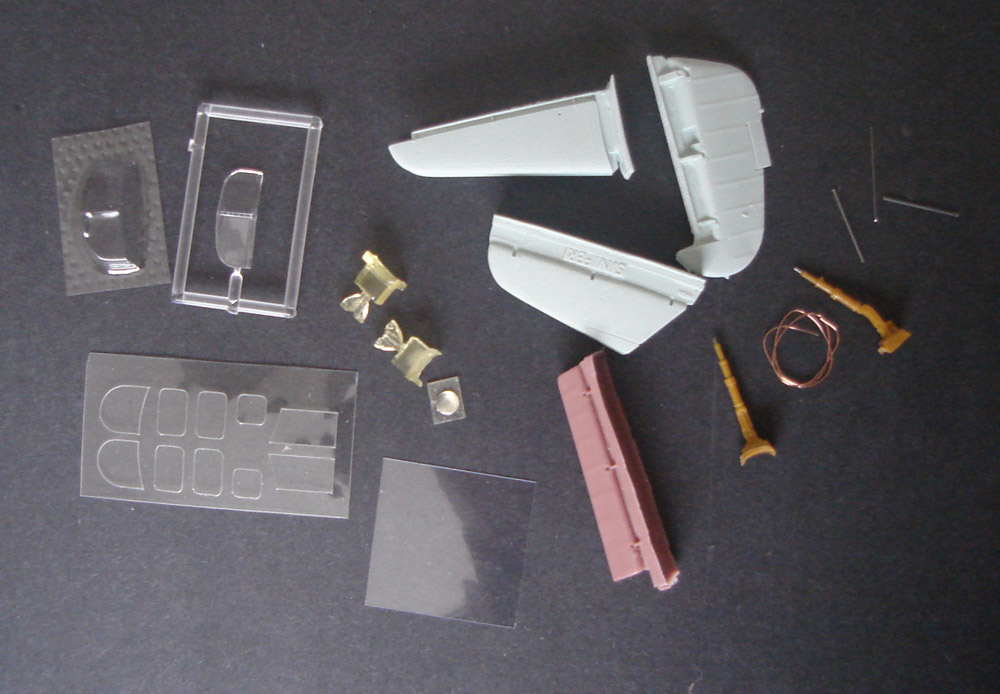
The wings are equally well detailed with the various small access covers being cleanly done. The only blemish on the plastic parts I can see is that two of the four cowl pieces have a slight depression in the centre of the ring at the highest point. As with the other plastic parts, flash will need to be removed.
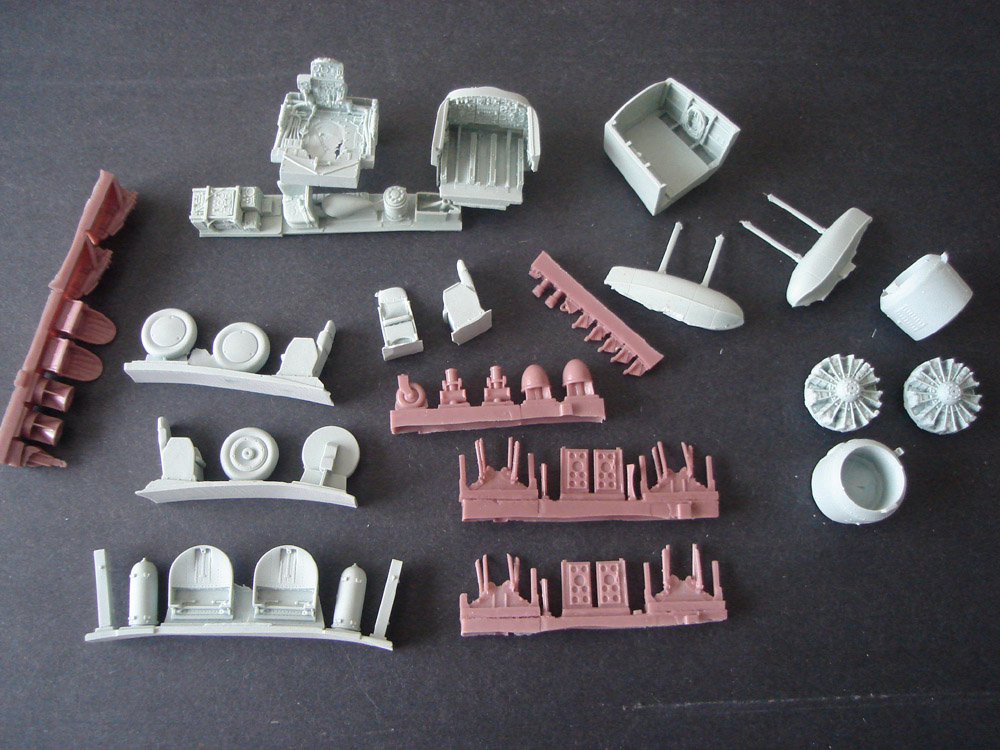
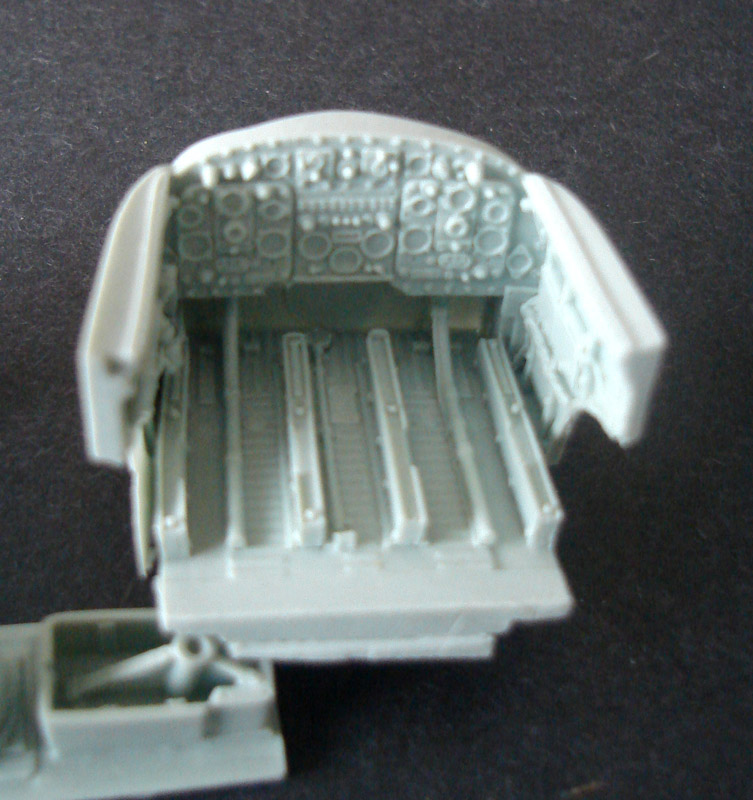
Moving on to the resin parts, and here is where the kit really shines. The large resin parts include the tailplanes, rudder, cockpit and bow tubs, wheel recesses. Detail abounds on these parts, the cockpit is in two basic parts with instrumentation and piping all over the two of them - the engine throttles can be clearly made out in their slots.
The remaining resin parts include engines, radios, seats, depth charges, wheels (full for down position, and half for filling the wheel well), floats - all of which are finely detailed with no sink holes. They will require removal from the large pour gates, so care will be needed to not sand away too much on some of the parts. There is some flash on the edges and openings of the resin, and my rudder had a couple pieces of scrap on it from in the mould that will need to be removed
You are given the option of a vacform or injected front canopy, with the remaining windows being die-cut on a sheet of clear plastic. A length of copper wire is included for the aileron control. The landing gear legs have wire inside for strength.
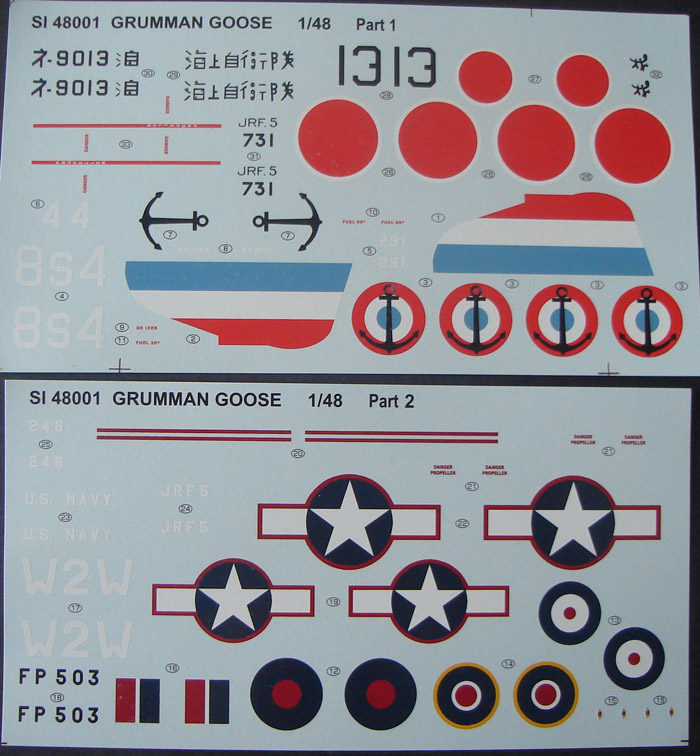
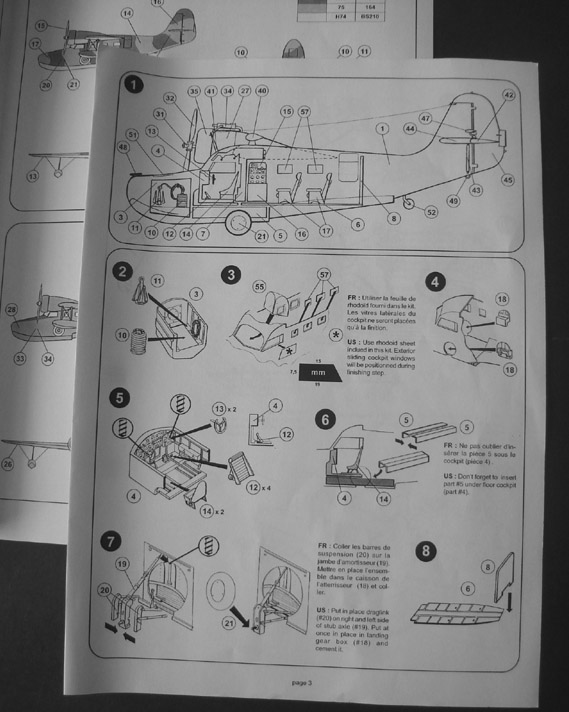
Decals are provided for four aircraft - one each from France, USA, Japan and the UK. There are eight pages of instructions with one page being a history of the type, followed by a parts map and then three pages showing the 20 steps in the construction. Each step is illustrated and has written directions in French and English. The next two pages show the four marking options. Each option is given as a basic shaded drawing showing the paint pattern. Decal placement is shown by number and a line showing where it goes, but there are no images showing the actual markings on the aircraft. The final page shows other models offered and contact information in the event you need a replacement part.
Conclusion
Anyone with experience with short run kits will have no problem with it once the parts are cleaned up. I look forward to building it in TPA yellow. or maybe their later white, red and blue. . nah. . TPA yellow it will be.
My thanks to M. Jerome Meissonnier of Signifier for the review sample