Toko's 1/72nd Scale Sopwith 1 1/2 Strutter 'Comic Fighter'by Michael Kendix |
 |
Introduction
 The
Sopwith 1 1/2 Strutter came in numerous forms and was used by many countries.
Initially used by the Royal Flying Corps and the French Air Force during
World War One, it continued to see service in the nascent air forces of
the Baltic States, Soviet Russia, the Ukraine, Poland, and other European
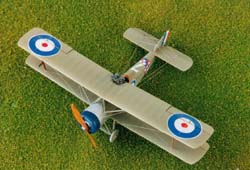
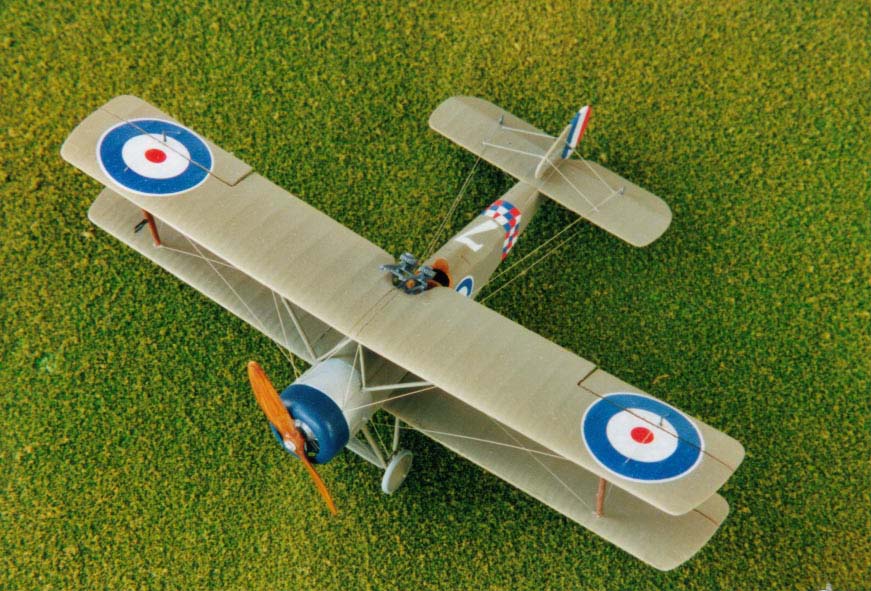
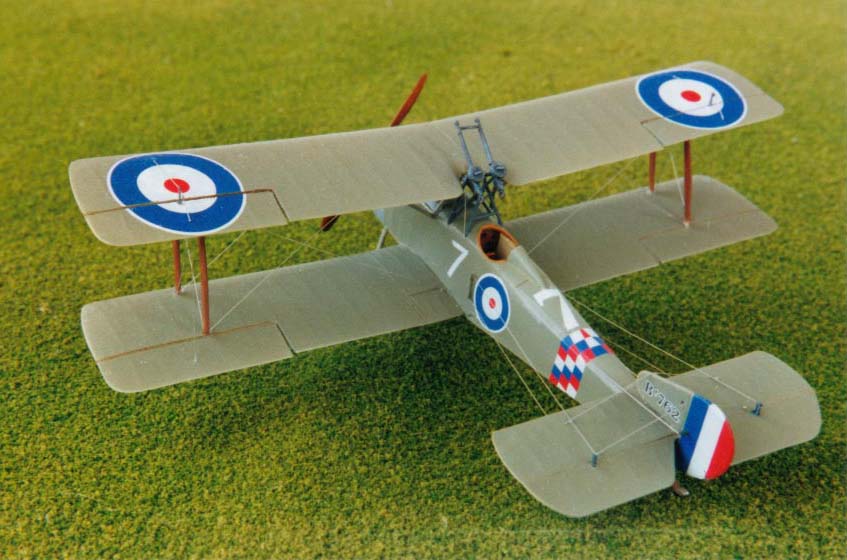
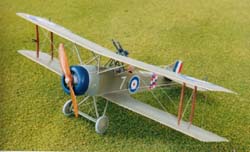
countries. The subject of this model was a 'Comic Fighter' - presumably
termed because of its unusual construction; the pilot being seated in
what had been the rear gunner compartment of a converted two-seater. This
altered position allowed the pilot to operate the two Lewis guns that
fired upwards. Personally, I think that the Sopwith 'Strutter' is the
quintessential British aeroplane of World War One, despite the majority
of them being manufactured in France. It has a wonderful classic appearance,
featuring as it did during the middle period of the Great War. It has
a more mature appearance than the early war primitive string bags but
not quite the late war characteristics of more sophisticated machines
like the SE5a and Bristol F2b Fighter. Of course, this is just a personal
aesthetic.
The
Sopwith 1 1/2 Strutter came in numerous forms and was used by many countries.
Initially used by the Royal Flying Corps and the French Air Force during
World War One, it continued to see service in the nascent air forces of
the Baltic States, Soviet Russia, the Ukraine, Poland, and other European
countries. The subject of this model was a 'Comic Fighter' - presumably
termed because of its unusual construction; the pilot being seated in
what had been the rear gunner compartment of a converted two-seater. This
altered position allowed the pilot to operate the two Lewis guns that
fired upwards. Personally, I think that the Sopwith 'Strutter' is the
quintessential British aeroplane of World War One, despite the majority
of them being manufactured in France. It has a wonderful classic appearance,
featuring as it did during the middle period of the Great War. It has
a more mature appearance than the early war primitive string bags but
not quite the late war characteristics of more sophisticated machines
like the SE5a and Bristol F2b Fighter. Of course, this is just a personal
aesthetic.
The Kit
 The
kit comes on two large and one small sprue, in soft, grey plastic typical
of Toko. Toko made four different 'Strutters' with many standard parts,
which accounts for the considerable number of pieces not used in this
model. As a result the kit is a little over-engineered: the price of variety,
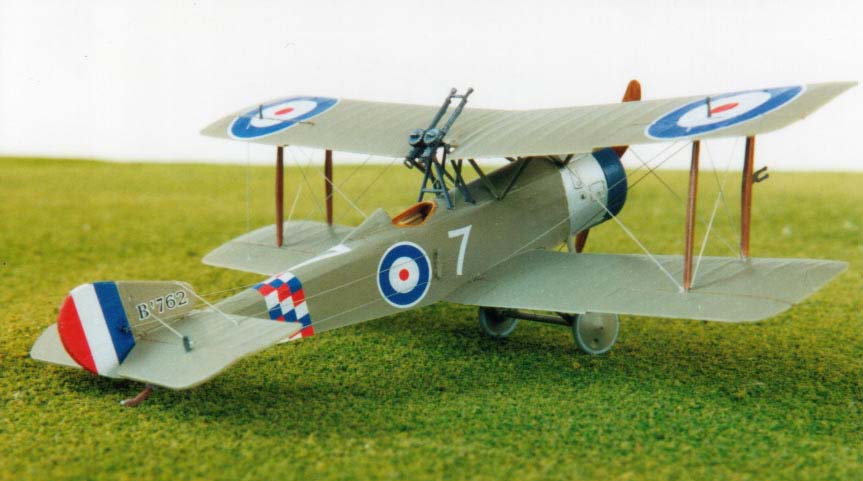
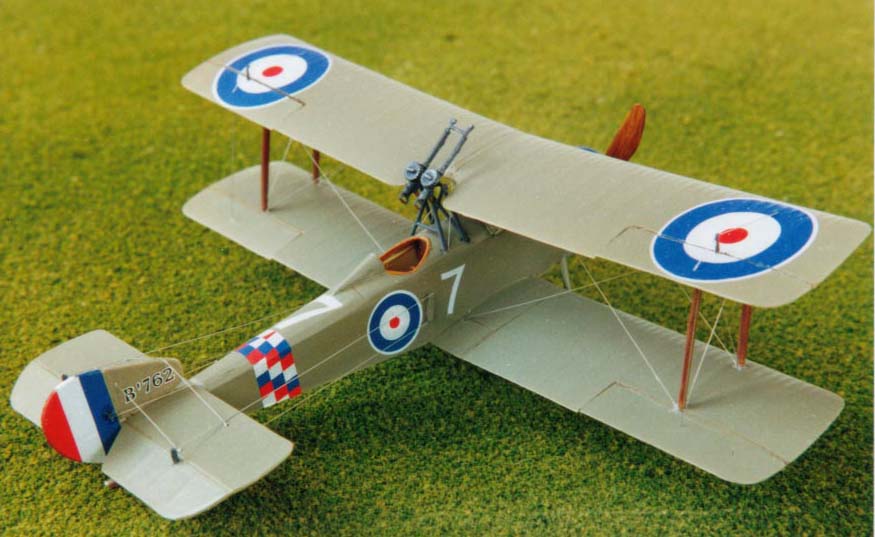
no doubt. The decals are for a single set of markings; those for B762,
a picture of which is in the Datafile on page 33. I must confess that
I did not place the component pieces over the Datafile drawings but this
same kit was reviewed in a 1999 edition of Internet Modeler [NOTE: The
1999 issues have been removed from the site, but are available on CD -
RNP]
The
kit comes on two large and one small sprue, in soft, grey plastic typical
of Toko. Toko made four different 'Strutters' with many standard parts,
which accounts for the considerable number of pieces not used in this
model. As a result the kit is a little over-engineered: the price of variety,
no doubt. The decals are for a single set of markings; those for B762,
a picture of which is in the Datafile on page 33. I must confess that
I did not place the component pieces over the Datafile drawings but this
same kit was reviewed in a 1999 edition of Internet Modeler [NOTE: The
1999 issues have been removed from the site, but are available on CD -
RNP]

Interior
 Naturally,
I began with the interior. I sprayed the interior with Misterkit's British
Clear Doped Linen (CDL) and then painted the frame work dark brown. I
used the kit's seat, added some seatbelts made from the foil on a wine
bottle, and re-worked the control stick handle to make it look more like
the real thing. Finally, I made an instrument panel from plastic card,
using the Datafile photographs as a guide. Once this was completed, I
closed the fuselage.
Naturally,
I began with the interior. I sprayed the interior with Misterkit's British
Clear Doped Linen (CDL) and then painted the frame work dark brown. I
used the kit's seat, added some seatbelts made from the foil on a wine
bottle, and re-worked the control stick handle to make it look more like
the real thing. Finally, I made an instrument panel from plastic card,
using the Datafile photographs as a guide. Once this was completed, I
closed the fuselage.
Fuselage and Flying Surfaces
 The
lower wing components come as port and starboard wings pieces. I prefer
this arrangement to a single piece containing a part of the fuselage underside.
The Datafile drawings show zero dihedral, so I tried to ensure the wings
were on completely straight. Once that had set, there was plenty of sanding
and filling. I then sprayed the underside British CDL, masked that off
and sprayed the upper surfaces with Misterkit British PC-10. I used the
same colour combination for the upper and lower surfaces of the top wing.
The PC-10 is towards the green end of the PC-10 green-brown spectrum,
but certainly within acceptable limits. Misterkit paints spay well; really
smooth but they are a little fragile and therefore must be handled with
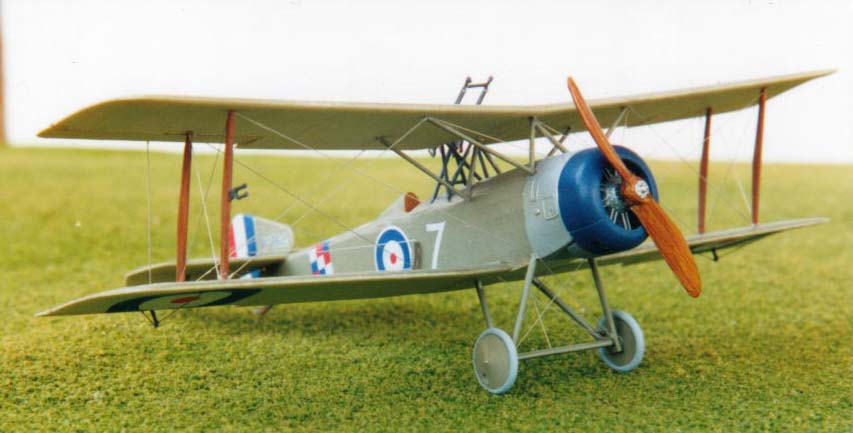
care. Finally, I masked off the front fuselage and sprayed that with aluminum.
I attempted to add the kingpost at the rear of the fuselage next to the
rudder, though I was only partly successful in this: I didn't make a mess
but it doesn't really look like a kingpost has been added!
The
lower wing components come as port and starboard wings pieces. I prefer
this arrangement to a single piece containing a part of the fuselage underside.
The Datafile drawings show zero dihedral, so I tried to ensure the wings
were on completely straight. Once that had set, there was plenty of sanding
and filling. I then sprayed the underside British CDL, masked that off
and sprayed the upper surfaces with Misterkit British PC-10. I used the
same colour combination for the upper and lower surfaces of the top wing.
The PC-10 is towards the green end of the PC-10 green-brown spectrum,
but certainly within acceptable limits. Misterkit paints spay well; really
smooth but they are a little fragile and therefore must be handled with
care. Finally, I masked off the front fuselage and sprayed that with aluminum.
I attempted to add the kingpost at the rear of the fuselage next to the
rudder, though I was only partly successful in this: I didn't make a mess
but it doesn't really look like a kingpost has been added!
 Next
arose the issue of the cowl, specifically, its colour: a topic of no small
importance to modellers of World War One aeroplanes. Now at this point,
the casual reader might be wondering at the source of this pondering.
Let us just say that this is a 'Touchy subject' and move on. The Datafile
profile on the back cover shows an aluminium cowl, however, the kit shows
it as blue, both in the instructions and the box art. In the picture of
B762 in the Datafile, the cowl does look a different shade from the front
fuselage, which was sufficient excuse for me to paint it blue.
Next
arose the issue of the cowl, specifically, its colour: a topic of no small
importance to modellers of World War One aeroplanes. Now at this point,
the casual reader might be wondering at the source of this pondering.
Let us just say that this is a 'Touchy subject' and move on. The Datafile
profile on the back cover shows an aluminium cowl, however, the kit shows
it as blue, both in the instructions and the box art. In the picture of
B762 in the Datafile, the cowl does look a different shade from the front
fuselage, which was sufficient excuse for me to paint it blue.
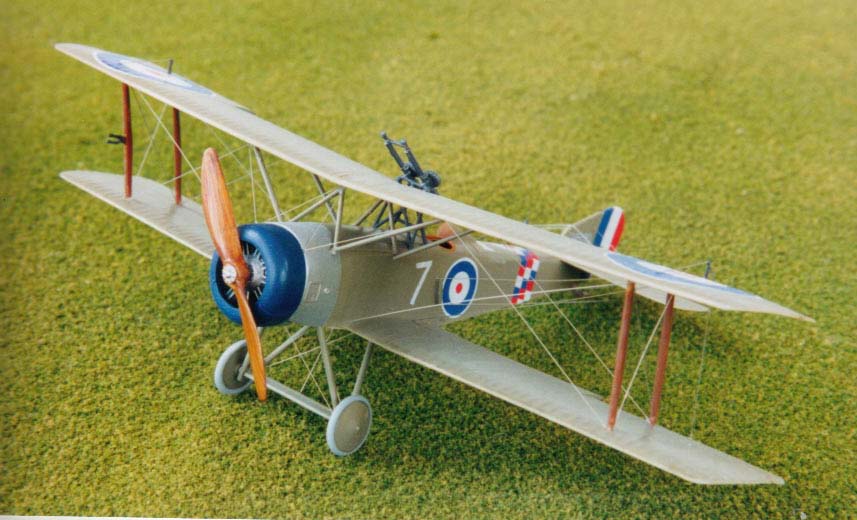
Mounting the top wing always present a special challenge, at least for me. The 'Strutter' has only one bay either side, so it is in the mid-range of difficulty; an easier top wing subject is something like a Nieuport 17, which has a single piece V-interplane strut either side. First I used Testors from the orange tube to set up the struts. Once I had aligned everything, I used stacked-up cassette tape boxes to keep the wings in position. Naturally, the cabane struts had to be trimmed to fit. When the wing had set-up, I used Pro-Weld to ad a little strength to the construction. I cut each of the 'W' struts into two Vs and trimmed them to the desired length.
Undercarriage and other bits
 I
attached the undercarriage with little problem. The gun mounts are fairly
delicate and require care when you cut them from the sprue. I used a base
of 'Wood' acrylic paint for the propeller and applied Gouache watercolour
paints with a Q-tip to make the wood grain effect. The decals are opaque
and thin, so you have to be careful not to tear them. I made the rigging
was made from 0.005-inch diameter straight wire glued with Elmers white
glue. Part makes a photoetch set for different aileron control horns:
these are sprinkled liberally over the model.
I
attached the undercarriage with little problem. The gun mounts are fairly
delicate and require care when you cut them from the sprue. I used a base
of 'Wood' acrylic paint for the propeller and applied Gouache watercolour
paints with a Q-tip to make the wood grain effect. The decals are opaque
and thin, so you have to be careful not to tear them. I made the rigging
was made from 0.005-inch diameter straight wire glued with Elmers white
glue. Part makes a photoetch set for different aileron control horns:
these are sprinkled liberally over the model.
Conclusion
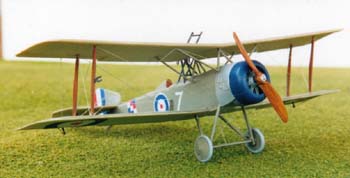
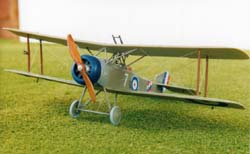
This is a fine kit, especially for the price and with a minimal amount of effort, it builds into a nice model.
References
-
J. M. Bruce. 'Sopwith 1 1/2 Strutter: Windsock Datafile 34.' Albatros Publications Ltd., Berkhamsted, Herts., UK.

![]()


