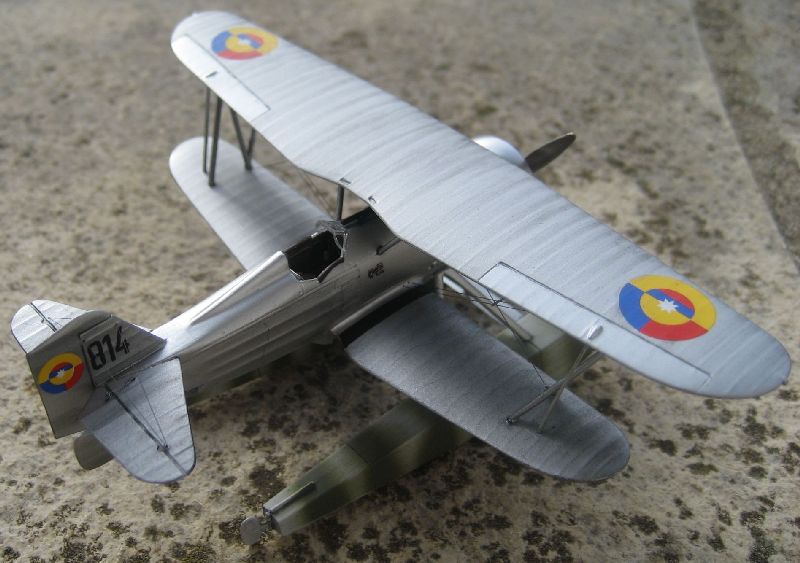
RS Models 1/72 Curtiss Hawk II floatplane
By Eric Gallaud
The Kit
The first look was done in the Internet Modeler issue of June 2009.
Building Process
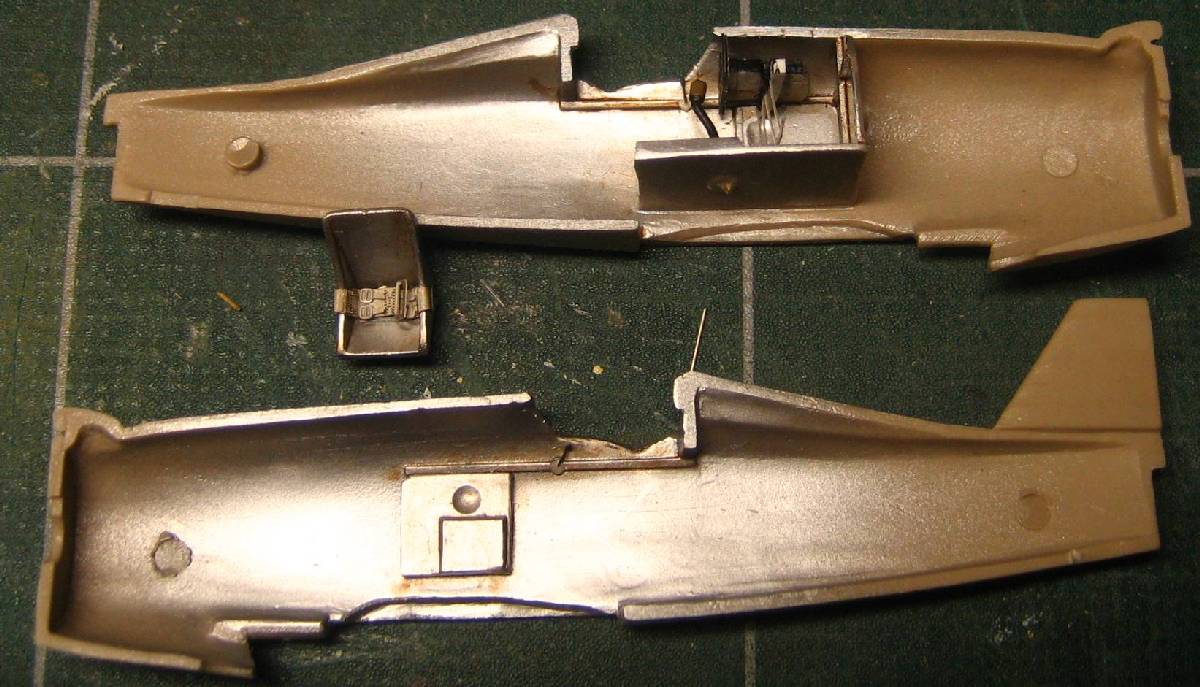 First, as usual, I start with the fuselage interior. The main modification that I did is to separate the rudder bar from the dashboard and attached it to a support that I scratched.
I prepared the seat but I attached it in place after the fuselage exterior painting.
The interior is painted with Alclad aluminium paint with a wash made of a mix of oil paint, burn sienna earth with black diluted with turpentine.
 The fuselage is closed with no particuliar trouble. I added the main lower wings, some putty is required, nothing really annoying. Do not forget to add some tape along the area where you apply putty to avoid to remove the details during sanding process. The rear wings are glued in place and I added their support scratched with fine steel wire (0.3mm). It is more accurate than the plastic part, bigger. I also added photoetched control horns which are not included in the kit. At this step, I also drilled all the holes required for rigging. As these are the "bottom" holes, I drilled them half way through the wings.
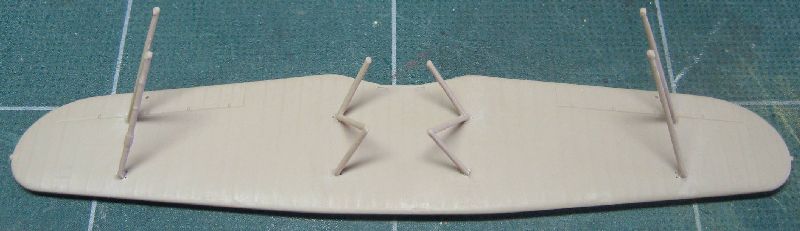
 I drill the rigging hole through the upper wing and then add the interplane and cabane struts. They require a lot of care during gluing process to keep the right angle until the glue dries completely. The fitting of the struts is quite good and does not need too much trimming to be in the right position.
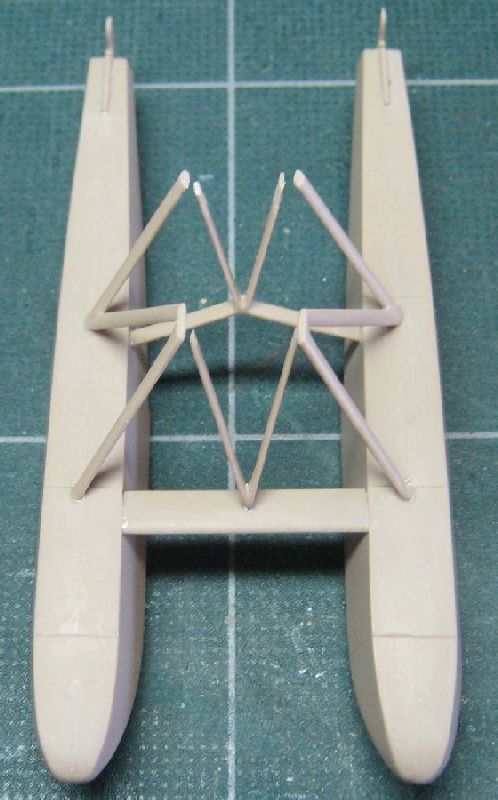
The float assembly requires some attention to place correctly the various struts. To help to attach this assembly, I drilled some holes in those struts and added some steel wires under the fuselage. Lots of tries were necessary to have a correct fitting.
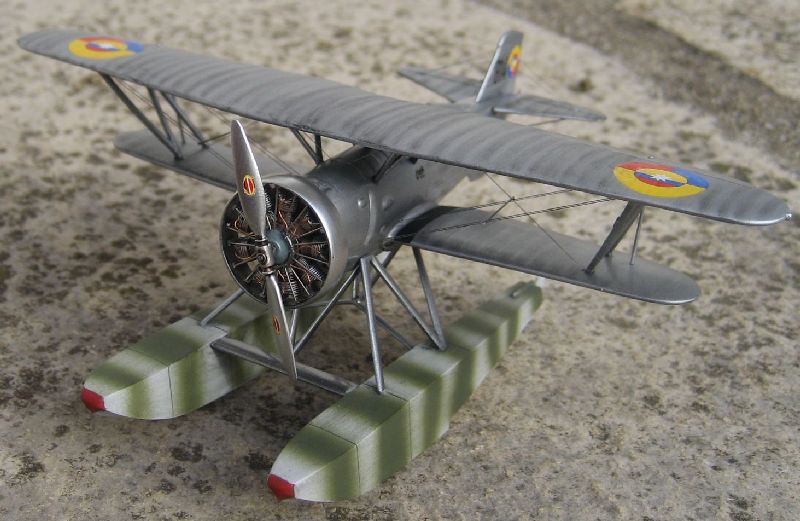
 The painting scheme is not very clear, so I chose the Alclad aluminium for the metal parts of the plane and Alclad semi-matt aluminium for the fabric parts.
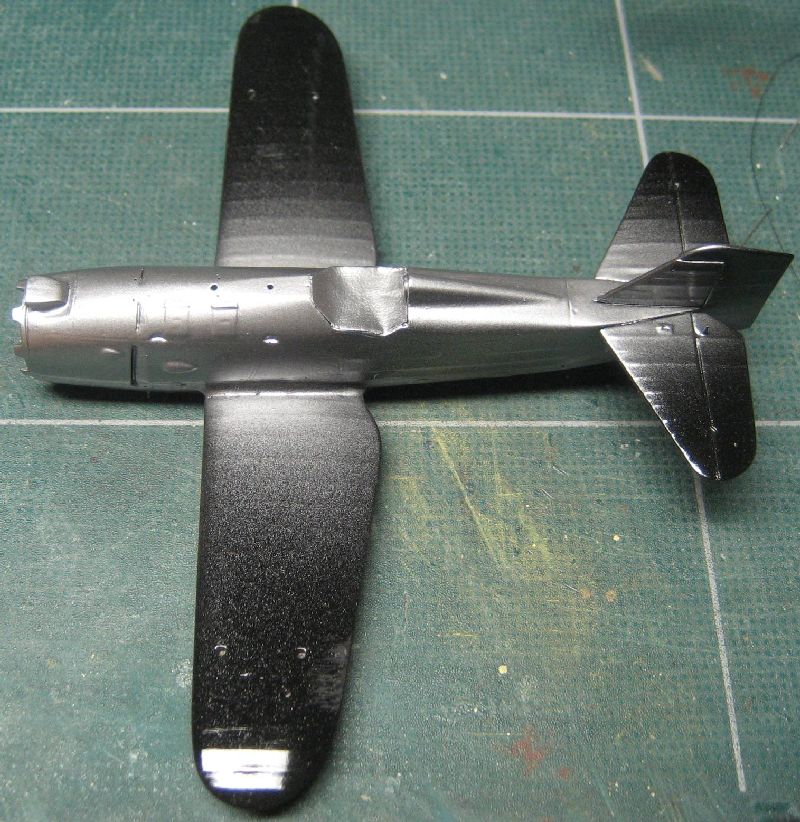
First of all, I sprayed a coat of Alclad gloss black, it is supposed to give a better finish with metallic paints. Maybe I sprayed too much of this paint, at the end, a lot of the plane's details were diminished. Next time, I will proceed differently.
After the black coat, I sprayed the 2 aluminium paints with no problem.
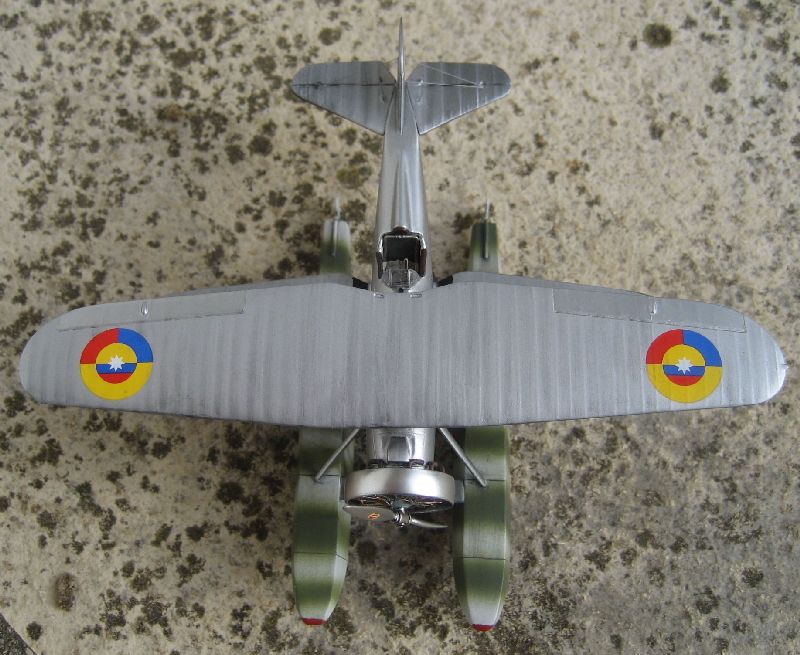
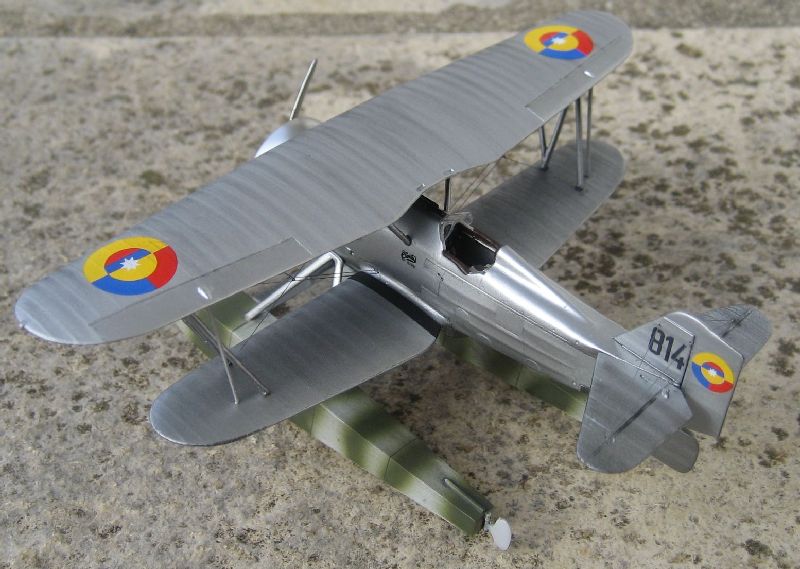
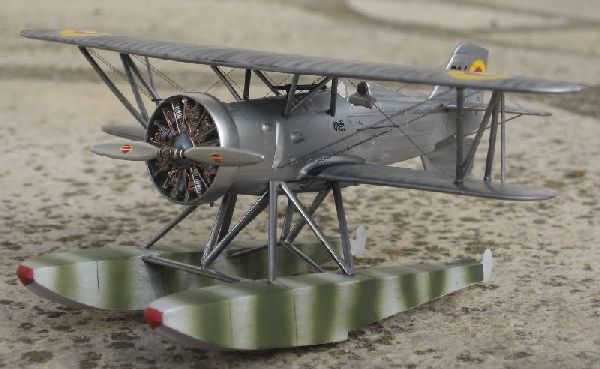
 I painted the struts of the floats in aluminium and according to what I understood of the painting guide, I painted the floats in light grey. This is my own interpretation and as I did not find any clear pictures of this plane, I supposed that maybe the floats came from another plane whch could have been fully camouflaged.
The green is then sprayed and then the red.
I used Pro-Modeller weathering wash to add some highlight of the floats. First step without wash, second step fully covered with the mixture and then, the third step after removing the excess.
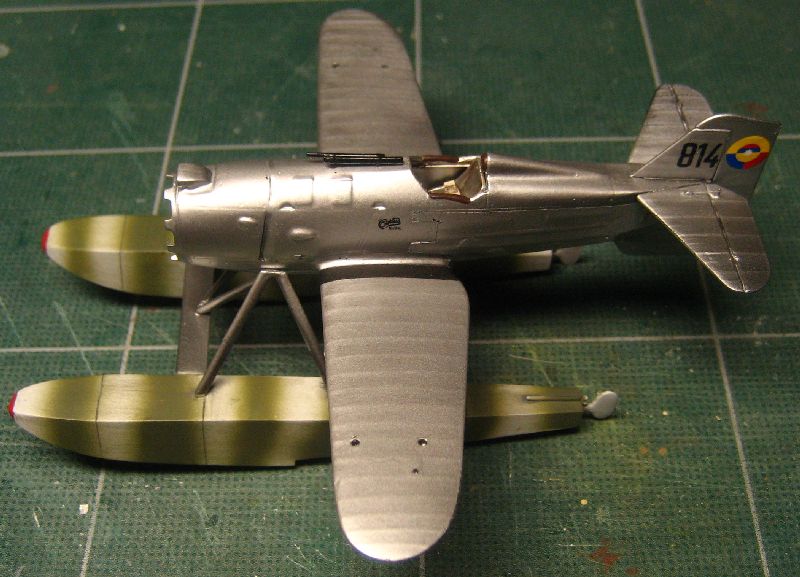 The walkways are added on the wings with matt black along the fuselage. The decals are also added with no problem. They are strong enough, very thin and resistant. I did not notice any silvering, especially under the numbers.
The floats are added with no real problem, just some time and some care.
 Once the windscreen is added, it is time to attach the upper wing. I start to glue the interplane struts then, when dry, I glue the cabane struts.
It is time now to add the rigging. For this plane, I use 0.11mm thick fishing line. First, I glue a wire in the hole previously drilled in the lower wing, then I tighten it through the hole in the upper wing. When the glue is competely dry, I remove the excess of wire, sand the upper surface of the upper wing and the final paint session can be done.
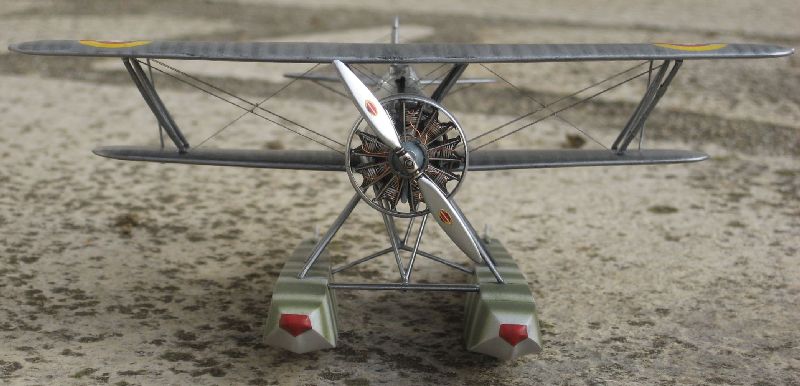
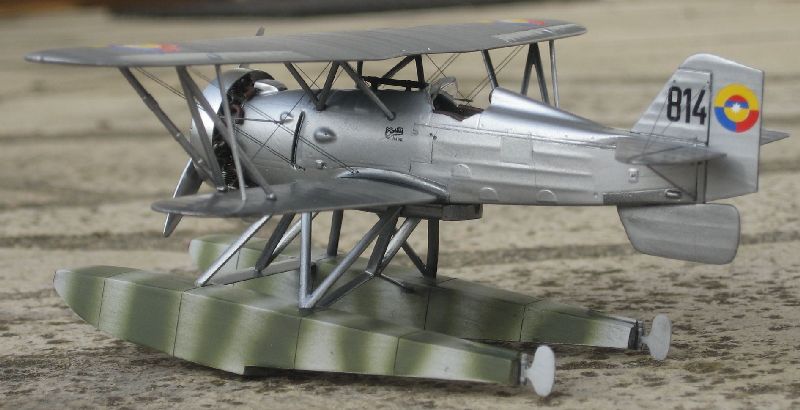
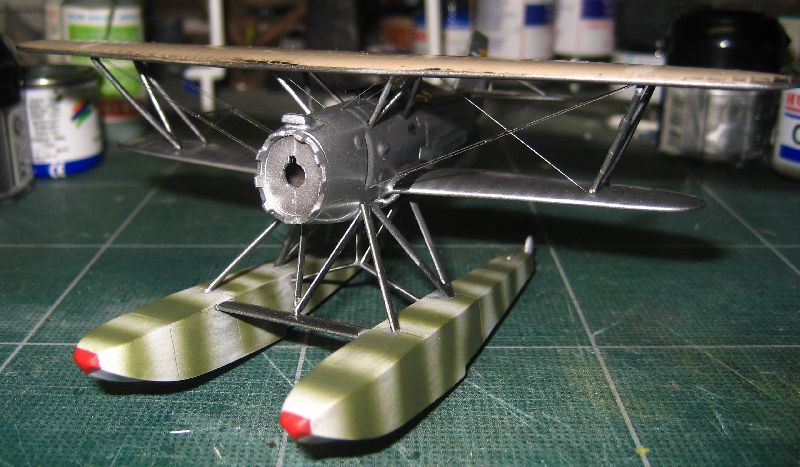
 Something is still missing, the engine. It is provided in resin as well as the cowling. The pushrods are provided in photoetched as well as the spark plugs wiring. I decided to replace them by steel wire for the rods and copper wire. It looks more realistic. I create a part to connect all of the spark plug wires. The motor is painted with Alclad and received a wash made of a mix of burnt sienna earth and black. The motor cowling and the propeller are painted polished aluminium.
Conclusion
This kit is well enginered, nicely moulded and has an original choice of marking. The only minus point is the parts placement which is not very precise and the colour indications. It was a pleasure to build and minus the documentation, the problems that I has came from myself.
Thank you to Matt Bittner and RS Models to offer to me to build this kit.
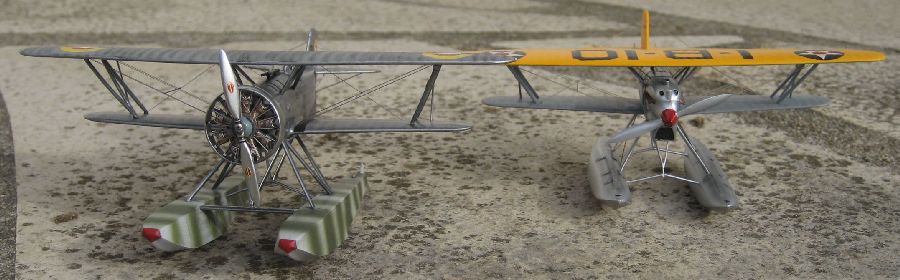
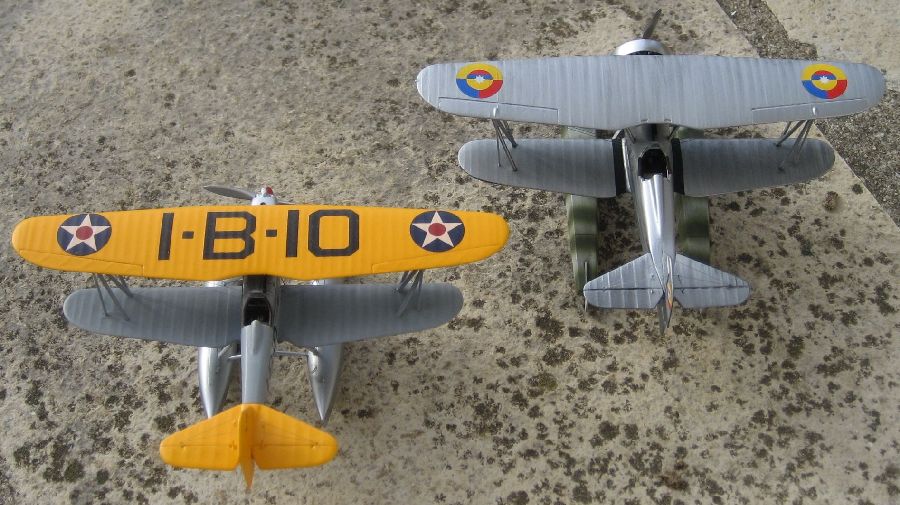
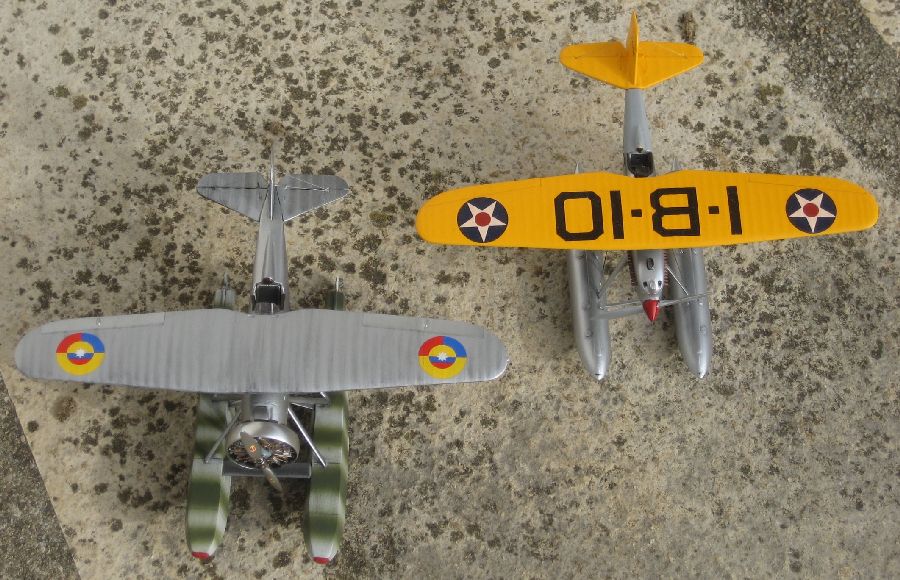
With the completed model pictures below, I added some pictures with another Curtiss Hawk that I built for Internet Modeler in February 2005. They have exactly the same wings shape.