

Miniwing 1/144 Grumman F7F-1 Tigercat
By Matt Bittner
Overview
In the past, Minwing released two versions of the two-seat Grumman F7F Tigercat, the -2N and -3N. They now follow up by releasing a single-seater, the -1.
The Kit
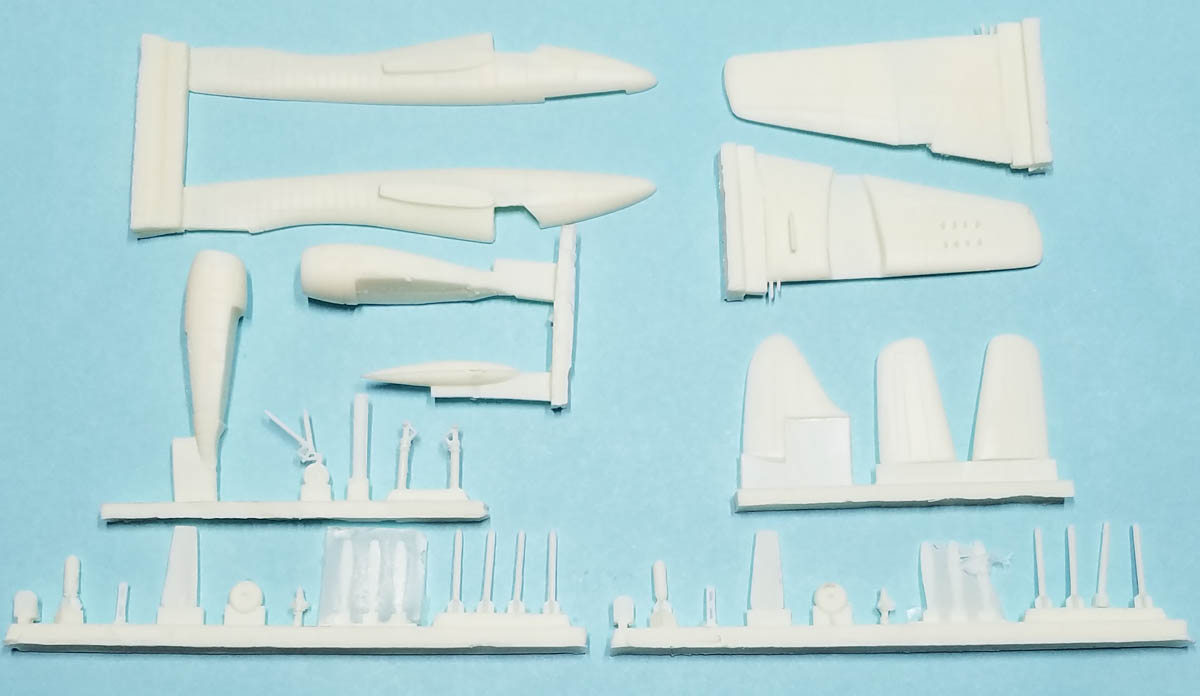
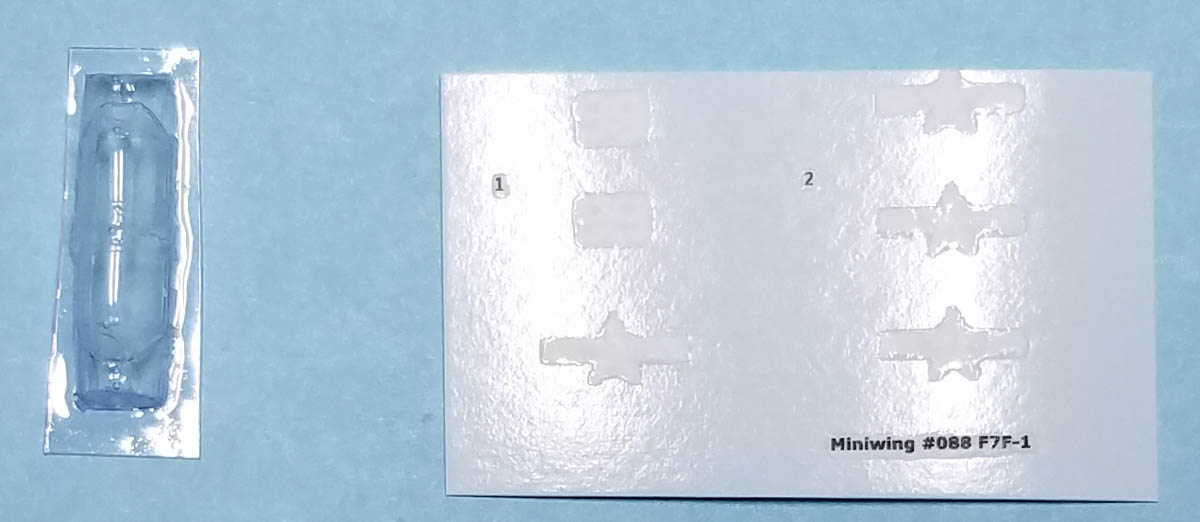
The Miniwing 1/144 Grumman F7F-1 Tigercat consists of 40 pieces of cream-colored resin and two vaccuum-formed canopies, an extra "just in case". Decals are only for one Tigercat: F7F-1, US Navy, VMA-312, NAS San Diego, CA, 1945. Decals are simple and appear in register. Unfortunately there are no decals for the interior; no instrument panel nor seat belt decals. An unfortunate departure from Miniwing.
|
Once all parts are removed from their pour blocks construction shouldn't take long. The only thing provided for the cockpit is the seat, so if you want more you'll have to fashion it yourself. Once the seat is in then glue the fuselage halves together and keep going. Unless you "do something" this model will be a tail-sitter. The fuselage halves are already mostly hollow except for the nose. You might want to hollow that out as well - keeping a "floor" for the nose landing gear - and fill it with weight. That might not be enough, though, so maybe more could be added in the engine nacelles. Or just mount the model on a base or stick a clear rod under its butt, if you don't want to perform that work.
Once you have glued the fuselage halves together, then add the wings, tail parts and one-piece engine nacelles (both of them). The propellers need to be assembled from the spinner and separate prop blades so you might want to fashion a jig to ensure these are at the proper angles. The one-step instructions also show adding the landing gear but definitely wait until after painting and decaling.
|
The kit comes with the fuselage-mounted external fuel tank and rockets for the stubs under the wings. Take care when cutting the vac-formed canopy from its sheet, although thankfully Miniwing provides an extra, "just in case".
Conclusion
It's great that Minwing has followed up their two-seat Tigercats with this single-seater. All three will look great sitting side-by-side on your shelves.
Huge thanks to Miniwing for the review kit.