GB Modelli 1/72 Autoblinda Fiat 611
By Matt Bittner
Introduction
Those who know me know I'm not a fast builder. With the sizeable stash I have, it's easy to put something away and forget about it. Unfortunately I did so with GB Modelli's Fiat 611. I built their Terni a bit after posting my First Look on it, but this one sat even longer. For that I do apologize to GB Modelli. But once I re-discovered it, the build didn't take long. If you're interested about the armored car itself and the contents of the package, be sure to read my First Look.
Construction
 |
As can be seen in its First Look, the parts count isn't high. I had a few air holes to fill in the tires but thankfully that was it.
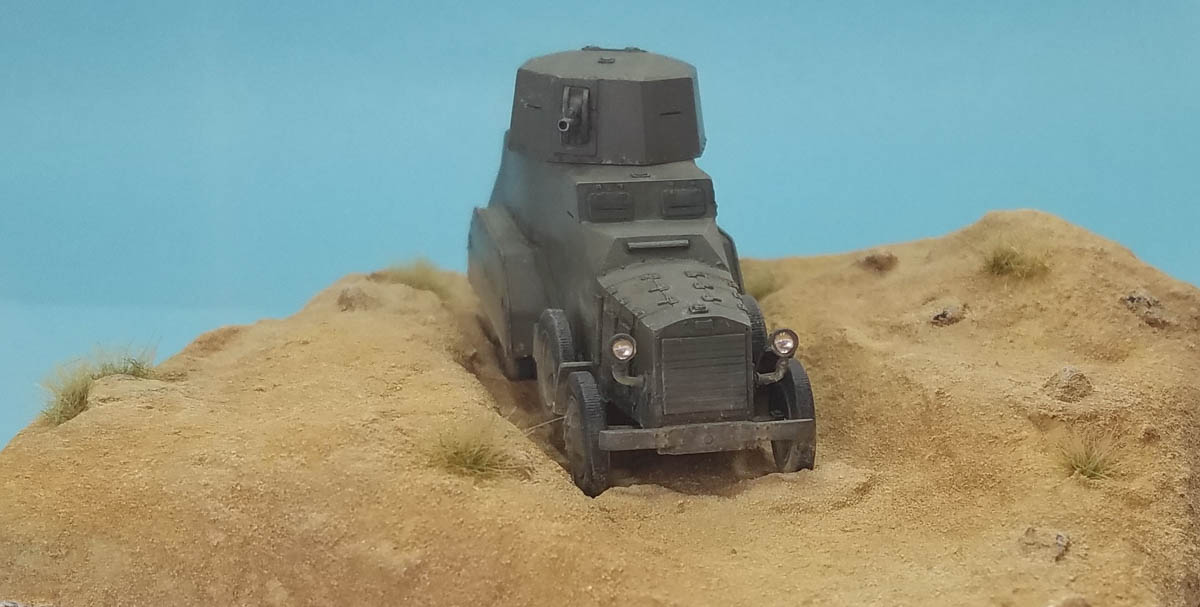
Once the parts are cut/sanded from their pour blocks construction moves quickly. While I glued on the rear, one-piece wheel/suspension assembly prior to painting, I left the front wheels off until after painting, to make it easier on myself. Everything else was glued in place prior to painting. Two things I did to the build to help make it look more than just a model: I hollowed out the gun barrels and added MV Lenses to the front lights.
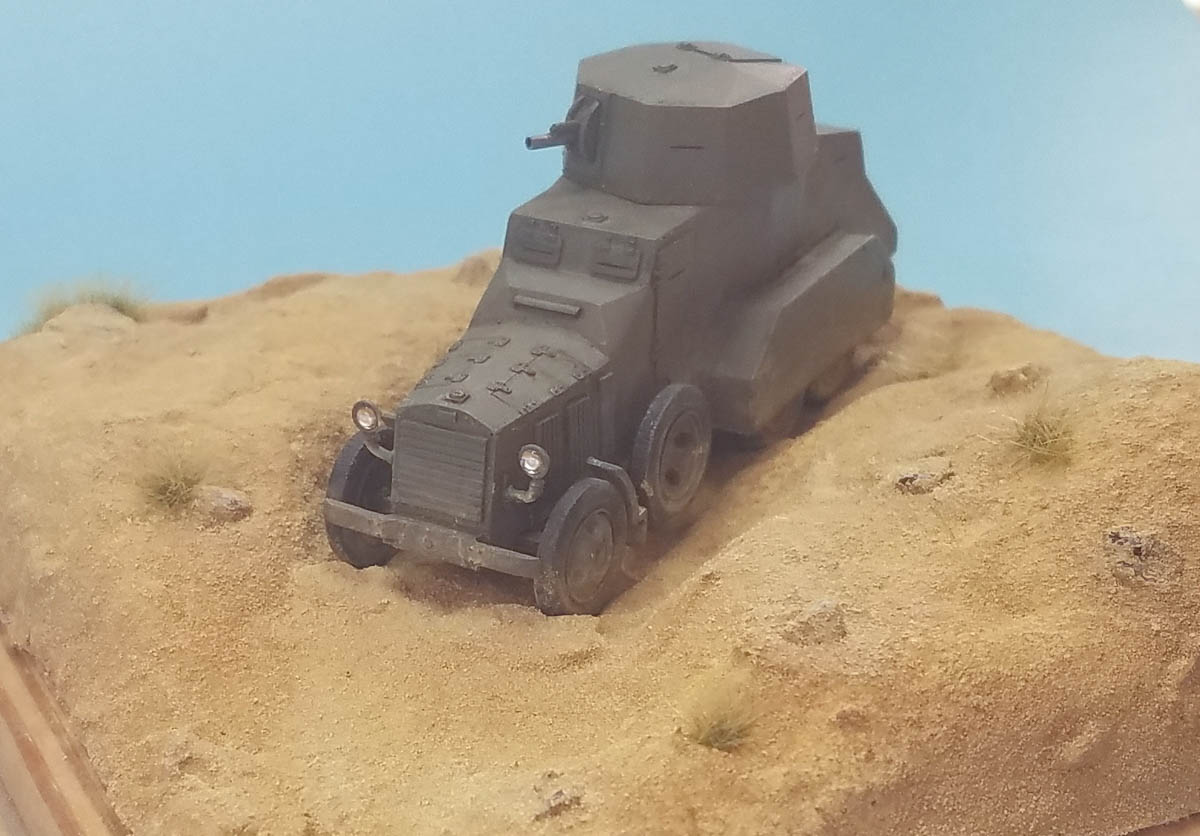 |
Unfortunately I can't remember what paint I used, but it was sprayed all over. Then the front wheels were masked and the tires sprayed, while I hand-brushed the rear tires. Masks were removed then it was time to weather.
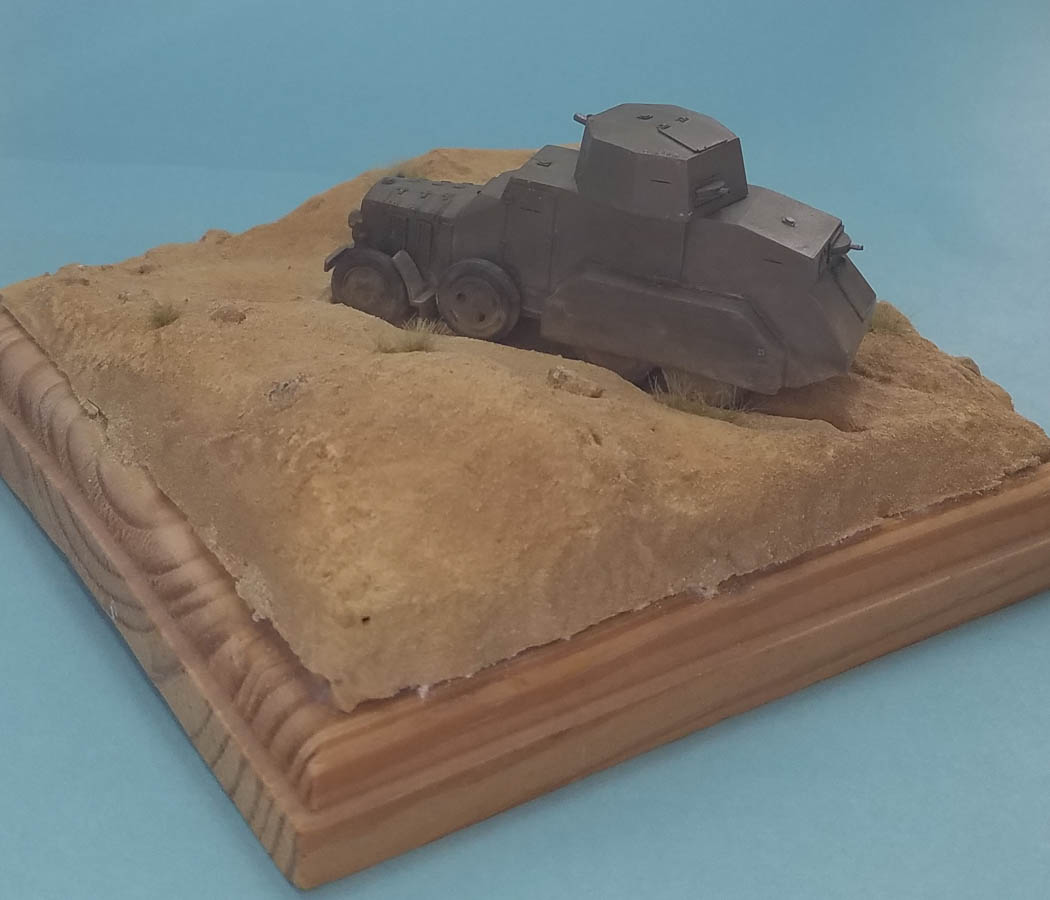 |
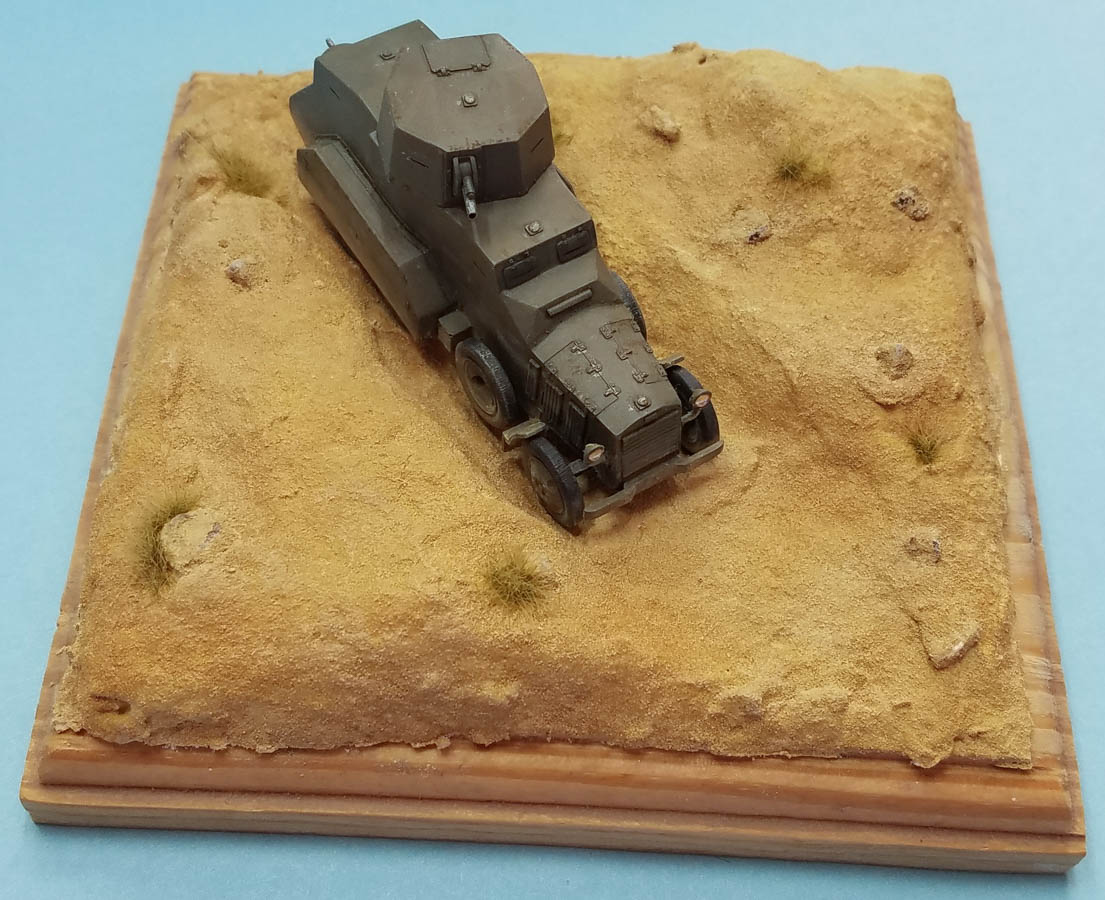
The base is a pine one found at a local craft store - very inexpensively - sanded, then structure was added with carboard. Once I had that to the level (literally) I liked, Celluclay was then applied for texture and small pebbles found in the road were inserted into the wet Celluclay "here and there". Once that was dry , I used the same Tamiya Diorama Texture Paint, Grit Effect, Light Sand paint that I used on the Terni base. All you do is brush it on your base like any old paint, and since it has "grit" in the paint itself, it really doos look like sand. Brilliant!
Once the base was finally dry, I drybrushed some different shades over the entire base, chipped off some of the paint from the pebbles and added the tufts. I finally had finished a model I've had for quite some time.
 |
Conclusion
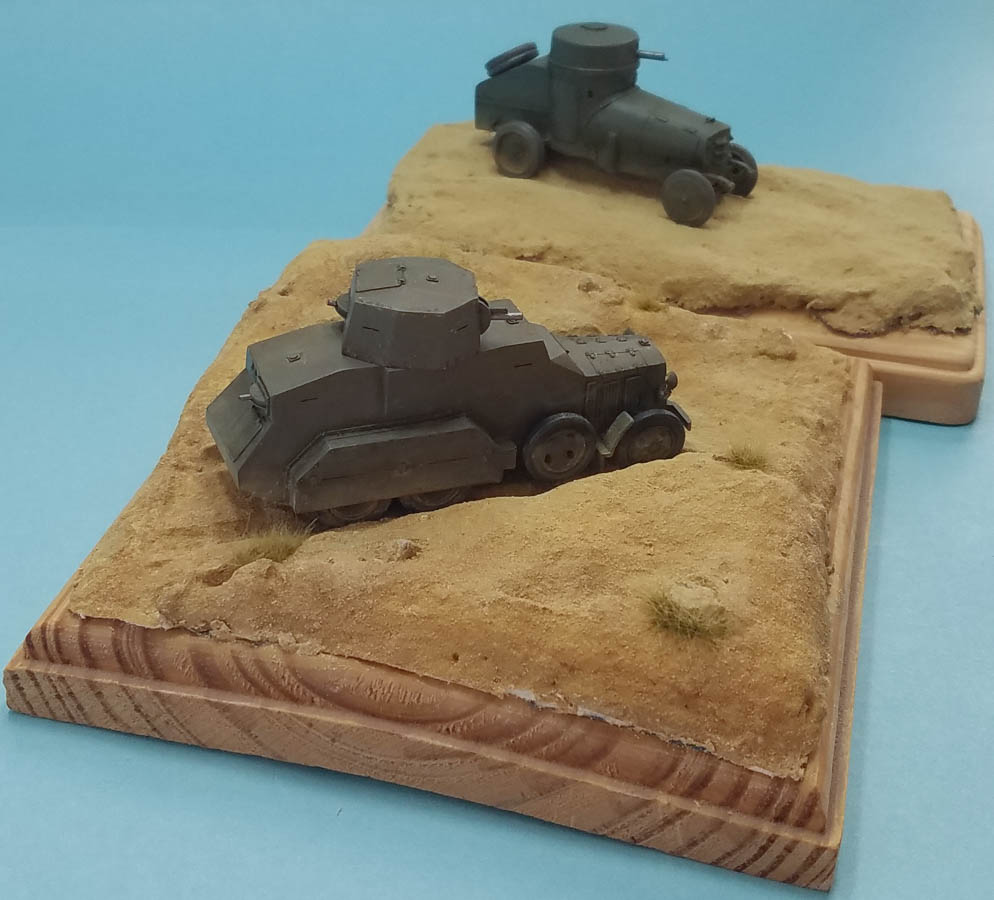
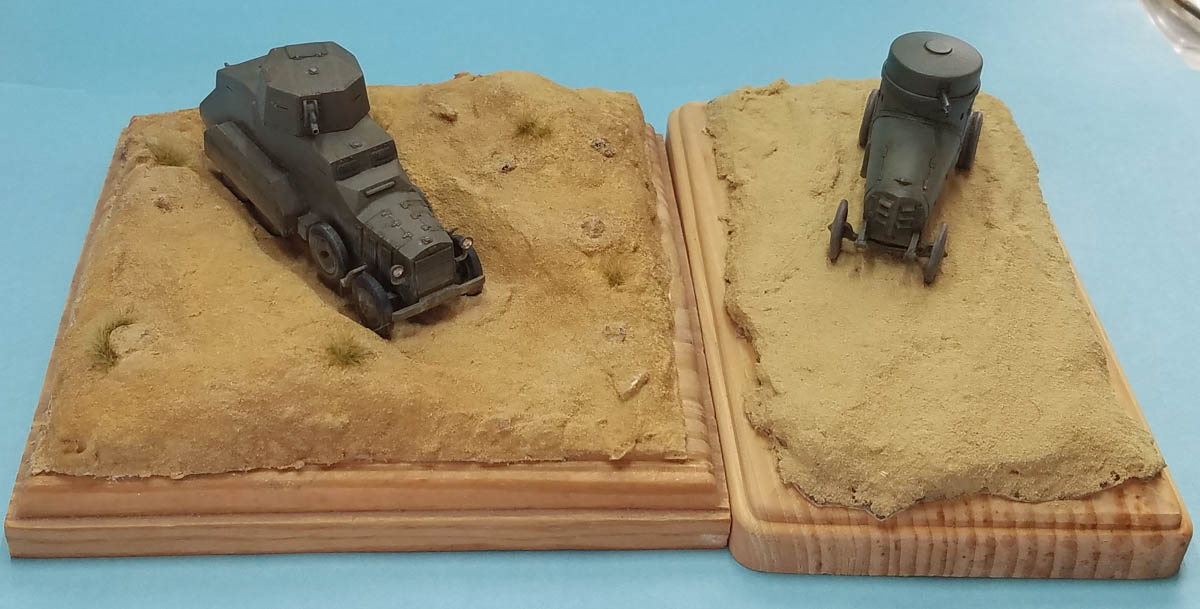
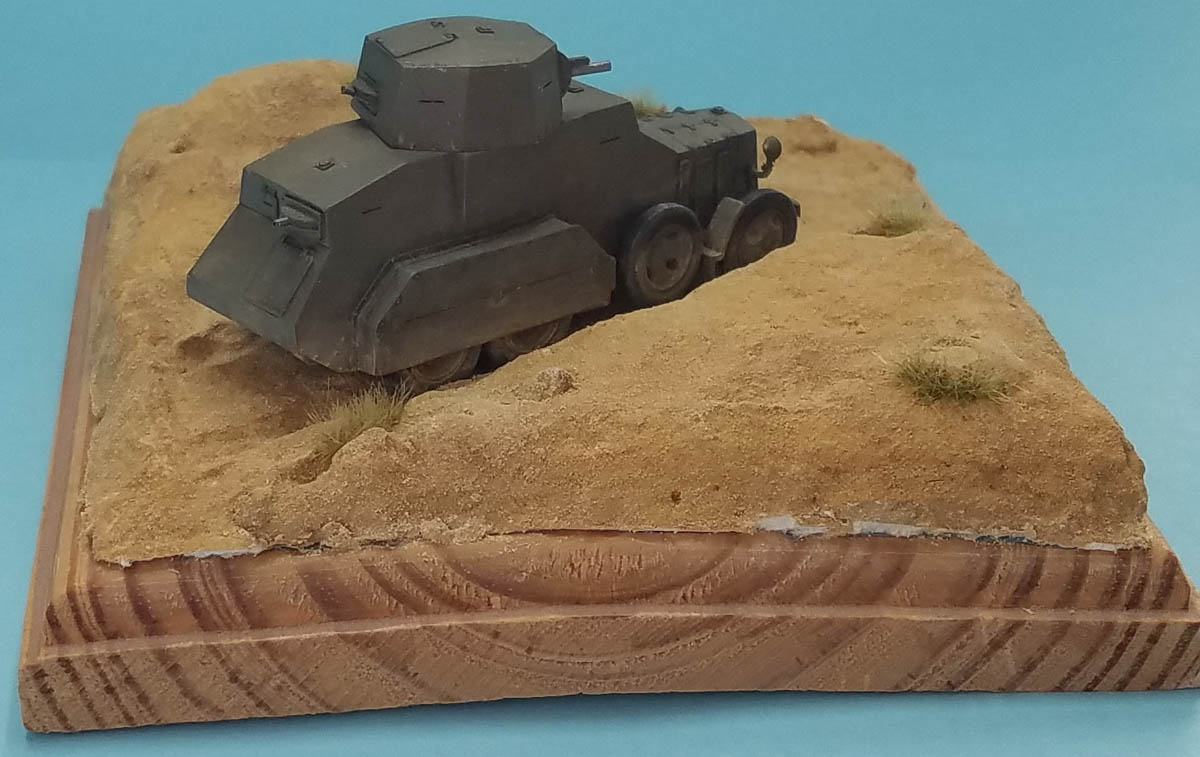
This was an extremly fun build. The GB Modelli kits are perfect for beating AAMS and you'll have a most unique model in your display cabinet. The last couple of photos show both the Terni and 611 in the same shots.
Huge thanks to GB Modelli for the Fiat kit.