
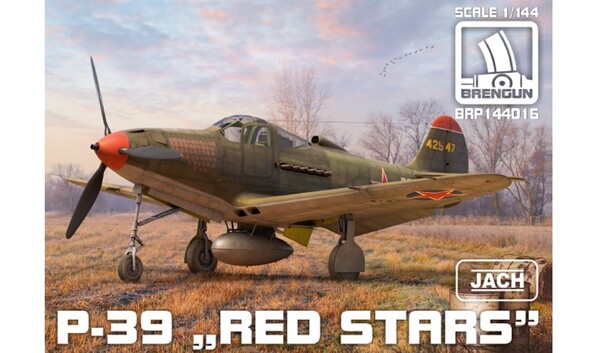
Brengun 1/144 P-39 "Red Stars"
By Matt Bittner
Introduction
It has been a few years since Brengun initially released their line of 1/144 P-39s. Here's my First Look of their P-39Q released in 2019. For this release, Brengun has chosen Soviet markings to be used on their kit.
The Kit
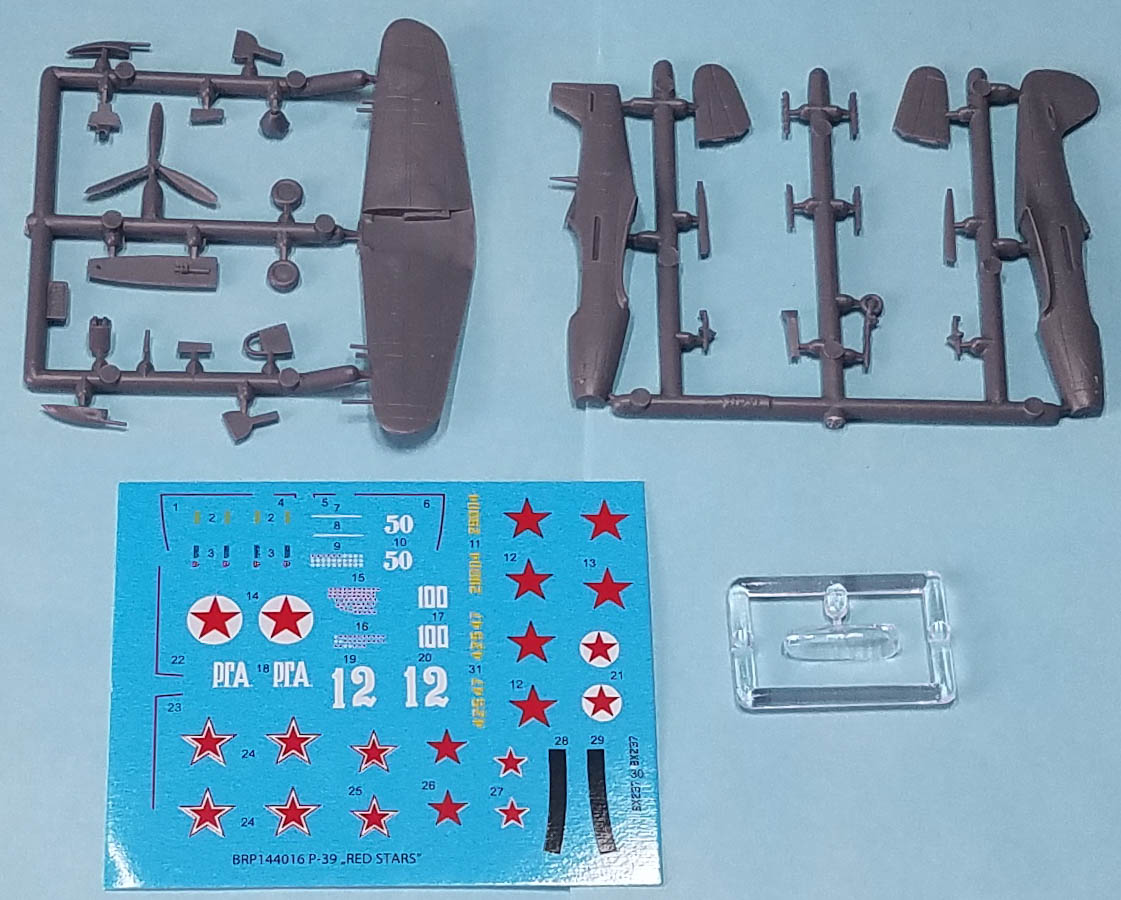
The Brengun 1/144 P-39 "Red Stars" consists of 30 picees of gray, injected plastic and one injected, clear canopy (one-piece). Decals are for 4 VVS P-39s:
- Airacobra Mk.I, 19.GIAP, Spring 1943 (finished in the British scheme of Dark Green and Ocean Gray on the upper surfaces, with Medium Sea Gray on the undersides and a Sky spinner)
- P-39Q, 16.GIAP Guard Senior Lieutenant K.V. Sukhov, Germany, March 1945 (overall Olive Green with Neutral Gray undersides, with plenty of "RLM 82" overpainted areas on top and "RLM 76" overpainted areas on the underside)
- P-39N, 16.GIAP Guard Captain A.I. Pokryshkin, Kuban, May 1943 (another in OD/Neutral Gray)
- P-39N, 16.GIAP Guard Captain G.A. Rechkalov, Spring 1945 (OD/Neutral Gray with AMT-4 overpainted areas and a red spinner)
I'm not sure about the RLM callouts for Sukhov's Cobra. I would rather think those overpainted areas would have been in VVS colors, AMT-4 on top and AMT-7 underneath.
Construction naturally starts with the cockpit. There are three pieces to it but I think there may be a fourth. Part number 11 is listed on the parts drawing at the beginning of the instructions but not mentioned at all in the construction sequence. There is no control stick shown on the instructions, so I wonder if Part #11 is actually the control stick. If not, it's not difficult to make one yourself.
|
Once the cockpit is finished (there are no belts nor anything for the interior; however, Brengun has released a photoetch set for the kit) then it's added to one fuselage half and construction continues. Brengun shows weight needed to be added to the nose prior to closing the fuselage halves, but doesn't mention how much. Once the weight is added and the fuselage halves glued together the horizontal tail pieces can be added. In this section of the instructions the spinner is glued to the propeller but I would wait until painting both, separately.
Now the fuselage is assembled and the stabs glued on, it's time to add the one-piece wing. After it's on pay attention to the version you want to build. For the P-39Q you need clip off the wing leading edge guns. It is in this step you add the canopy and the exhaust stacks but at least for the exhausts, I would leave those off until the end and after painting. Note there are two different types of stacks: one set for the Airacobra I, the other for the other versions.
The last two steps on the instructions have you add everything to the underside of the model. Most should be left off until after adding the decals and final painting.
Conclusion
The Brengun 1/144 P-39 is an excellent kit of the Airacobra in 1/144. It will look great once finished and if you want to take it to the next level, by all means pick up Brengun's own aftermarket and/or RetroWings resin cockpit for the kit.
My thanks go to Brengun for sending this to review.